Scanning Multiple Documents at One Time from the ADF (Auto Document Feeder)
Place multiple documents on the ADF (Auto Document Feeder) and scan at one time.
 To scan multiple documents at one time from the ADF, scan via Document, Custom, Driver, OCR, or E-mail.
The screens for scanning documents are used as examples in the following descriptions.
-
Place the documents on the ADF.
-
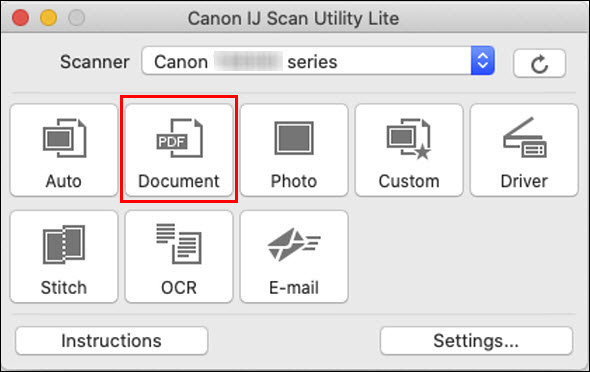
Start IJ Scan Utility Lite.
-
Click Settings....
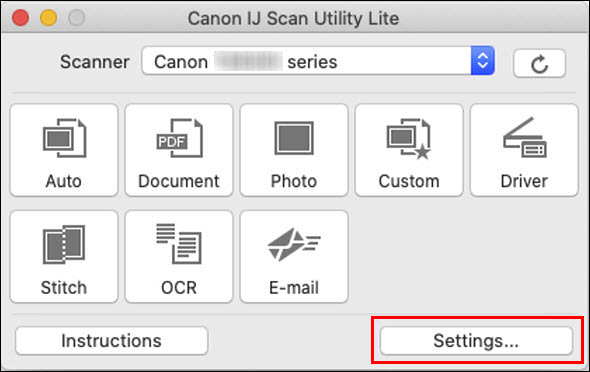
The Settings dialog appears.
-
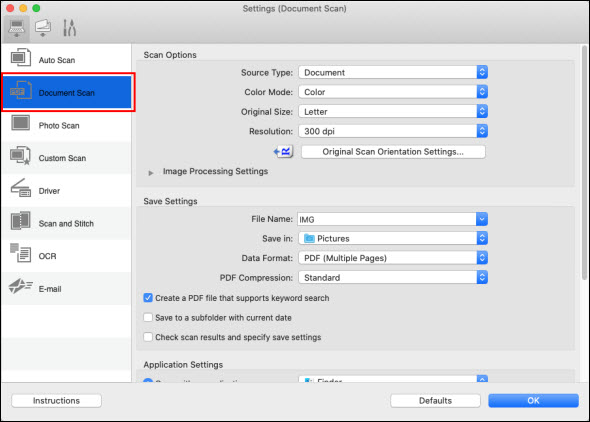
Click Document Scan.
-
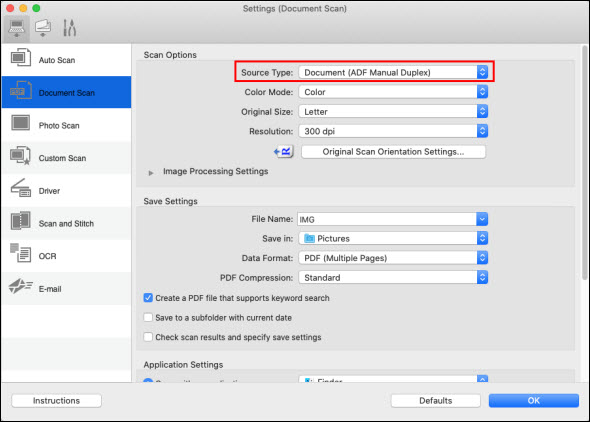
Select the Source Type according to the documents to be scanned.
To scan only the front side of each document, select Document (ADF).
To scan the front side and then the back side of each document, select Document (ADF Manual Duplex).
-
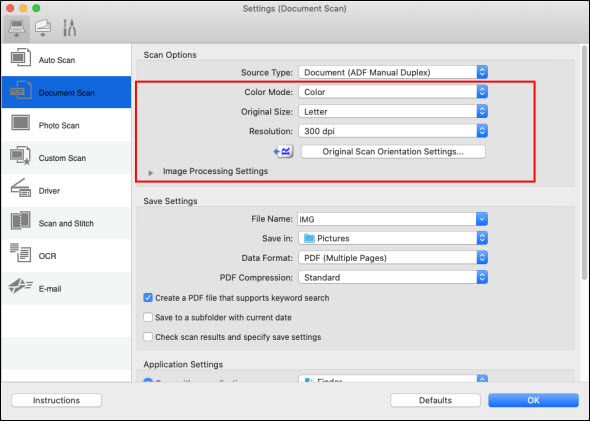
Set the color mode, document size, and scanning resolution as required.
Click Original Scan Orientation Settings... to specify the orientation of the documents to be scanned. In the displayed dialog, you can specify the Orientation and Binding Side. How to place the documents when scanning the back sides depends on the Binding Side.
Once settings are made in the Settings dialog, the same settings can be used for scanning from the next time.
In the Settings dialog, specify image processing settings such as slant correction, set where to save the scanned images, and more, as needed.
 In the Save Settings area, set Data Format to PDF (Multiple Pages) if you want to combine each page of the document into a single PDF file.
After adjusting the settings as desired, click OK.
The IJ Scan Utility Lite main screen appears.
 When scanning from the ADF, documents may be scanned at a paper size different from the size specified in Original Size.
-
Click Document.
Scanning starts.
To cancel the scan, click Cancel.
When Document (ADF Manual Duplex) is selected for Source Type, proceed to Step 8.
-
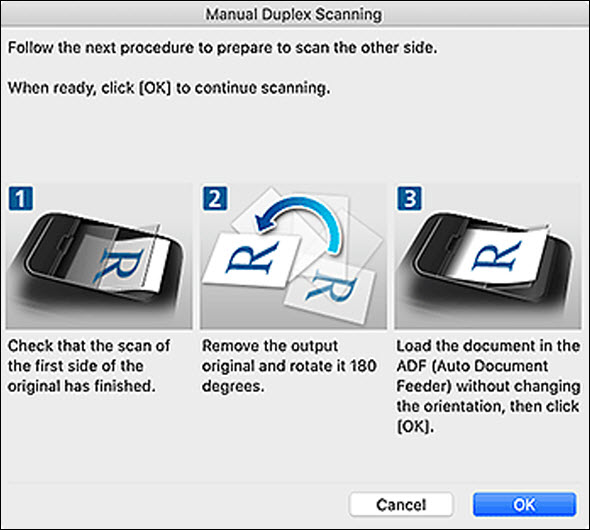
Follow the on-screen instructions to place the documents.
The screens for scanning with Orientation set to Portrait are used as examples in the following descriptions.
When Long edge is Selected for Binding Side in Original Scan Orientation Settings...:
Place the documents after rotating the output documents 180 degrees.
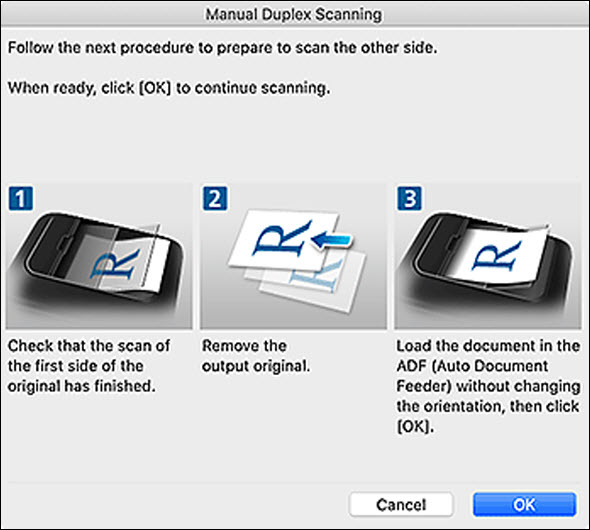
When Short edge is Selected for Binding Side in Original Scan Orientation Settings...:
Place the documents without changing the orientation of the output documents.
-
Click OK.
Scanning starts.
To cancel the scan, click Cancel.
If your product issue was not resolved after following the steps above, or if you require additional help, please create or log in to your Canon Account to see your technical support options.
Or if you still need help, visit our Canon Community by clicking the button below to get answers:

____________________________________________________________________________________________
