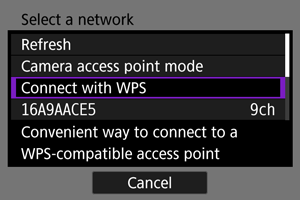
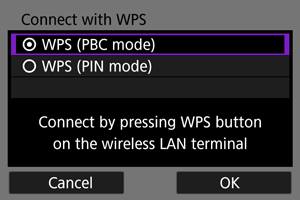
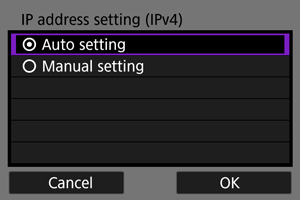
This section describes how to join a Wi-Fi network via an access point compatible with WPS (PBC mode).
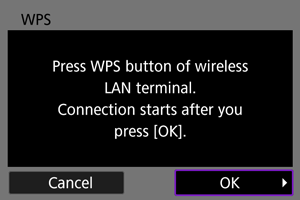
First, check the position of the WPS button and how long to press it. It may take approx. 1 min. to establish a Wi-Fi connection.
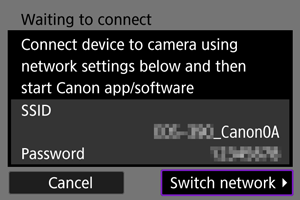
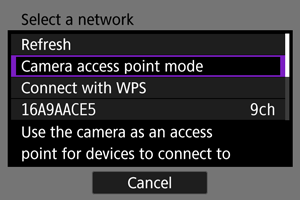
Camera Access Point Mode
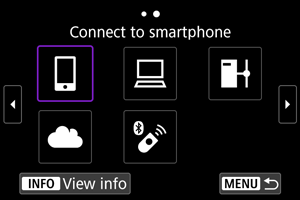
Camera access point mode is a connection mode for connecting the camera directly to each device via Wi-Fi. Displayed when [ ], [
], [ ], or [
 ] is selected after [
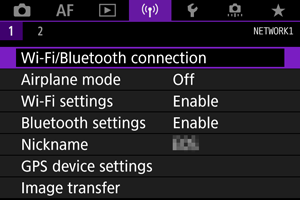
 : Wi-Fi/Bluetooth connection].
-
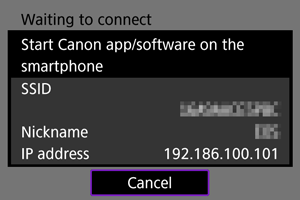
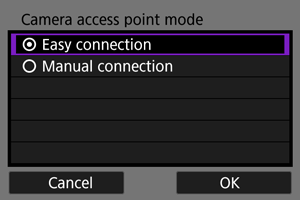
Easy connection
Use the other device to establish a Wi-Fi connection with the SSID shown on the camera screen.
-
Manual connection
Enter the SSID of the other device to establish a connection. Follow the instructions on the camera screen to complete the connection settings.