EOS R5 Magnified Image Display
| Article ID: ART178309 |
| |
Date published: 11/19/2020 |
| |
Date last updated: 06/03/2022 |
Description
EOS R5 Magnified Image Display
Solution
|
Magnified Image Display
You can magnify display of your captured images.
-
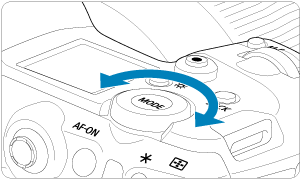
Magnify the image.
- Turn the
 dial clockwise. dial clockwise.
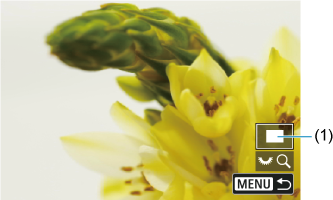
- The magnified view will appear. The position of the magnified area (1) is displayed in the lower right of the screen, along with [
  ]. ].
- To magnify images, turn the dial clockwise.
- To reduce magnification, turn the dial counterclockwise. For index display (), keep turning the dial.
-
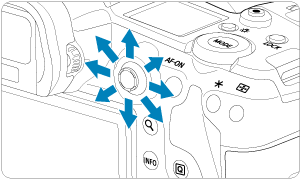
Scroll the image.
- Use
 to scroll around the magnified image. to scroll around the magnified image.
- Press the or
 button to exit magnified view. button to exit magnified view.
Note
- To switch to other images while maintaining magnified view, turn the
 dial. dial.
- Magnification is not available for movies.
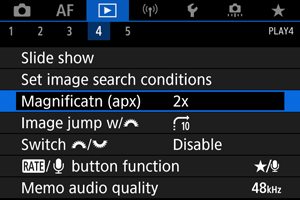
Setting the Initial Magnification Ratio and Position
You can set the initial magnification ratio and magnified position by selecting [ : Magnificatn (apx)]. : Magnificatn (apx)].
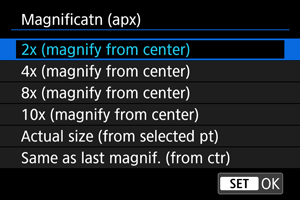
-
2x, 4x, 8x, 10x (magnify from center)
The magnified view starts at the image center at the selected magnification ratio.
-
Actual size (from selected pt)
The recorded image’s pixels will be displayed at approx. 100%. The magnified view starts at the AF point that achieved focus. If the photo is taken with manual focus, the magnified view starts at the image center.
-
Same as last magnif. (from ctr)
The magnification will be the same as the last time you exited the magnified view with the or button. The magnified view starts at the image center.
|
SIMS Doc Id
1605628147167785929