You can use the Print Driver and Scan Utility Installer available from the Canon USA website to configure the printer to work with your PC.
-
Go to the support page for the PIXMA G3260.
-
Select Download to the right of the Print Driver and Scan Utility Installer.
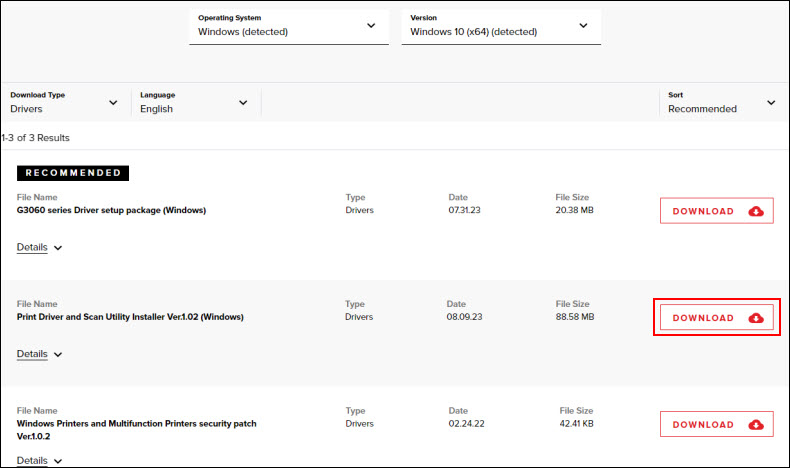
If you're asked to run or save the file, save it to your computer. Open the file after it has been saved.
-
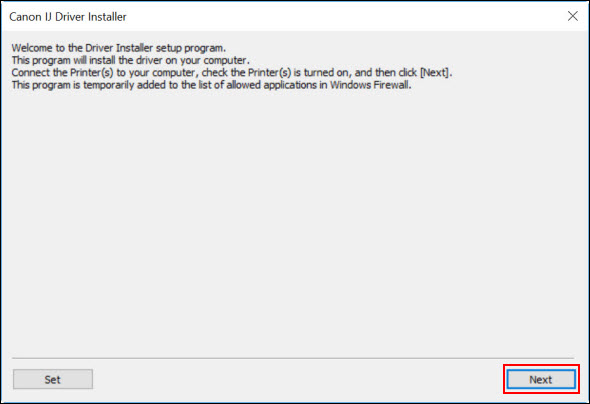
When the installer begins, make sure that the printer is powered on, then click Next.
 If using the printer via USB, connect the printer to your computer with a USB cable before clicking Next.
-
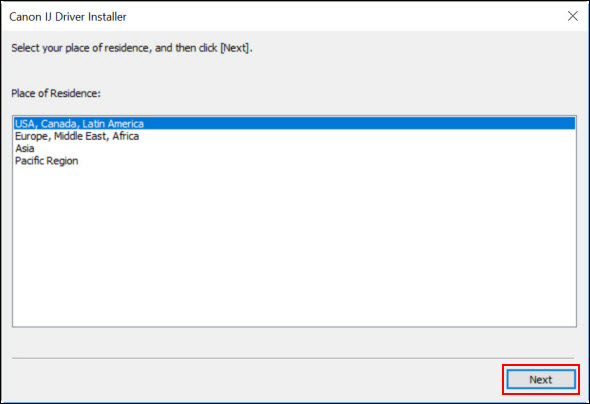
Select your area of residence, then click Next.
-
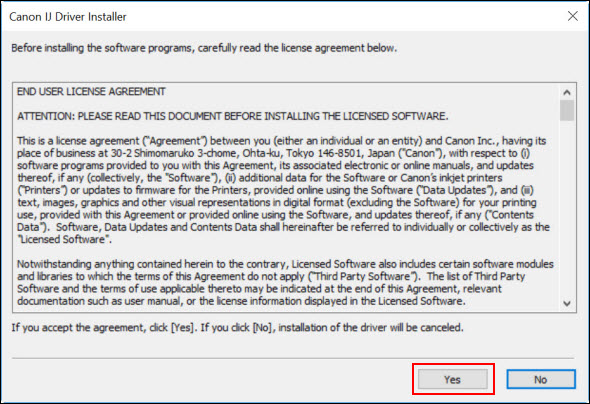
Read the License Agreement. Click Yes to proceed. If you click No, the installation will not proceed.
-
Select the printer and click Next.
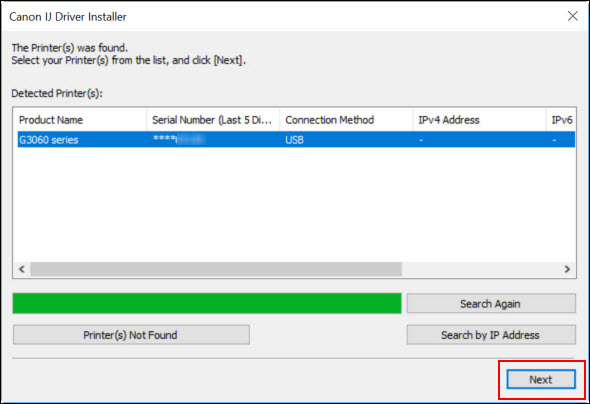
If your printer isn't detected, you can click Search Again. If it still isn't detected, you can click Search by IP Address (if the printer is connected to a network):
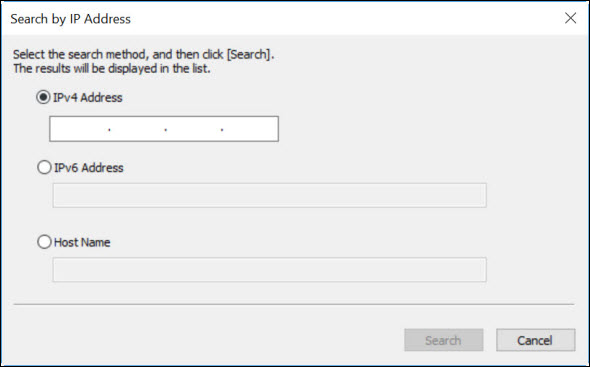
If you know your printer's IPv4 or IPv6 address, you can enter them into their respective fields and click Search. You can also enter the host name for the printer. You can find this information by printing the Network Configuration page for the printer.
 If your printer is not detected, make sure that the computer has reconnected to the correct network. Also, you may need to temporarily disable any firewall software, or you may need to open blocked ports in the firewall. If your PC is connected to a VPN (Virtual Private Network), temporarily disconnect from the VPN and try the setup again.
-
After the drivers have been installed, click Exit to finish the installation. You also have the option of setting this printer as the default printer for your computer. Place a check in the box to set this printer as your default printer. If you have another printer that you use as the default, remove the check from the box.
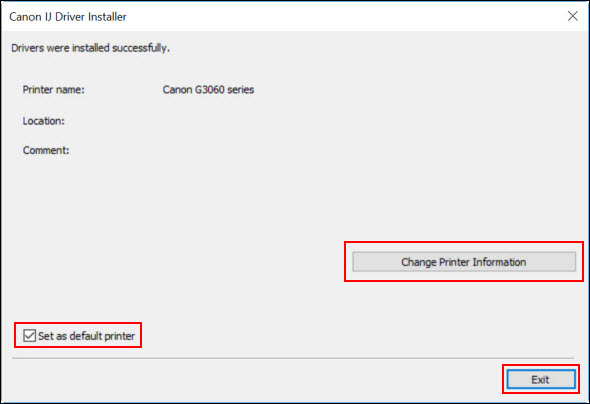
If you click Change Printer Information, you can specify the location of the printer as well as make any comments for it.
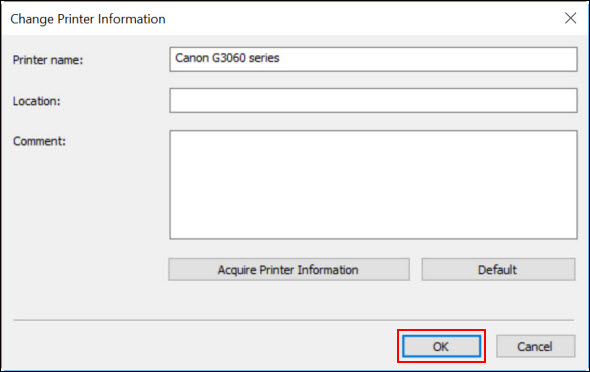
Add any information as desired, then click OK.
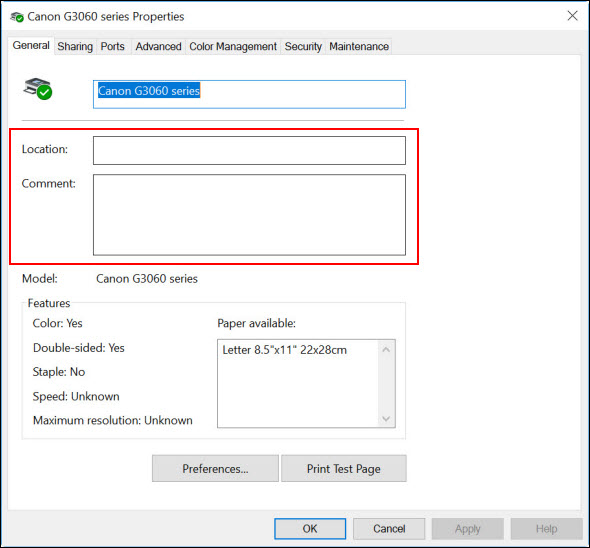
This information can be seen when looking at the Printer Properties.
-
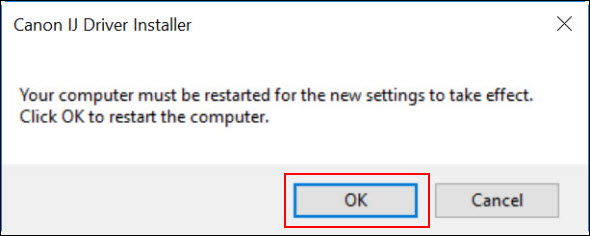
After the installation has finished, click OK to restart the computer. If you want to restart later, click Cancel.
If your product issue was not resolved after following the steps above, or if you require additional help, please create or log in to your Canon Account to see your technical support options.
Or if you still need help, visit our Canon Community by clicking the button below to get answers:

____________________________________________________________________________________________
