Wireless Setup - Windows** Computers
**Instructions in this article are for setup on a Windows computer. If setting up on a Mac, click here for instructions
You can set up a wireless connection between your PIXMA PRO-200 and a Windows PC if you have a USB cable. Follow the steps below to set up a wireless connection via USB.
Download and run the setup file.*
Get the Setup File
-
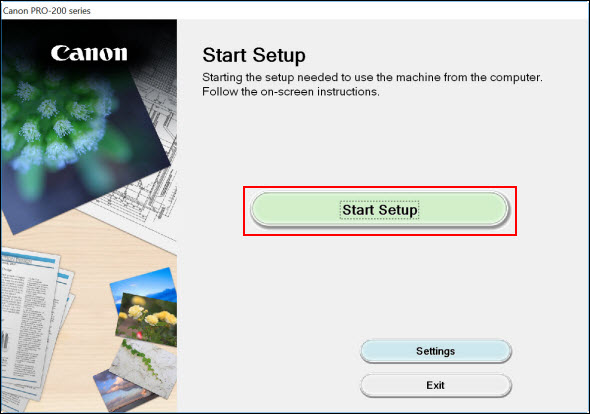
Run the setup file and click Start Setup.
-
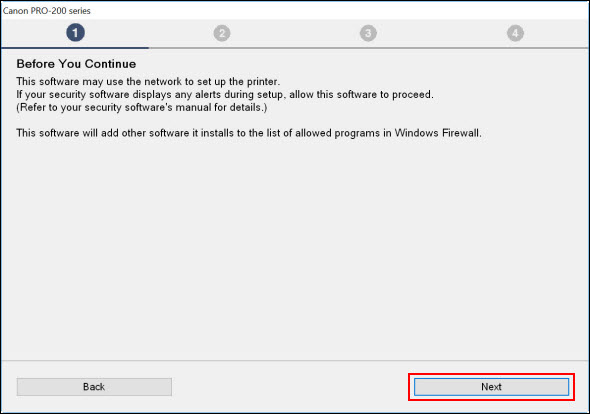
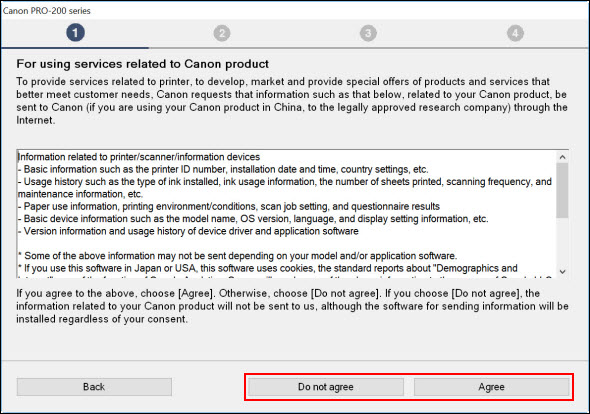
Read the network security notice and click Next.
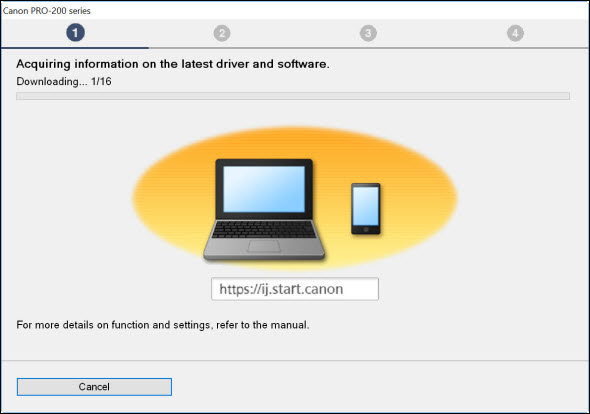
The installer will acquire information on the latest driver and software for the printer. This may take several minutes.
-
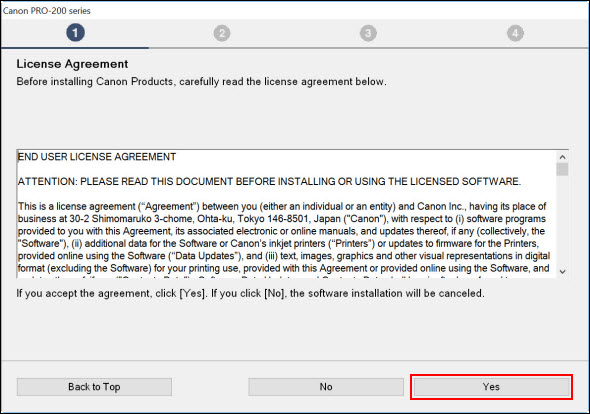
Read the license agreement. Select Yes to proceed. If you click No, the installation will not proceed.
-
Select Agree or Do Not Agree to the information request.
-
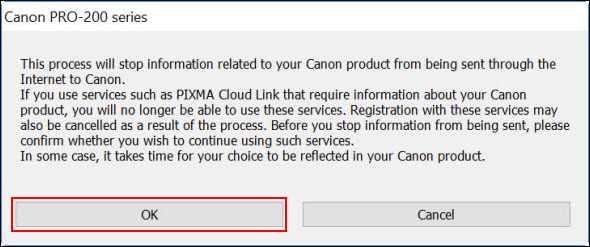
This message appears if you selected Do not agree. Click OK to proceed.
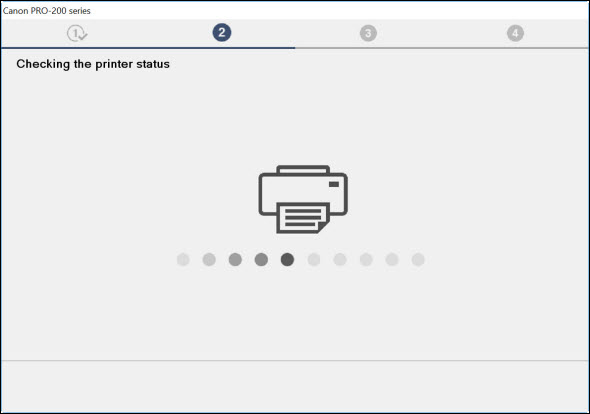
The installer will process for a few moments. Then, it will check the printer's status.
-
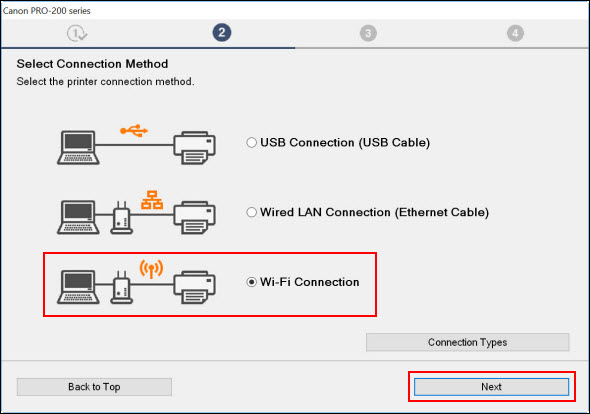
Select Wi-Fi Connection, then click OK.
-
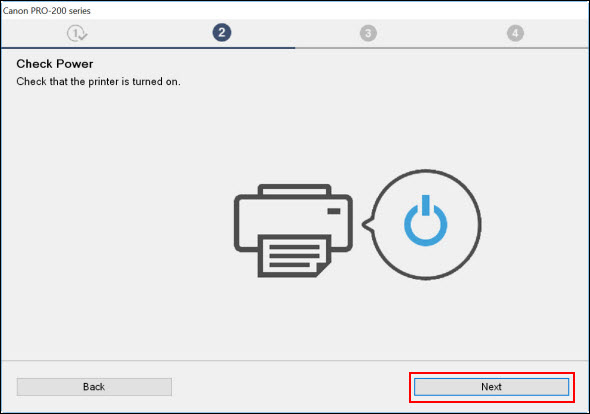
Make sure that the printer is powered on, then click Next.
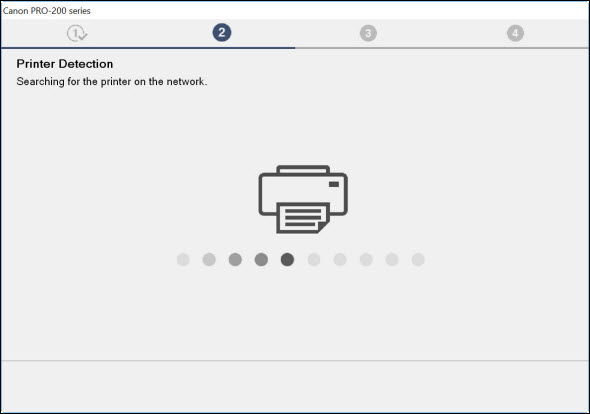
The installer will search for the printer on the network.
-
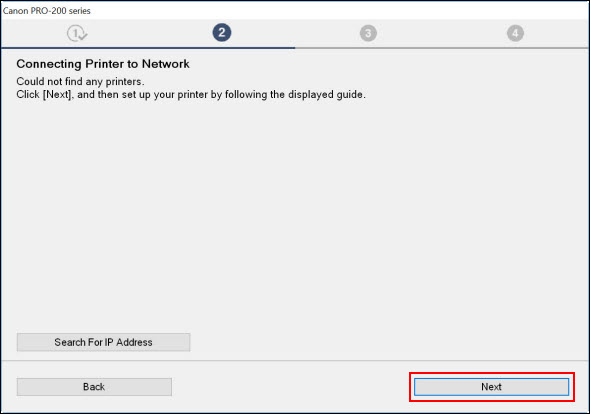
When the installer indicates that the printer couldn't be detected, click Next.
-
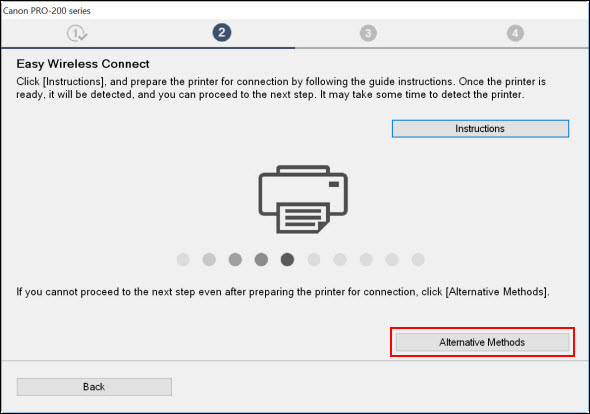
On the Easy Wireless Connect message, click Alternative Methods.
-
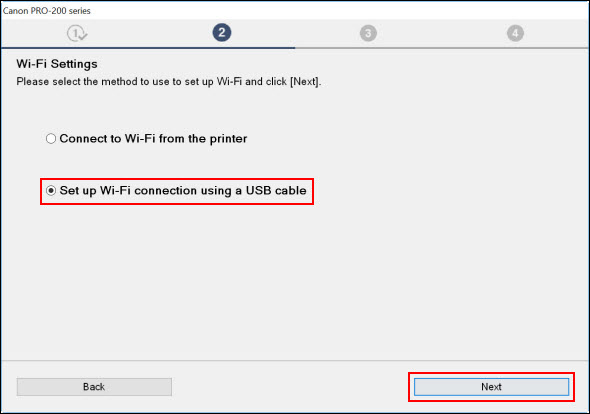
After the installer processes for a few moments, select Set up Wi-Fi connection using a USB cable, then click Next.
-
Connect the printer to the computer with a USB cable.
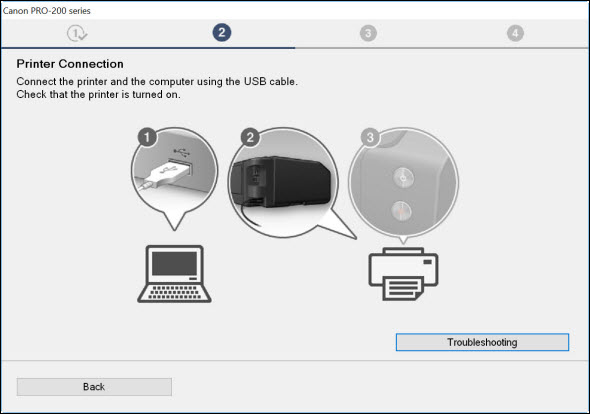
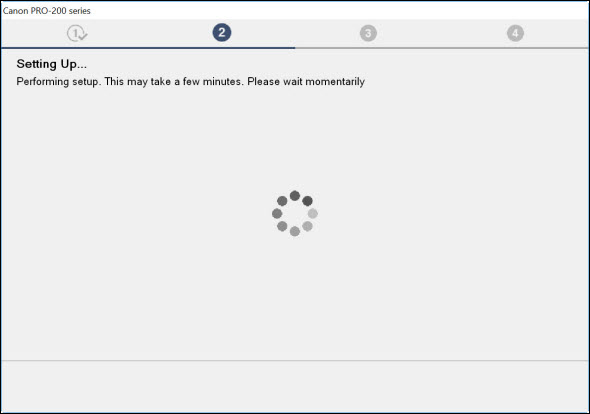
The printer will be detected, and the wireless setup will be performed. Please wait.
-
When the connection is completed, click Next.
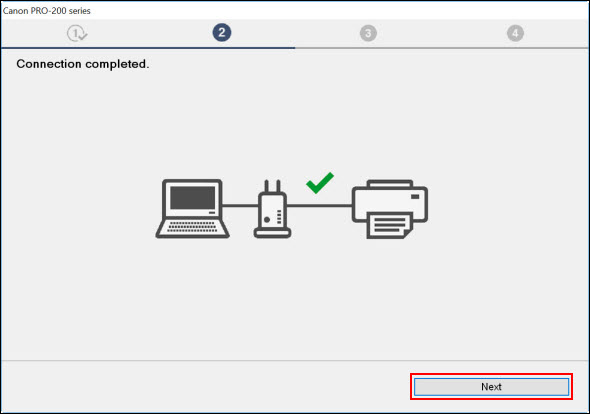
 If your printer is not detected, make sure that the computer has reconnected to the correct network. Also, you may need to temporarily disable any firewall software, or you may need to open blocked ports in the firewall. If your PC is connected to a VPN (Virtual Private Network), temporarily disconnect from the VPN and try the setup again.
-
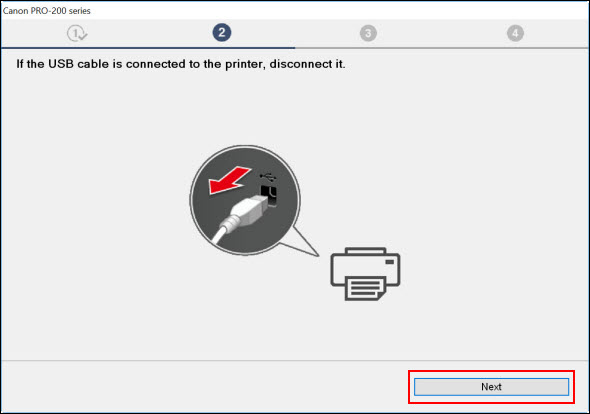
Disconnect the USB cable, then click Next.
-
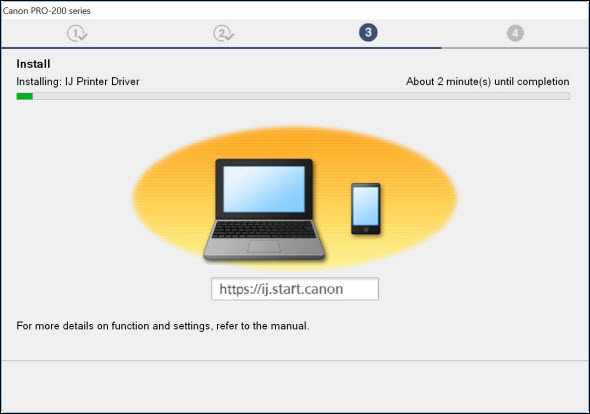
The printer driver will be downloaded and installed. This may take several minutes.
-
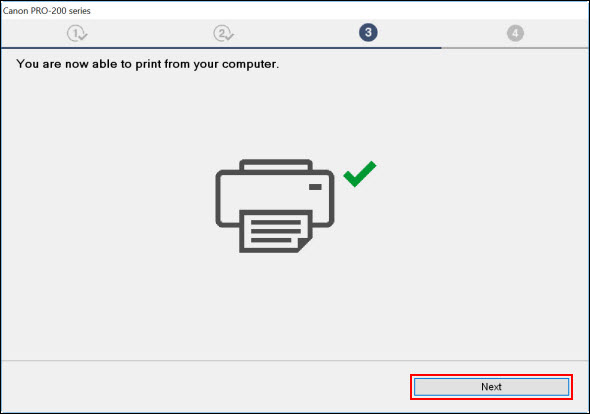
Click Next.
-
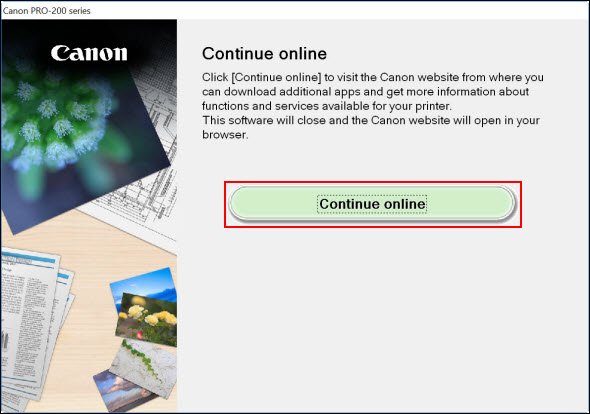
Click Continue online. The installer will close.
If your product issue was not resolved after following the steps above, or if you require additional help, please create or log in to your Canon Account to see your technical support options.
Or if you still need help, visit our Canon Community by clicking the button below to get answers:

____________________________________________________________________________________________
