You can connect the MAXIFY MB2120 to a wireless router by manually entering the network's passphrase into the printer. This process is known as Standard setup. To connect the printer to your router using this method, follow the steps below.
 LAN means Local Area Network.
-
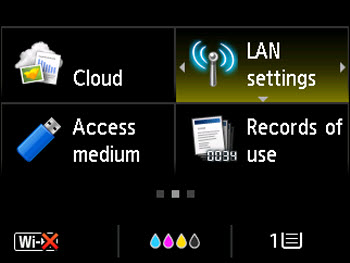
With the printer powered on, select LAN settings, then press the OK button.
-
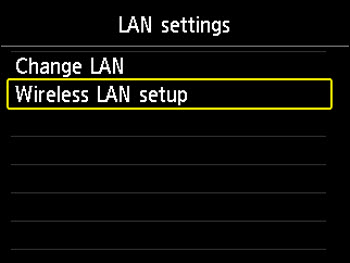
Select Wireless LAN setup, then press the OK button.
-
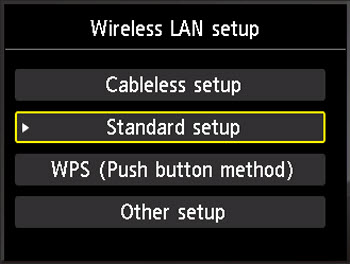
Select Standard setup, then press the OK button.
-
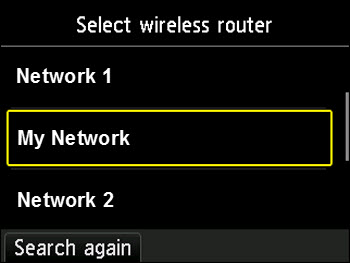
After the printer searches for nearby wireless networks, select your network in the list. Then, press the OK button.
-
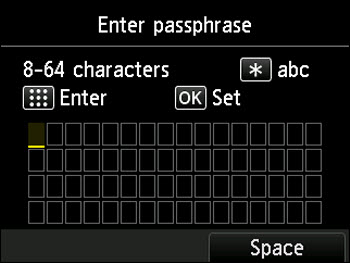
Enter the network passphrase. Press the OK button when finished.
-
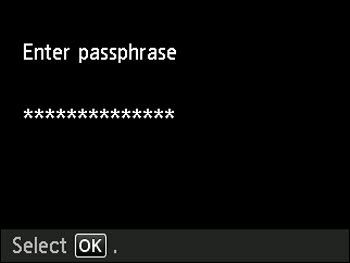
Press the OK button.
-
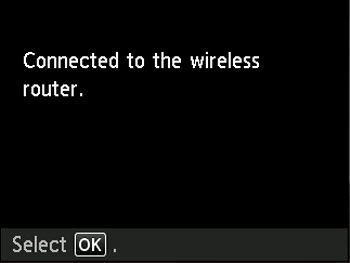
After the printer has connected to the network, press the OK button.
If the printer fails to connect to the network, start from step 3 and try again. If the printer still fails to connect, unplug the wireless router for 16 seconds, then plug it in and try connecting the printer again.
If your product issue was not resolved after following the steps above, or if you require additional help, please create or log in to your Canon Account to see your technical support options.
Or if you still need help, visit our Canon Community by clicking the button below to get answers:

____________________________________________________________________________________________
