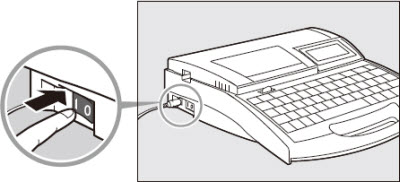
Turn the Power Switch On
Before turning the power switch on, make sure that the cassettes and tube have been inserted properly, that the cover is closed, and that the AC adapter has been properly connected.
|
1. Press the "|" side of the switch.
|
|
|
|

Startup display
|
|
 The character input display appears immediately if no ribbon cassette is installed. The character input display appears immediately if no ribbon cassette is installed.
|
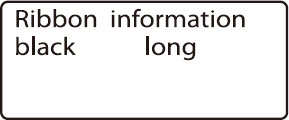
Ribbon cassette information display
|
 Do not turn the power switch on and off rapidly. This can cause misoperation and the loss of stored data.
Inputting characters
ex. Print four each of the following tube segments.

Tube to be used: 3.0mm
|
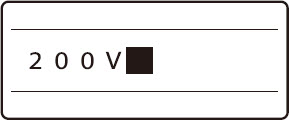
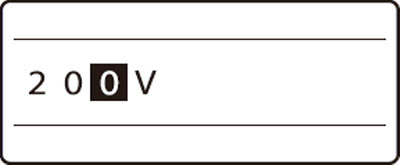
1. Enter 200V
To enter uppercase letters or the characters appearing on the upper half of the keycaps, press and hold the [Shift] key, and then press the desired key. If you enter a wrong character by mistake, press [Back Space] to delete the character and then enter the correct character.
|
|
|
2. Press [Enter].
|
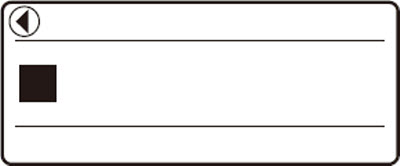
Indicates that another page precedes the currently displayed page.
|
|
3. Enter Pump Room.
If you enter an incorrect character, press [Back Space] to delete the character, then enter the correct character.
|

|
|
4. Press [Enter].
|
|
|
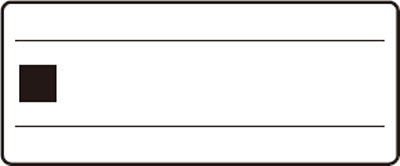
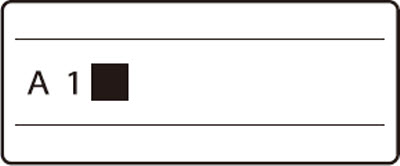
5. Input A1.
|
|
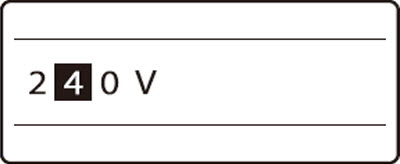
If you accidentally enter an incorrect character (e.g. Entering 240V instead of 200V):
|
1. Press  or or  and move the cursor and move the cursor  to the 4. to the 4.
|
|
|
2. Press [Del] to delete the 4.
If you press [Back Space] instead of [Del], the character to the left of the cursor (2 in this case) will be deleted.
|
|
|
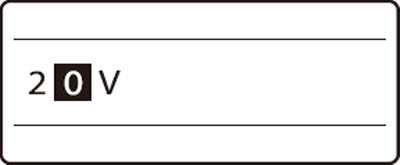
3. Press 0 to enter the correct character.
|
|
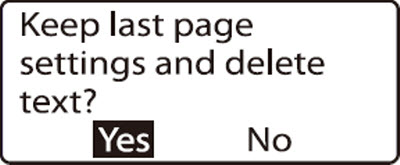
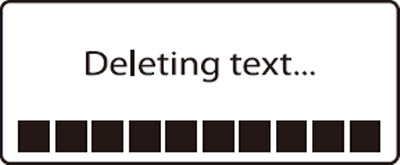
To delete all entered text:
|
1. Press [Del ALL].
|

|
|
2. Press  or or  to select Text only, then press [Enter]. to select Text only, then press [Enter].
When only the text is deleted, settings such as Orientation, Character Size, Seg Length, Frame, Lines, Character Space, Continuous Print, and Numbering remain unchanged.
|
|
|
3. Press or to select Yes, then press [Enter].
|
|
Go on to the next step.
If your product issue was not resolved after following the steps above, or if you require additional help, please create or log in to your Canon Account to see your technical support options.
Or if you still need help, visit our Canon Community by clicking the button below to get answers:

____________________________________________________________________________________________
