Your PIXMA TR8520 can be connected to a wired network. After it has been connected to the network, drivers and software need to be installed on your computer in order to use the printer. Follow the steps below to download and install the drivers and software for your printer.
-
Download the setup file for the printer from our website. Click the Download button.
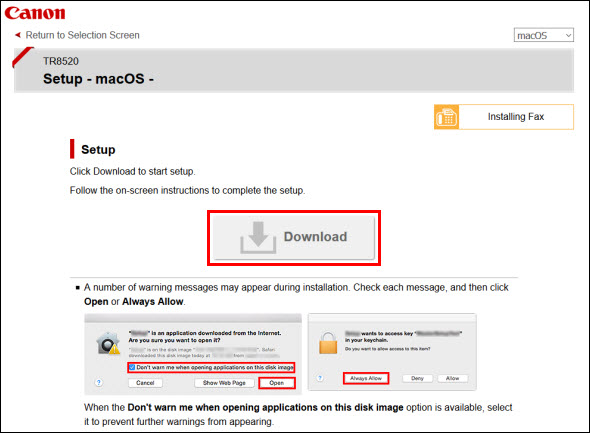
 If you're asked to run or save the file, save it to your computer first, then open it when the download has finished.
 If you receive a warning indicating that the Setup file can't be opened, control-click (or right-click) the setup file, then select Open from the pop-up menu. This will allow you to run the installer.
-
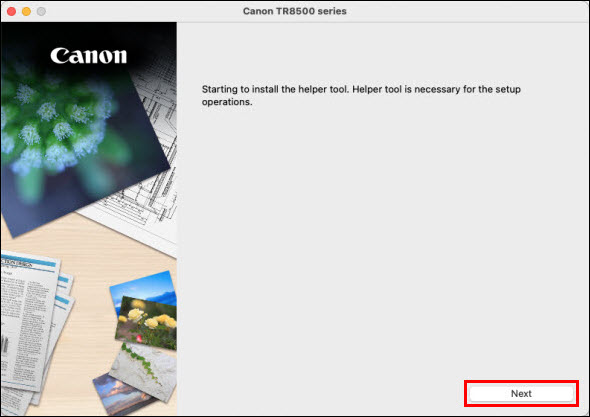
You'll be prompted to install a helper tool. Click Next.
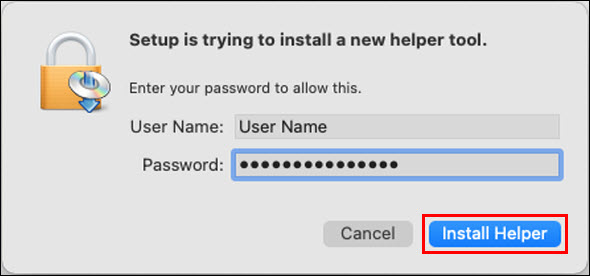
Enter your computer's password, then click Install Helper.
-
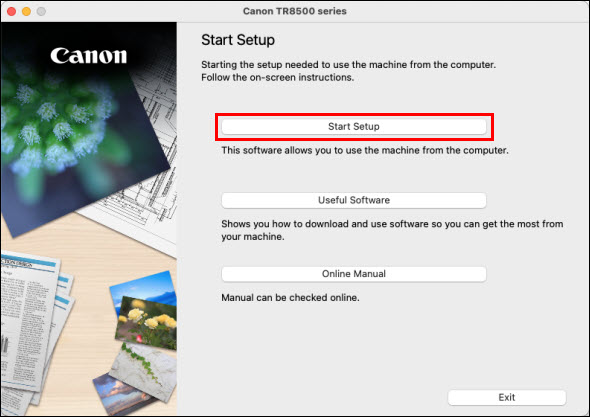
Click Start Setup.
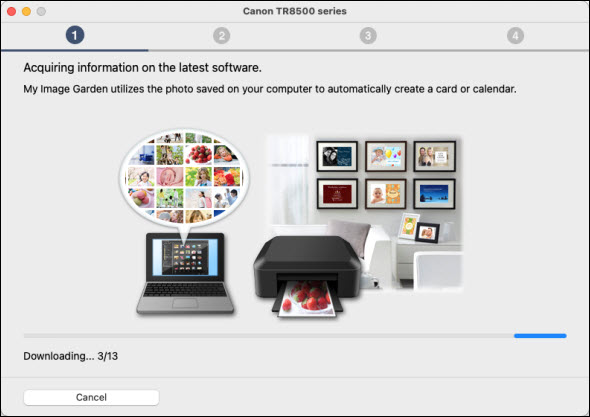
The installer will acquire information on the latest drivers and software for your printer. This may take several minutes.
-
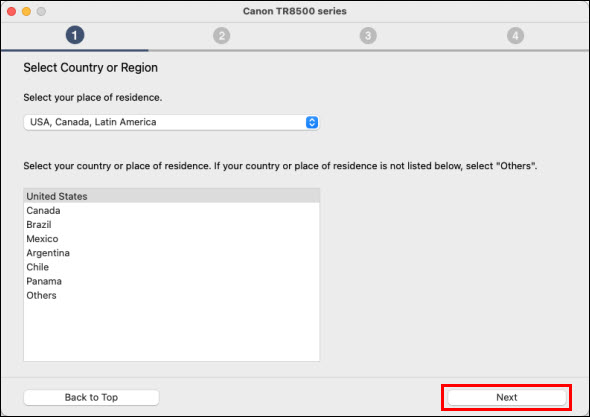
Select your place of residence, then click Next.
-
Read the License Agreement. Click Yes to agree to the terms and continue.
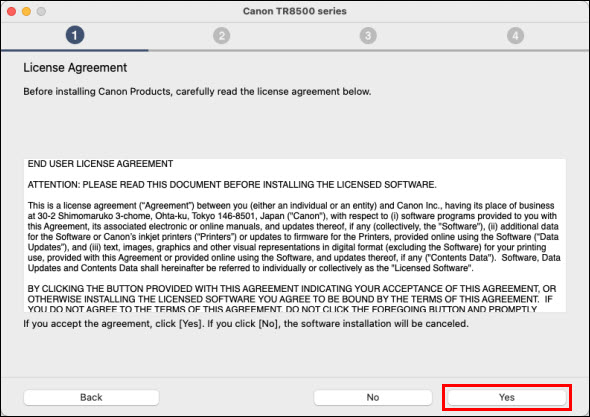
If you click No, the installation will not proceed.
-
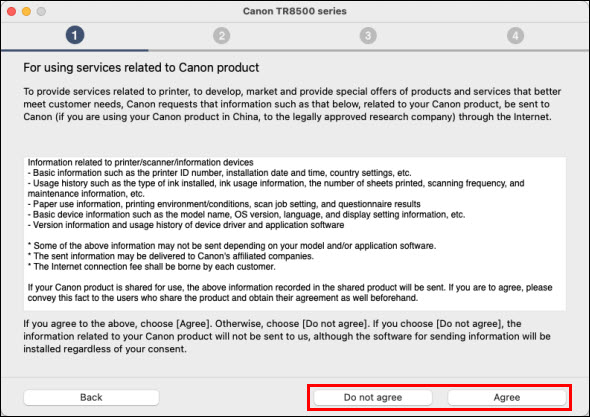
Read the information regarding using services related to your printer. If you wish to provided the requested information, click Agree. Click Do not agree if you don't want to provide this information. The installation will continue regardless of your selection.
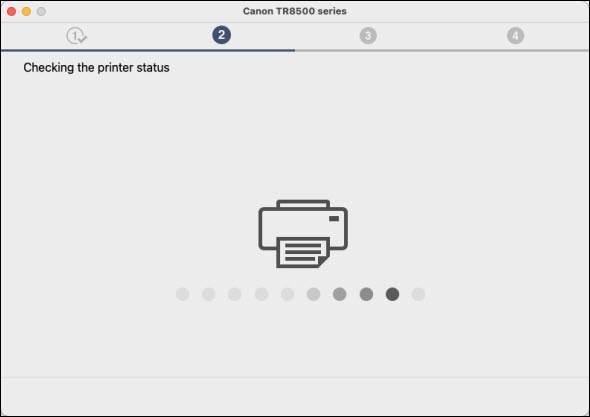
After processing for a few moments, the installer will check the printer's status.
-
The Check the Connection Method screen will appear. Click Yes on this message to proceed.
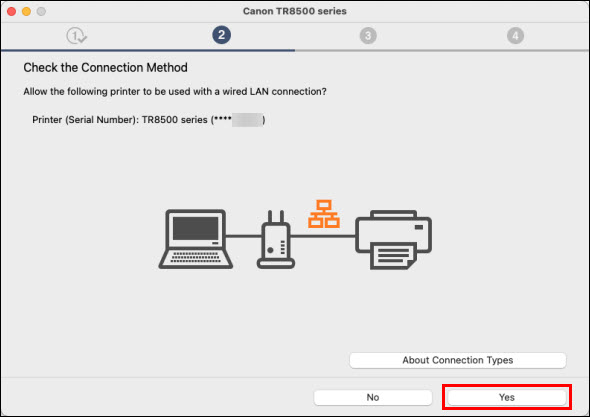
 If your printer is not detected, make sure that the computer is connected to the correct network (if your computer connects wirelessly to your network). Also, you may need to temporarily disable any firewall software, or you may need to open blocked ports in the firewall. If your PC is connected to a VPN (Virtual Private Network), temporarily disconnect from the VPN and try the setup again.
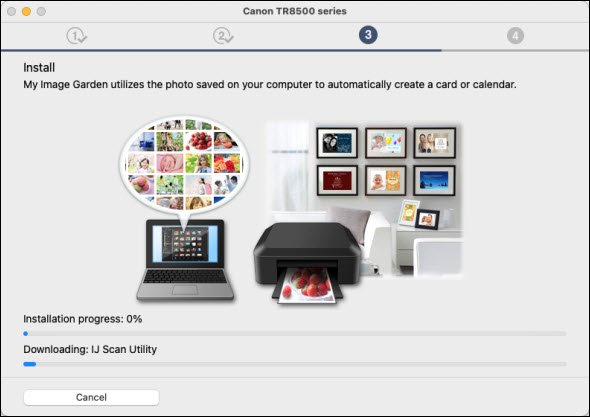
IJ Scan Utility Lite will be downloaded and installed. This may take several minutes.
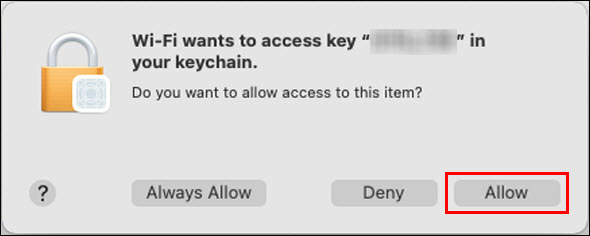
 Depending on your network configuration, you may be prompted to grant access to a key in your keychain. If prompted, click Allow.
-
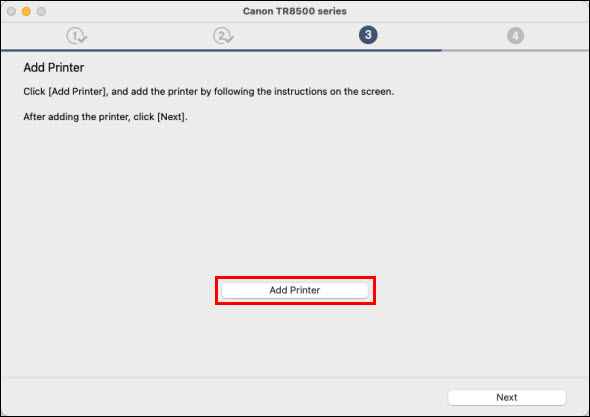
After processing for a few moments, the Add Printer screen will appear. Click the Add Printer button.
-
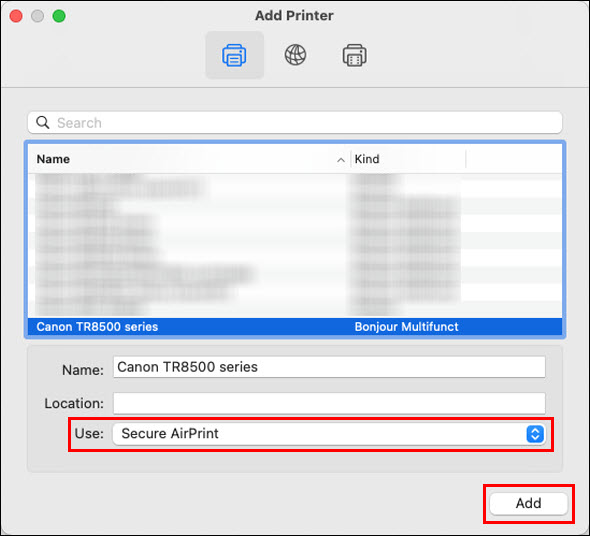
Select the listing for the printer with Bonjour Multifunct listed for Kind. Select AirPrint or Secure AirPrint for Use: and click Add.
-
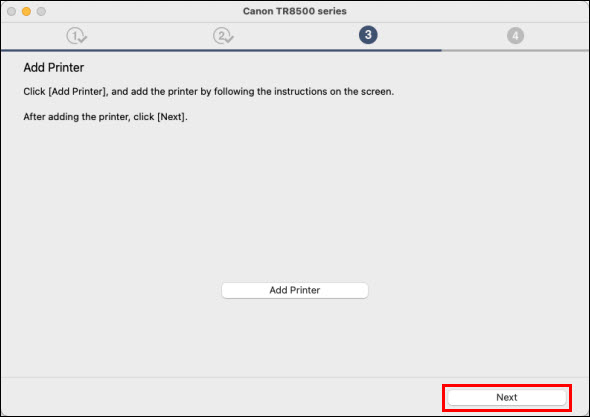
You'll return to the Add Printer screen. Click Next.
-
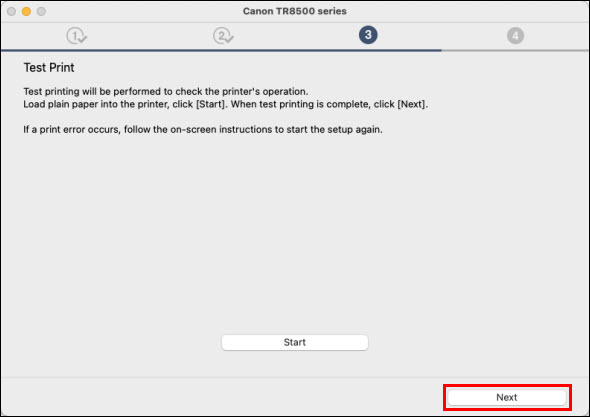
The Test Print screen will appear. If you want to perform a test print to confirm printer functionality, click Start. Click Next to proceed.
-
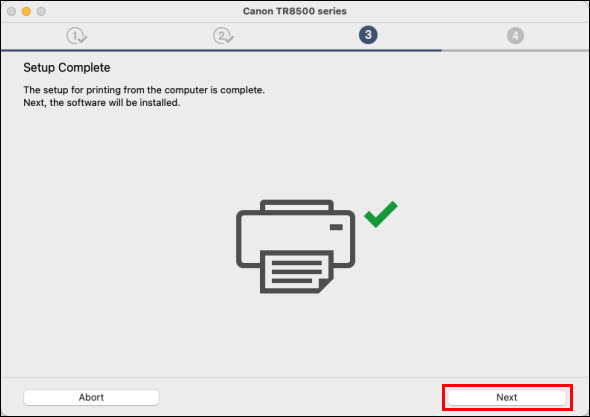
The Setup Complete screen will appear. Click Next to proceed.
-
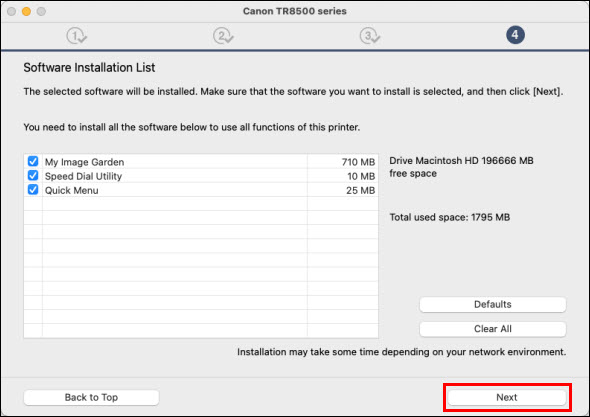
The Software Installation List will appear. You can select what program(s) for your printer you want to install. Place checks in the boxes for each item you want to install. Click Next to proceed.
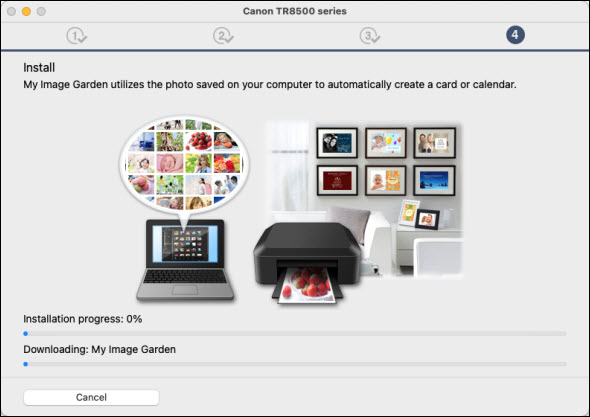
The program(s) you selected will be downloaded and installed. The time required to download and install the software selected will vary.
-
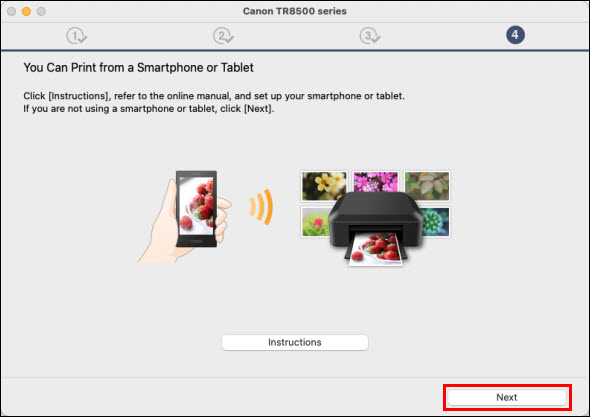
When this screen appears, click Next to proceed.
-
On the Printer Registration screen, click Register Now if you want to register your printer. Follow any on-screen instructions. If you don't want to register the printer, click Skip.

-
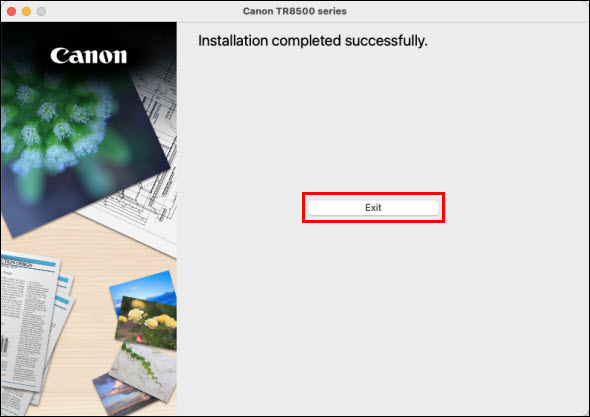
Click Exit.
If your product issue was not resolved after following the steps above, or if you require additional help, please create or log in to your Canon Account to see your technical support options.
Or if you still need help, visit our Canon Community by clicking the button below to get answers:

____________________________________________________________________________________________
