Printing a specific page multiple times (Continuous Print)
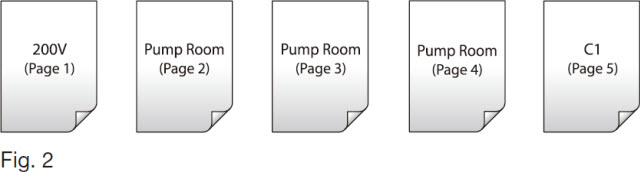
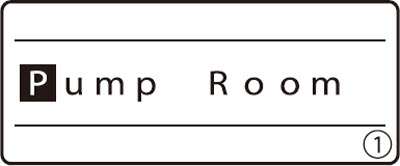
Assume that you want to produce the following tube segments.
 The number of continuous printings can be set from 1 to 100 for each page.

In this case, it might seem acceptable to create the character data shown below, but what if you wanted to print 20 tube segments labeled Pump Room instead of three? Not only would creating 20 pages with the Pump Room character data take a lot of time, it would also use a lot of memory.
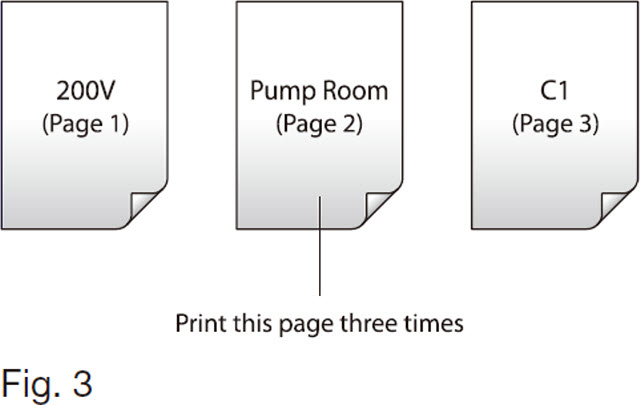
In a case such as that shown in Fig. 1, you can obtain the same results by creating the character data shown below and then printing page 2 (Pump Room) three times. The function that prints multiple copies of a specific page is called Continuous Print.
ex. Produce the tubes shown in Fig. 1.
-
Enter the character data shown in Fig. 3.
|
|
-
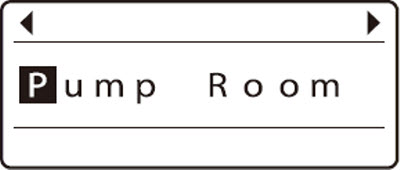
Display the page for which you wish to use continuous print.
|
|
-
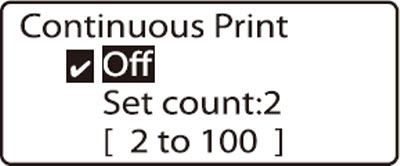
Press [Cont Print].
|
|
-
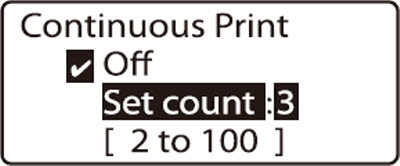
Press  or or  to select Set count, then enter 3 (continuous printing count). to select Set count, then enter 3 (continuous printing count).
If you accidentally enter an incorrect number, press [Back Space] to delete the number and then enter the correct one.
|
Range of values that can be specified for continuous print
|
-
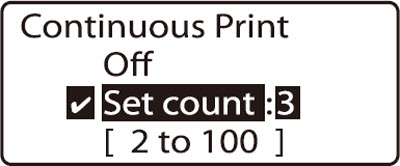
Press [Enter].
|

The count that was set for continuous print is displayed.
|
-
Print.
|
Canceling continuous print
Follow the steps below to cancel continuous printing.
-
Display the page for which you want to cancel continuous print.
|

|
-
Press [Cont Print].
|
|
-
Press or to select Off, then press [Enter].
|
Confirm that 1 is displayed for the continuous printing count.
|
Continuous print setting also applies to new pages
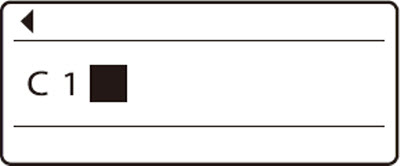
Refer to Fig. 3 above. Assume that the continuous print setting has been made for the C1 page instead of the Pump Roompage. If a new page is created after the C1 page, the continuous print setting that is in effect for the C1 page is also automatically applied to the new page.
If your product issue was not resolved after following the steps above, or if you require additional help, please create or log in to your Canon Account to see your technical support options.
Or if you still need help, visit our Canon Community by clicking the button below to get answers:

____________________________________________________________________________________________
