Creating Numbering
This article describes how to incorporate numbering into the current page in the data list, create pages for printing according to these values and add the pages to a data list.
-
Select Numbering in the Edit menu or click the  button.
The Numbering dialog box appears.
-
Set each of the items:
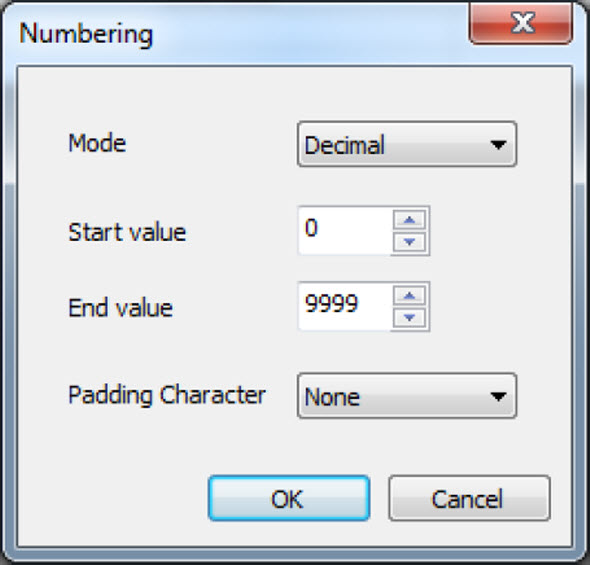
| Mode |
Selects the mode of numbering. |
| |
Select from Decimal, Hexadecimal, A to Z or a to z. |
| |
The numbering range you can select depends on the |
| |
numbering mode. |
| |
Decimal: 0-9999 |
| |
Hexadecimal: 0-FFFF |
| |
(The maximum number of digits is limited according to |
| |
the remaining number of letters which can be entered.) |
| |
A to Z: A to Z |
| |
a to z: a to z |
| Start value, |
Selects the start and end values for numbering. |
| End value |
Select from Decimal, Hexadecimal, A to Z or a to z. |
| |
- If the start value is higher than the end value, the numbering will be in descending order.
|
| Padding |
Selects digit matching method. |
| Character |
Select from None, Zero, or Space. |
-
The character string length is checked when creating a numbering. When it is no longer possible to enter characters, Length exceeded. Input data exceeds set length. appears.
-
When numbered pages are printed, the data related to the numbering are automatically compiled and sent to a printer.
-
Click OK.
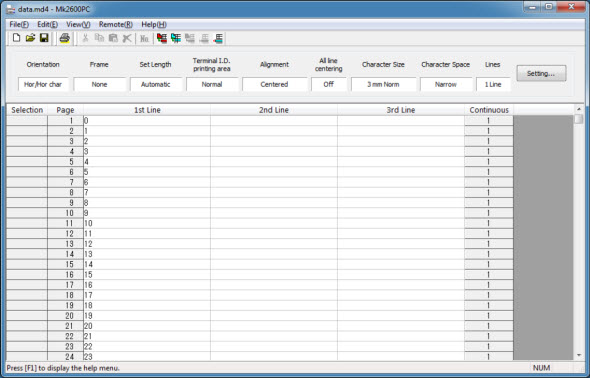
A numbering is created in the data list using the numbering information from the cursor page.
-
Click Cancel to quit numbering creation and close the dialog box.
-
To delete a numbering, select the page in the data list, then select Delete from the Edit menu.
If your product issue was not resolved after following the steps above, or if you require additional help, please create or log in to your Canon Account to see your technical support options.
Or if you still need help, visit our Canon Community by clicking the button below to get answers:

____________________________________________________________________________________________
