Printing Templates Such as Lined or Graph Paper
You can print a template form such as lined paper, graph paper, or checklist, etc. on plain paper.
Printable template forms
The following templates are available:
-
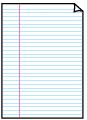
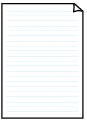
Notebook paper
|
|
You can select three line spacing formats.
Setting on the LCD:
-
Notebook paper 1: 8 mm spacing
-
Notebook paper 2: 7 mm spacing
-
Notebook paper 3: 6 mm spacing
|
-
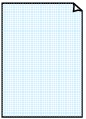
Graph paper
|
|
You can select three square sizes.
Setting on the LCD:
-
Graph paper 1: Graph 5 mm
-
Graph paper 2: Graph 3 mm
-
Graph paper 3: Graph 1 mm
|
-
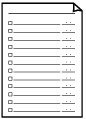
Checklist
|
|
You can print a notepad with checkboxes.
Setting on the LCD:
Checklist
|
-
Staff paper
|
|
You can print staff paper with 10 or 12 staves.
Setting on the LCD:
-
Staff paper 1: 10 staves
-
Staff paper 2: 12 staves
|
-
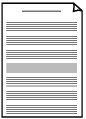
Handwriting paper
|
|
You can print handwriting paper.
Setting on the LCD:
Handwriting paper
|
-
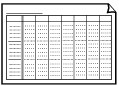
Weekly schedule
|
|
You can print a weekly schedule form.
Setting on the LCD:
Weekly schedule
|
-
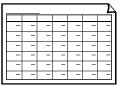
Monthly schedule
|
|
You can print a monthly schedule form.
Setting on the LCD:
Monthly schedule
|
Printing template forms
Print template form following the procedure below.
-
Make sure that the printer is powered on.
-
Press the Setup  button.
The Setup menu screen is displayed.
-
Select Template print and then press the OK button.
-
Select a template you want to print and then press the OK button.
-
Select whether to perform two-sided copying and then press the OK button.
-
Specify the paper size and then press the OK button.
 The
The  (asterisk) on the LCD indicates the current setting.
-
Make sure that Plain paper is selected and then press the OK button.
-
Use the 
 button or the Numeric buttons to specify the number of copies.
-
Load plain paper.
-
Press the OK button.
The printer starts the color printing or the black & white printing depending on the selected form.
-
Notebook paper 1 (color printing)
-
Notebook paper 2 (color printing)
-
Notebook paper 3 (color printing)
-
Graph paper 1 (color printing)
-
Graph paper 2 (color printing)
-
Graph paper 3 (color printing)
-
Checklist (black & white printing)
-
Staff paper 1 (black & white printing)
-
Staff paper 2 (black & white printing)
-
Handwriting paper (color printing)
-
Weekly schedule (black & white printing)
-
Monthly schedule (black & white printing)
You can also press the Black button or Color button to start printing.
If your product issue was not resolved after following the steps above, or if you require additional help, please create or log in to your Canon Account to see your technical support options.
Or if you still need help, visit our Canon Community by clicking the button below to get answers:

____________________________________________________________________________________________
