When you first launch Canon Inkjet Smart Connect (either by selecting it from the Start menu, or typing the name of the app after opening the Start menu), an Extended Survey prompt will appear.
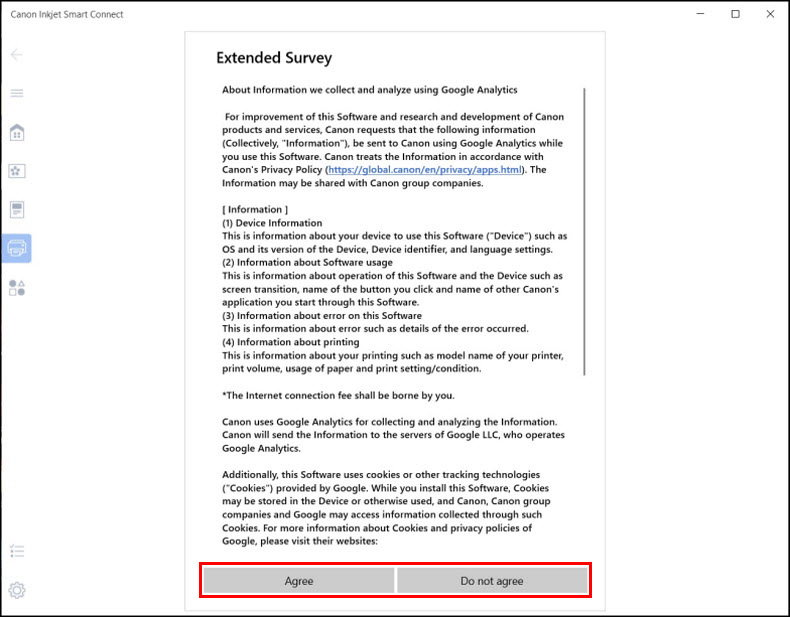
Read this information, then select Agree or Do not agree to continue.
The main screen will appear.
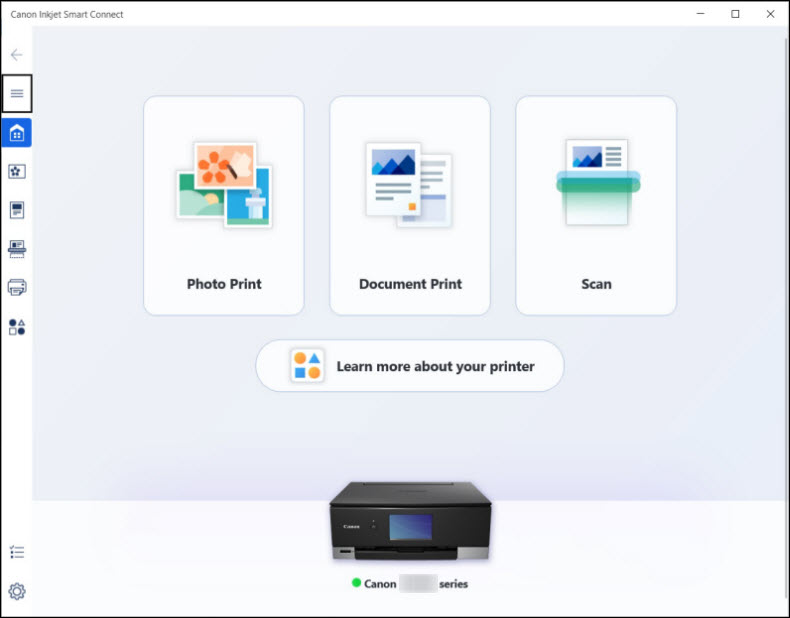
Here, you can select any of the icons on the left to access various functions of this app. You can also select Photo Print, Document Print, Scan, Learn more about your printer, or you can click on the image of the printer at the bottom of the window to obtain information on its status.
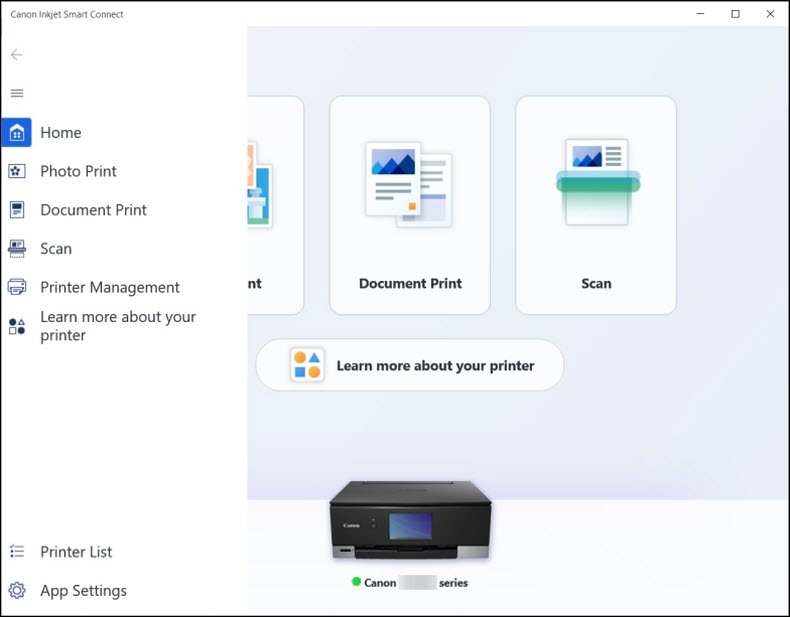
You can also click the  icon to see the descriptions of each icon shown on the left.
 Learn about printing documents and photos.
Learn about scanning.
Learn about the information you can see regarding your printer.
If your product issue was not resolved after following the steps above, or if you require additional help, please create or log in to your Canon Account to see your technical support options.
Or if you still need help, visit our Canon Community by clicking the button below to get answers:

____________________________________________________________________________________________
