
Printing on Label Tape, Heat Shrink Tube, and 4mm I.D. Strips - Mk1500
| Article ID: ART180389 | | | Date published: 09/13/2021 | | | Date last updated: 09/13/2021 |
Description
This article provides information on using the Mk2600 to print on label tape, heat shrink tubes, and 4mm I.D. strips.
Solution
Follow the steps below to print on label tape, heat shrink tubes, or 4mm I.D. strips. You will need the following to print on the desired media:
-
To print on label tape: label tape cassette
-
To print on heat shrink tube: heat shrink tube cassette
-
To print on 4mm I.D. strips: 4mm I.D. strip cassette
These cassettes are not included with the machine. They must be purchased separately. Contact your dealer for details.
Install the cassettes
Install the ribbon cassette and the tape label cassette. Note that this explanation assumes that you will be printing on label tape. If you will be printing on heat shrink tube or 4mm I.D. strips, simply substitute a heat shrink tube or 4mm I.D. strip cassette as appropriate.
|
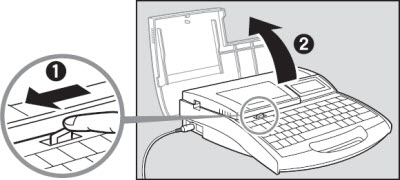
1. Open the cover. |
|
|
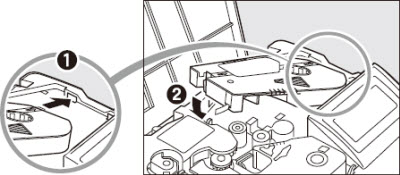
2. Remove the stopper and take up any slack in the ribbon.
|
|
|
3. Install the ribbon cassette into the printer. Push the cassette until it clicks into place.
|
|
|
Do not hold the connection terminal (metal part) of the cassette. Doing so could cause an improper recognition of the cassette. |
|
|
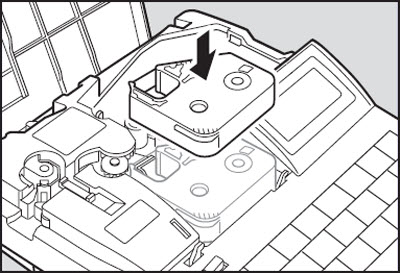
4. Install the label tape cassette into the printer.
|
 |
|
5. Remove the wrap-around tape guide. |
|
|
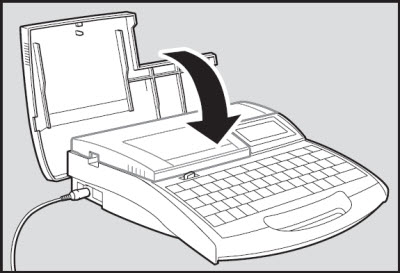
6. Close the cover completely so that it clicks shut. |
|
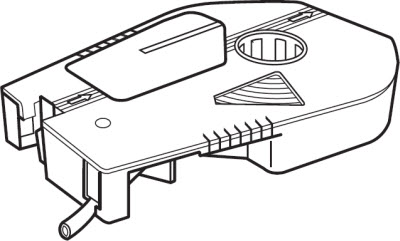
 Various cassettes
These cassettes must be purchased separately. Contact your dealer for details.
|
Label tape cassette This is used to print characters on label tape. |
|
|
Heat shrink tube cassette This is used to print characters on heat shrink tube. |
|
|
Wrap around tape cassette This is used to print characters on wrap-around tape. |
|
|
4mm I.D. strip cassette This is used to print characters on 4mm I.D. strip. |
 Do not install the wrong type of cassette
-
The printer can print on tube, clear tube, label tape, heat shrink tube, wrap-around tape, plate, and 4mm I.D. strip, but each requires a different type of cassette. Loading a wrong type of cassette makes it impossible to print characters properly.
When printing on regular or clear tube
-
Install the ribbon cassette and tube attachment in the machine.
If the wrap-around tape guide or label tape cassette is already installed, remove it first. Note that the tube attachment does not come with tube ; the tube must be purchased separately.
When printing on label tape, heat shrink tube or 4mm I.D. strip
-
Install the ribbon cassette and the appropriate cassette in the machine.
The wrap-around tape guide and attachment are not used, so if they are already installed, remove them first.
When printing on wrap-around tape
-
Install the ribbon cassette, the wrap-around tape cassette and wrap-around tape guide in the machine. The tube attachment is not used, so if it is already installed, remove it first.
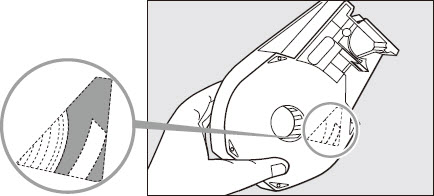
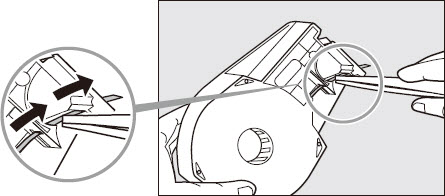
What to do if the label tape becomes stuck inside the cassette
-
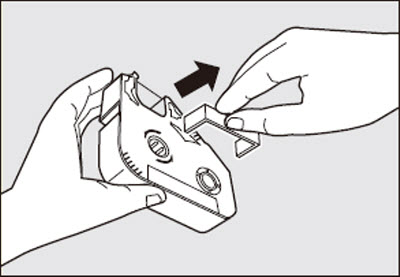
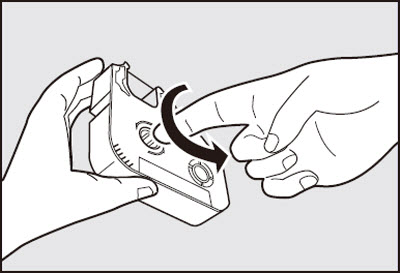
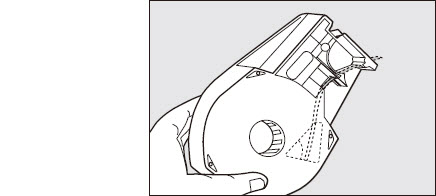
Ordinarily, the tip of the label tape protrudes from the cassette as shown in Fig. 1, but sometimes the label tape becomes wound all the way into the cassette, as shown in Fig. 2. In this case, pull the label tape out as shown in Fig. 3. If you do not pull the label tape out before installing the cassette, the message Start of media not detect. appears and the printer cannot print. This message can be cleared by pressing [Canc].
|
|
Fig. 1 The label tape should be set as shown here. |
|
|
Fig. 2 Here, the label tape has become wound up inside of the cassette. |
|
|
Fig. 3 Use tweezers to pull out the label tape to the prescribed position. |
Turn the power switch on
Before turning the power switch on, make sure that the cassettes have been inserted properly, that the cover is closed, and that the AC adapter is connected.
|
|
|
Startup display |
|
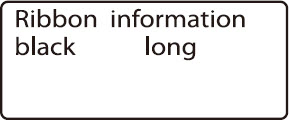
Ribbon cassette information display |
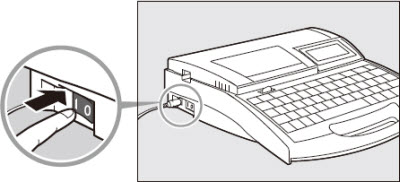
Do not turn the power switch on and off rapidly
Turning the power switch on and off rapidly and repeatedly can cause misoperation and the loss of stored data.
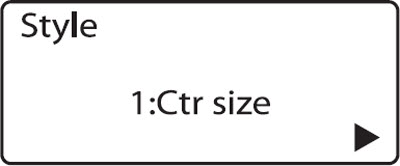
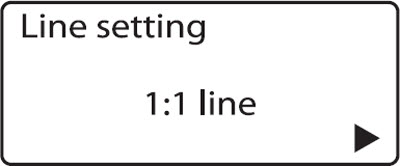
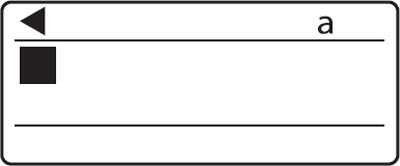
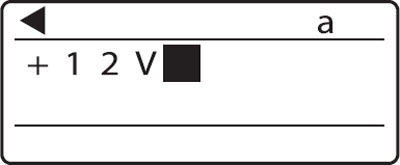
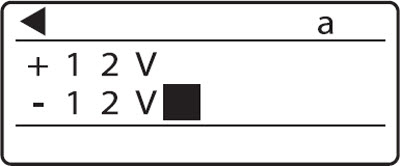
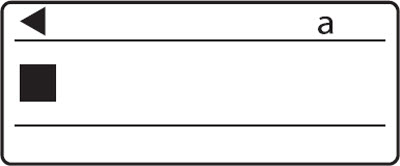
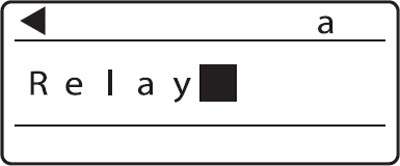
Input characters
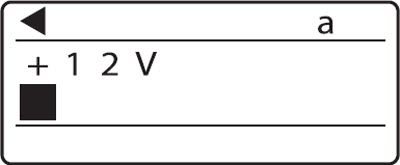
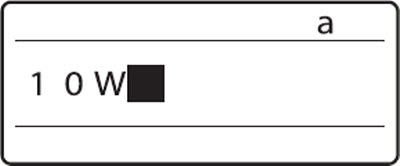
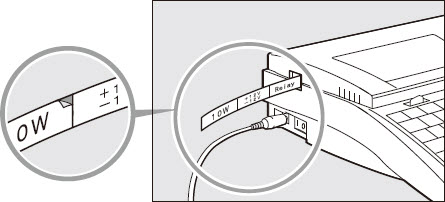
ex. Print the following label tape.
|
10W |
+12V |
Relay |
Label tape being used: 9mm label tape
Two-line printing is not performed properly when using label tape that is 6mm wide, heat shrink tube, or 4mm I.D. strip.
|
|
|
Indicates that another page precedes the currently displayed page. |
|
|
|
|
|
The input display now has two lines. |
|
|
|
The cursor moves to the second line. |
|
|
|
|
|
|
|
|
|
The input display now has one line. |
|
|
If you accidentally enter an incorrect character
Follow this procedure to make changes if you accidentally enter an incorrect character.
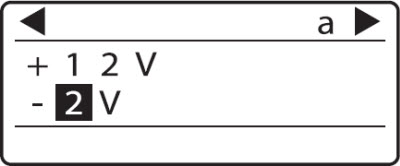
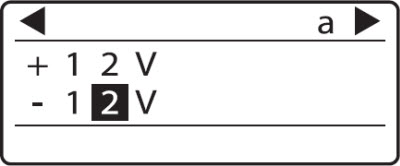
ex. You meant to enter "-12V" but accidentally enter "-32V"
|
|
|
|
|
|
 to the 2.
Deleting all entered text
Follow this procedure described below to delete all characters entered on all pages.
|
|
|
If two or more pages have been entered, the settings on the last page are retained. |
|
|
|

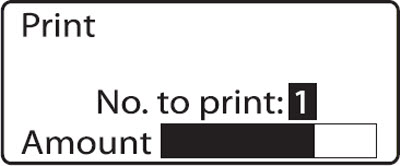
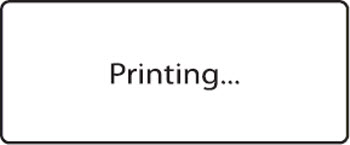
Once the characters have been entered, begin printing.
|
|
|
|
|
|
|
|
Canceling printing If you press [Cancel], the message Aborting print appears and printing is aborted. In this case, the label tape that is currently being printed is cut and then ejected. |
|
If label tape jams Hold down [Cancel] until the printer beeps. The printer stops all operations immediately. In this case, the label tape is not cut and it is not ejected. |
A small notch is cut between each label so that the labels can be easily separated. |

If your product issue was not resolved after following the steps above, or if you require additional help, please create or log in to your Canon Account to see your technical support options.
Or if you still need help, visit our Canon Community by clicking the button below to get answers:

____________________________________________________________________________________________