To set the date and time on the imagePROGRAF PRO-300, follow these steps.
-
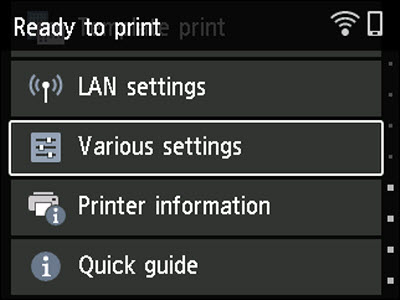
With the printer powered on and displaying the HOME screen, select Various settings, then press the OK button.
-
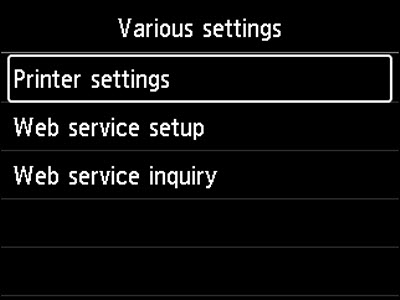
Printer settings will be selected. Press the OK button.
-
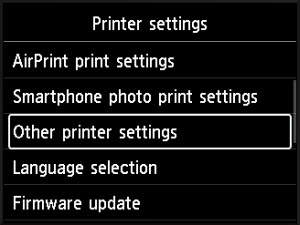
Select Other printer settings, then press the OK button.
-
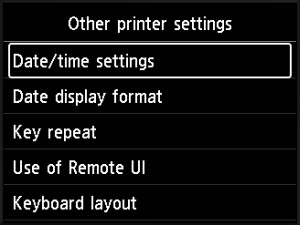
Date/time settings will be selected. Press the OK button.
-
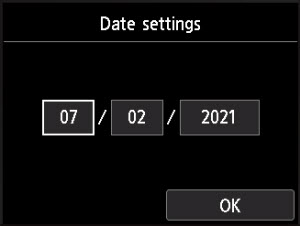
The date currently set on the printer will be shown. Select the field you want to change, then press the OK button.
-
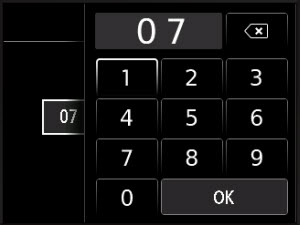
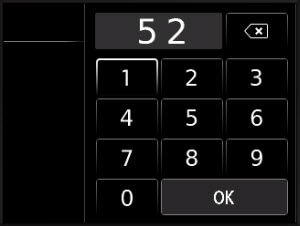
An on-screen keypad will appear. Use the arrows to select the number you wish to enter (two numbers for the month, day, or the last two digits of the year). Select the number(s) desired and press the OK button to enter the number(s). Then, select OK and press the OK button.
-
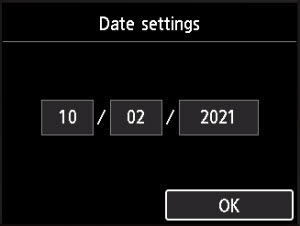
Repeat step 6 for the other fields if needed. Then, when you return to the Date settings screen, select OK and press the OK button.
-
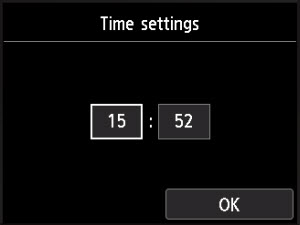
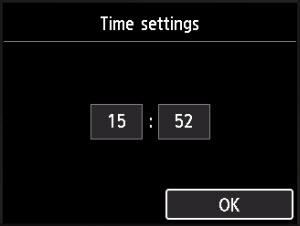
The Time settings screen will appear. Select either the hour or minute field, then press the OK button.
-
An on-screen keypad will appear. Use the arrows to select the numbers you wish to enter (please note that if you are changing the hour set on the printer that you must use a 24-hour format), then press the OK button. When finished, select OK and press the OK button.
-
Repeat step 9 for the field you did not select, if needed. After adjusting the time, select OK and press the OK button.
The date and time are set. Press the HOME  button to return to the HOME screen.
If your product issue was not resolved after following the steps above, or if you require additional help, please create or log in to your Canon Account to see your technical support options.
Or if you still need help, visit our Canon Community by clicking the button below to get answers:

____________________________________________________________________________________________
