To adjust the print quality level of the PIXMA MG3200 series, follow these steps.
Windows
-
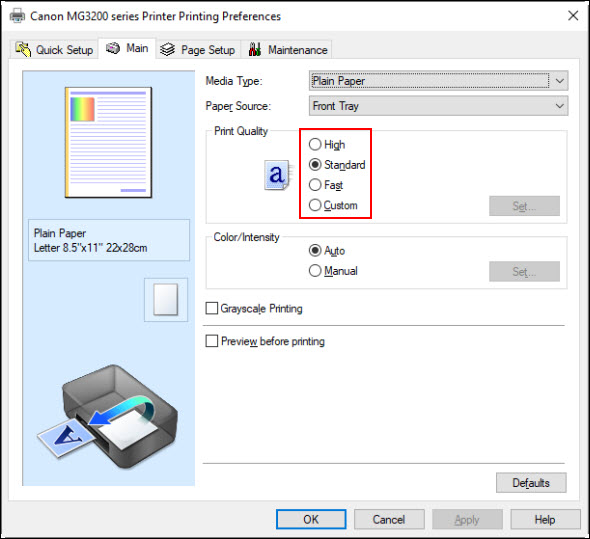
Open the printer driver setup window.
-
In the Main tab, select High, Standard, Fast, or Custom.
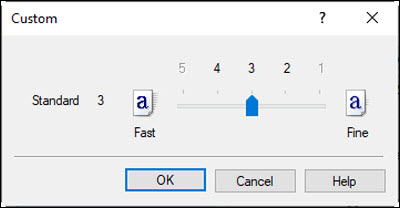
 If you select Custom, click Set... to the right. Adjust the print quality slider as desired. Note that the available selections will vary based on the type of paper you're printing on. After adjusting the slider, click OK.
-
Click Apply, then click OK.
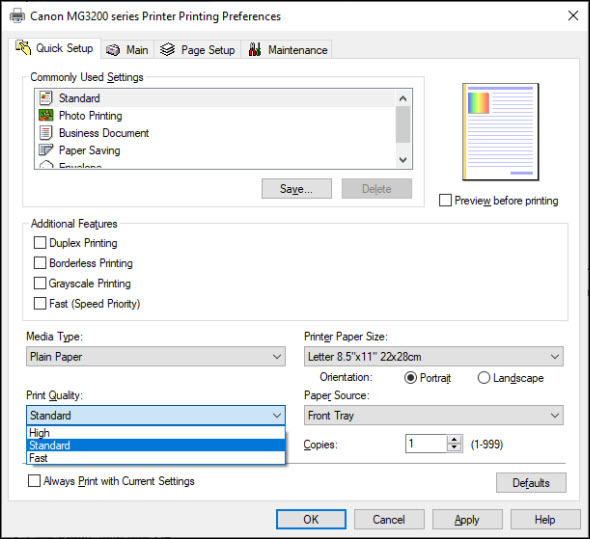
You can also select the desired print quality level in the Quick Setup tab.
macOS™
-
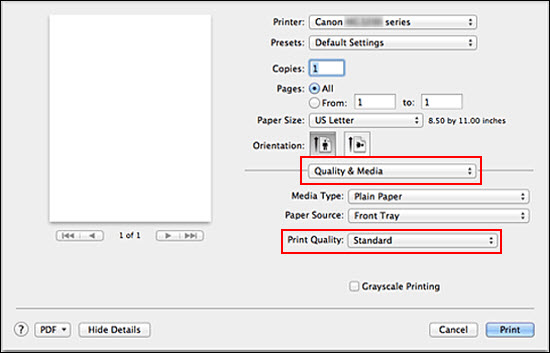
Open the Print dialog (usually opened by selecting Print... from the File menu.
-
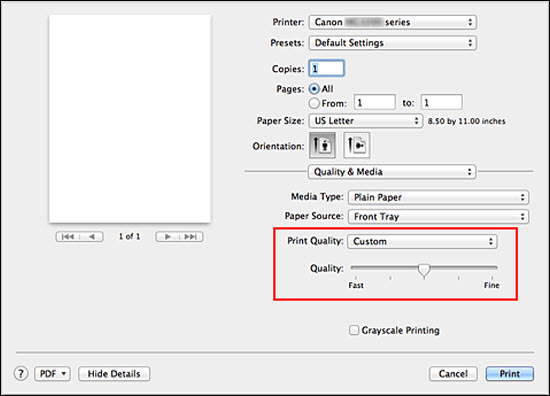
Select Quality & Media from the pop-up menu.
-
Select the desired Print Quality.
If you select Custom, adjust the print quality slider as desired. Note that the available selections will vary based on the type of paper you're printing on.
-
Click Print.
If your product issue was not resolved after following the steps above, or if you require additional help, please create or log in to your Canon Account to see your technical support options.
Or if you still need help, visit our Canon Community by clicking the button below to get answers:

____________________________________________________________________________________________
