During the initial setup of the PIXMA PRO-200 / imagePROGRAF PRO-300, you will be asked to set the date and time on the printer. Follow these steps to set the date and time.
-
After the orange packing material has been removed and the printer has been powered on for the first time, select the language to be displayed, then press the OK button on the operation panel (PRO-200 / PRO-300).
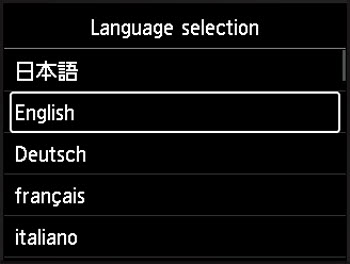
When prompted to confirm the language selection, use the arrow buttons to select Yes, then press the OK button.
-
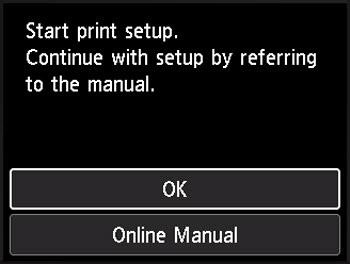
When the following message is displayed, press the OK button on the operation panel.
-
The date will be shown. To change the month, date, or year, use the 
 buttons to highlight which one you want to change, then press the OK button on the operation panel.
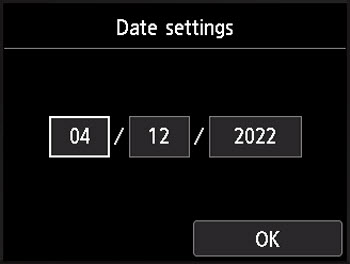
 If you don't want to change the date, skip to step 5.
-
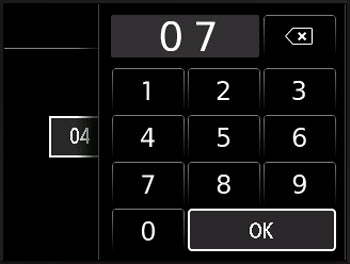
An on-screen keypad will appear. Use the arrow buttons to select the numbers for the month, day, or year, then press the OK button on the operation panel to enter that number. To delete a number that has been entered, select the backspace  and press the OK button. After you have entered the desired month, day, or year, use the arrow buttons to select OK on the screen, then press the OK button on the operation panel.
The Date settings screen will reappear. This will show the updated date (in this example, the month was updated).
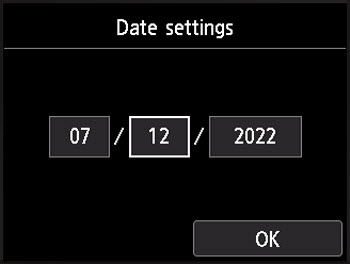
Repeat as needed for all fields, then use the arrow buttons to select OK. Press the OK button on the operation panel.
-
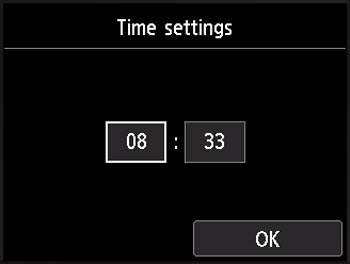
The Time settings screen will appear. Select the hour or minute field with the arrow buttons, then press the OK button on the operation panel.
Enter the hour in 24-hour format (for example, 8 PM would be 20:00).
-
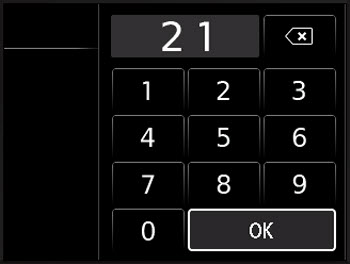
An on-screen keypad will appear. Use the arrow buttons to select the numbers for the hour or minute, then press the OK button on the operation panel to enter that number. To delete a number that has been entered, select the backspace and press the OK button. After you have entered the desired hour or minute, use the arrow buttons to select OK on the screen, then press the OK button on the operation panel.
-
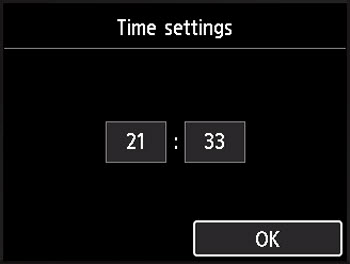
After setting the time, use the arrow buttons to select OK. Press the OK button on the operation panel.
-
The printer will then display illustrations showing how to install the print head and ink tanks. Follow the on-screen instructions as shown to finish the initial setup.
If your product issue was not resolved after following the steps above, or if you require additional help, please create or log in to your Canon Account to see your technical support options.
Or if you still need help, visit our Canon Community by clicking the button below to get answers:

____________________________________________________________________________________________
