Follow the steps below to walk through the initial setup process of the PIXMA TR4720 / TR4722.
-
After removing the printer from the box, remove all of the packing material (orange tape).
-
Plug the power cord into the back of the printer, then into a power outlet.
-
Power on the printer.
-
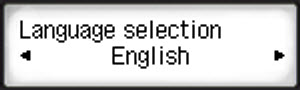
You will be asked to select the language to be shown on the printer's screen. Use the 
 buttons to select the language to be displayed, then press the OK button.
-
Use the buttons to select Yes, then press the OK button.

-
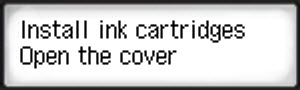
You will be prompted to install the ink cartridges. Open the scanning unit / cover.
-
Install the ink cartridges.
-
Close the scanning unit / cover.
-
After a few moments, you will be asked if you want the printer to automatically install any firmware updates when they become available. Use the buttons to select Yes or No, then press the OK button.

-
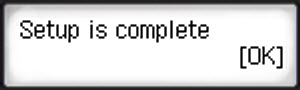
After a few moments, the printer will indicate that the setup is complete. Press the OK button.
-
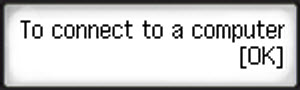
A message will appear that states to continue with setup by referring to the manual. Press the OK button.
The initial hardware setup is complete.
If your product issue was not resolved after following the steps above, or if you require additional help, please create or log in to your Canon Account to see your technical support options.
Or if you still need help, visit our Canon Community by clicking the button below to get answers:

____________________________________________________________________________________________
