USB Setup - macOS
To be able to use your printer via USB on a Mac®, you'll need to download the setup file for your computer.
Download and run the setup file.*
Get the Setup File
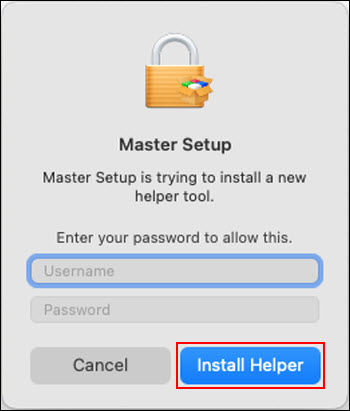
After downloading the setup file, double-click the Master Setup icon.

Enter your user name and password in the fields provided then select Install Helper.
-
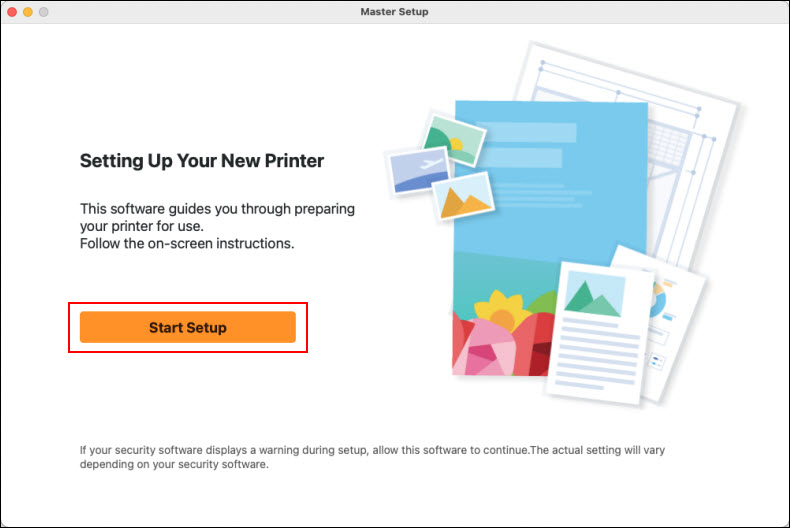
Select Start Setup on the first screen.
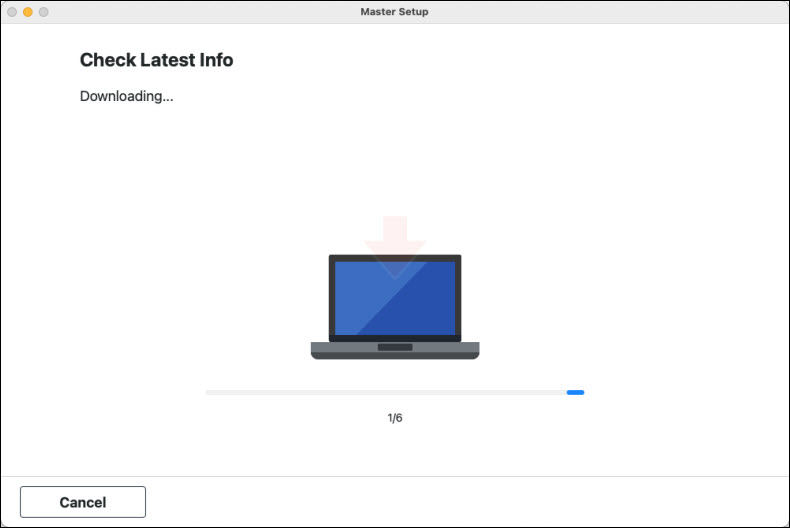
The installer will check for the latest information related to your printer.
-
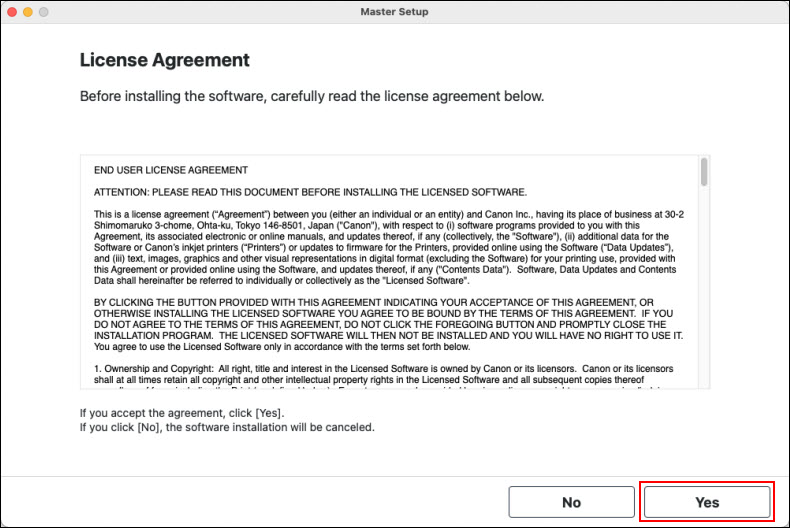
Read the license agreement. Select Yes to proceed. If you select No, the installation will not proceed.
-
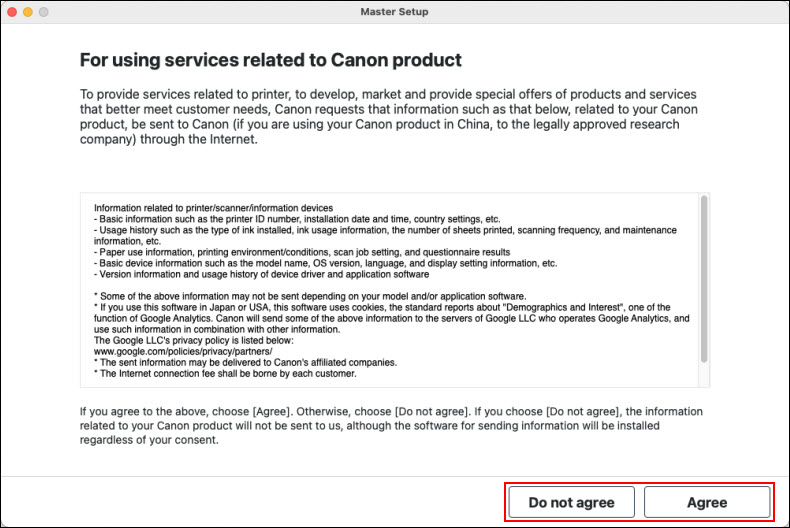
Select Agree or Do Not Agree to the information request.
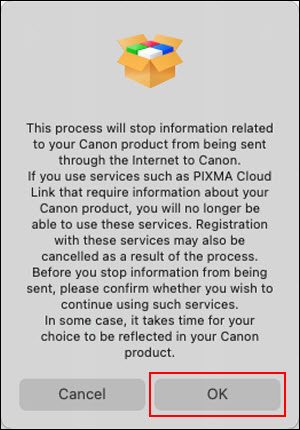
This message appears if you selected Do not agree. Click OK to proceed.
-
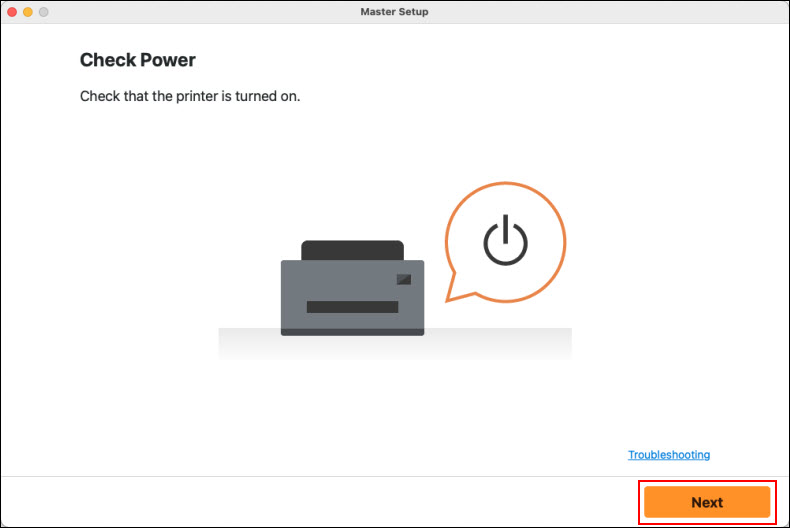
After processing for a few moments, the installer will display the following message. Select Next.
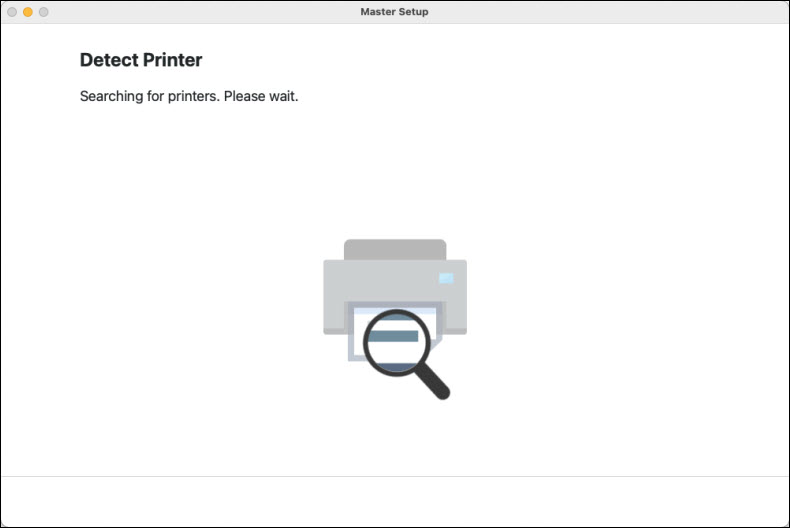
The installer will search for the printer.
-
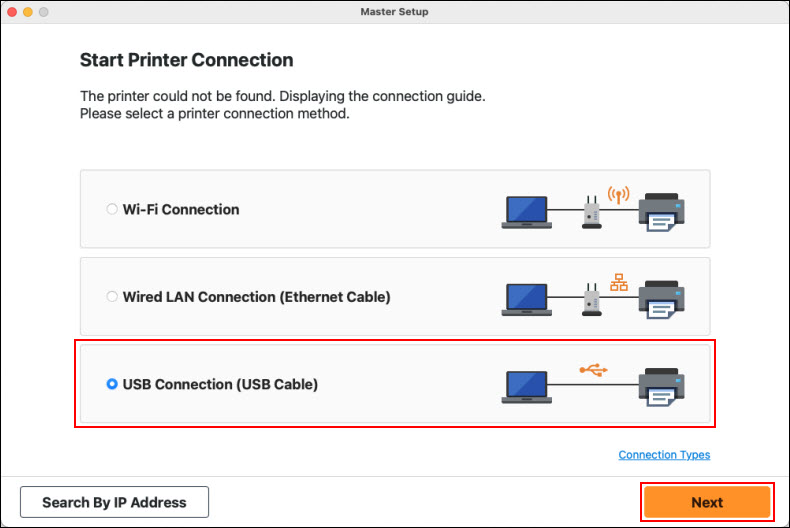
On the Start Printer Connection screen, select USB Connection (USB Cable), then select Next.
-
Connect a USB cable to the back of the printer and to the computer.
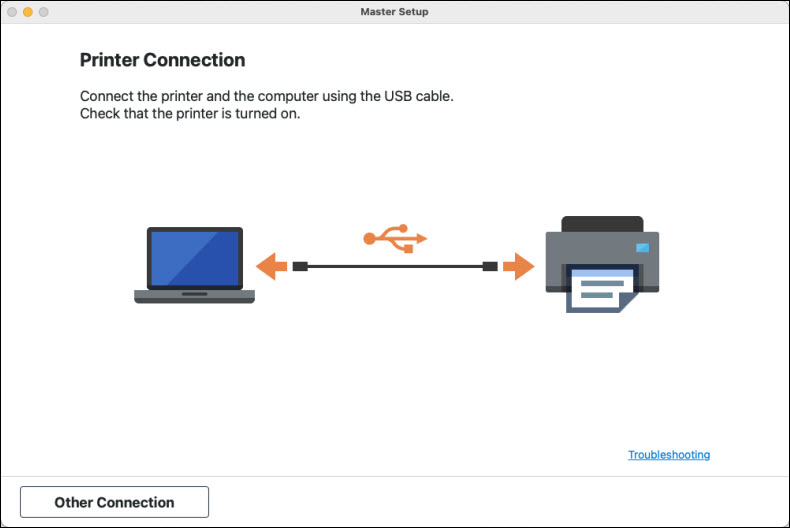

The installer will download software, then process for a few moments.
-
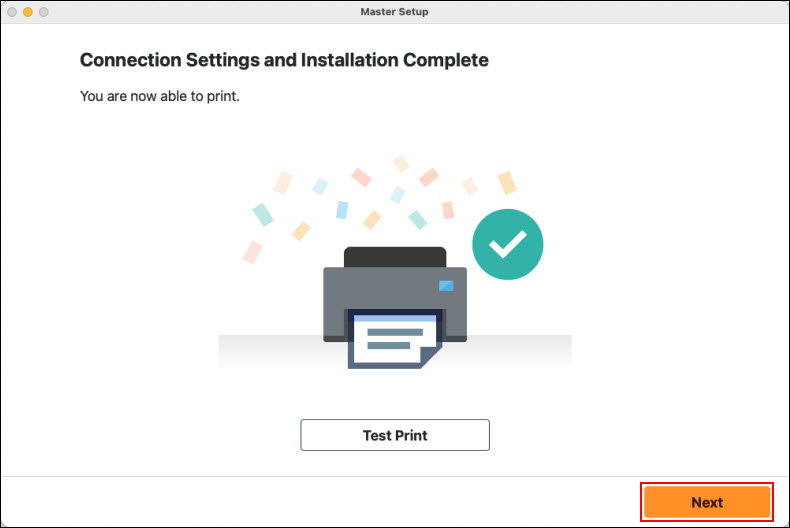
When the following screen appears, select Next.
 If desired, select Test Print to print a test page.
-
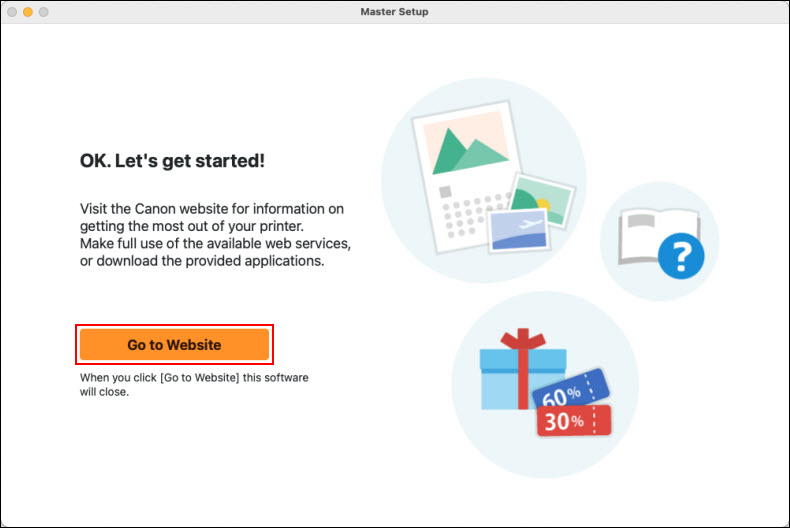
Select Go to Website. The installer will close.
If your product issue was not resolved after following the steps above, or if you require additional help, please create or log in to your Canon Account to see your technical support options.
Or if you still need help, visit our Canon Community by clicking the button below to get answers:

____________________________________________________________________________________________
