If you need to replace or reseat the print head for your PIXMA TR8520 printer, follow the steps below.
-
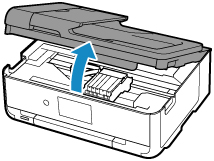
With the printer turned on, open the scanning unit / cover.
-
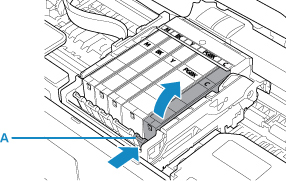
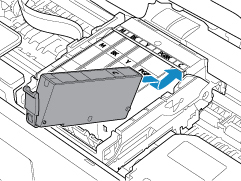
Remove each of the ink tanks by pressing the tab (A) and lifting the ink tanks out of the printer. Remove the ink tanks one at a time.
-
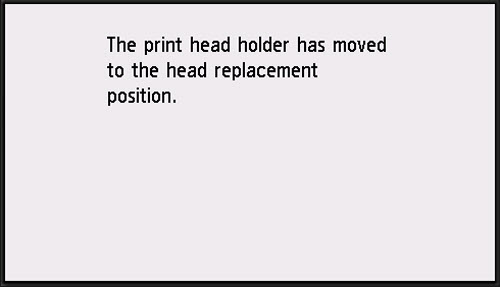
After all of the ink tanks have been removed, tap and hold the Stop icon on the touch screen.

After a few moments, the print head holder will move to the replacement position.
-
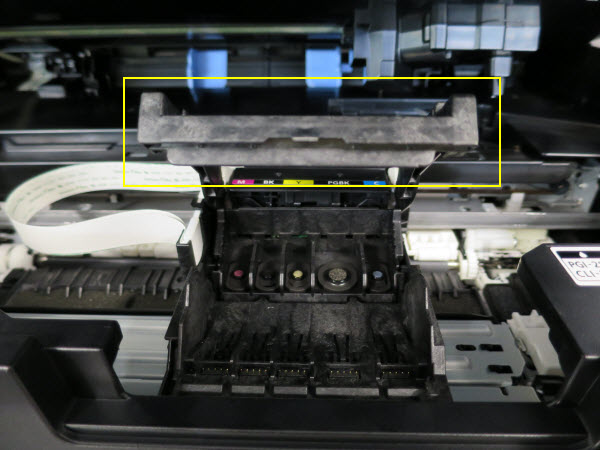
On the front of the print head lock lever, grip the left and right sides and lift (outlined in the red box).
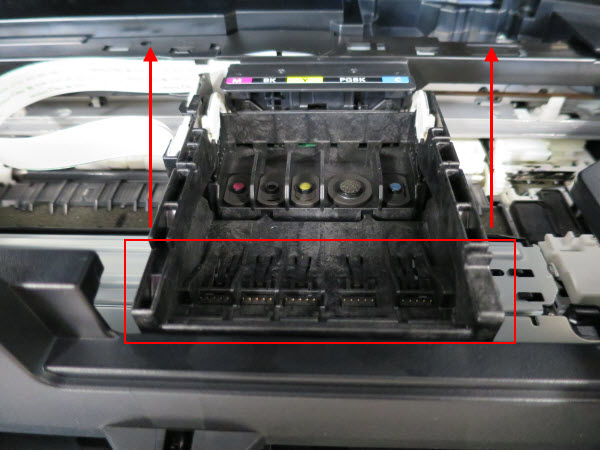
The lock lever will remain in a raised position.
-
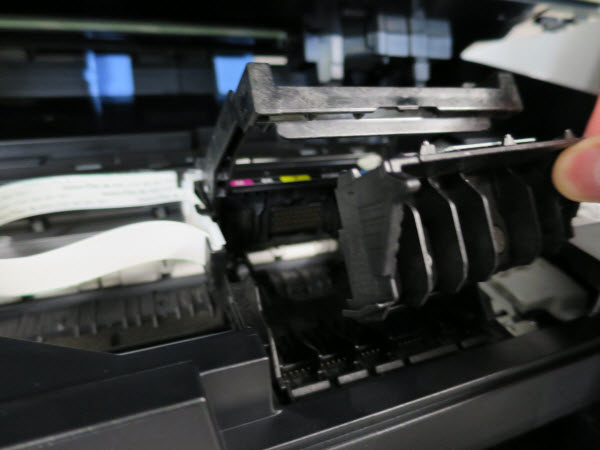
Grip the print head by either the left or right side. Tilt it towards the front of the printer.
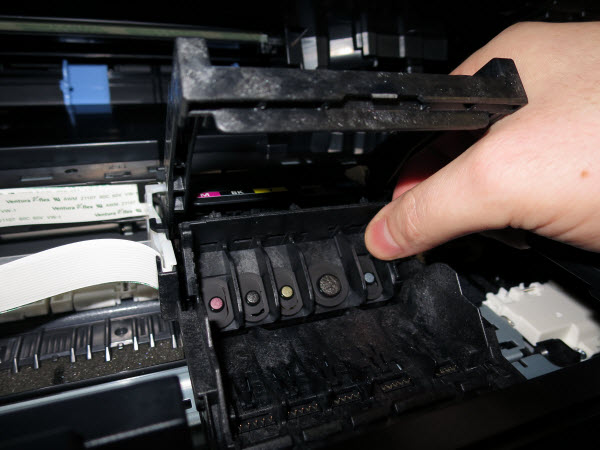
The print head can then be lifted out of the printer.
-
Place the print head back into the printer by inserting it at an angle. It will then tilt back into the print head holder. Lower the lock lever until it clicks into place.
 If you're placing a new print head into the printer, be sure to remove it from its packaging and remove any orange packing material on it.
-
Place one of the inks back into the printer.
After the ink has been reinserted, press down on the front end of the ink tank until it snaps into place.
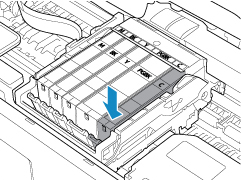
Repeat this step for the remaining ink tanks.
-
Close the scanning unit / cover.
-
The printer will then inform you of the inks that have been reinserted. Tap OK.
-
Print a nozzle check to confirm that the nozzles are functioning properly.
If your product issue was not resolved after following the steps above, or if you require additional help, please create or log in to your Canon Account to see your technical support options.
Or if you still need help, visit our Canon Community by clicking the button below to get answers:

____________________________________________________________________________________________
