Using SELPHY Photo Layout
Install SELPHY Photo Layout on your smartphone and use it to connect to the printer.
 Information about connecting additional smartphones to the printer can be found here.
-
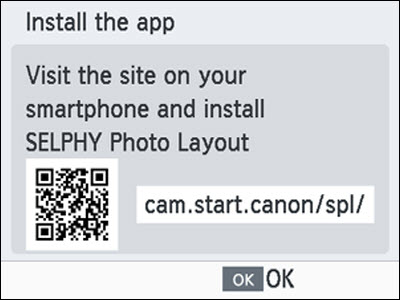
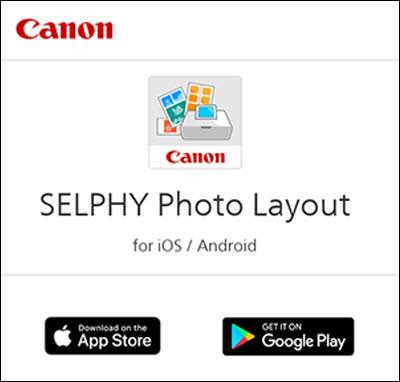
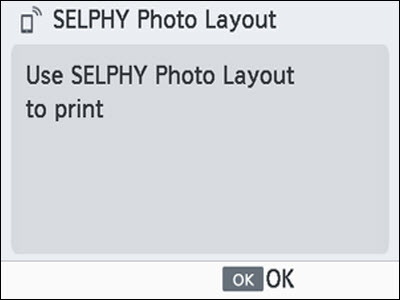
Install the app.
Smartphone screen
-
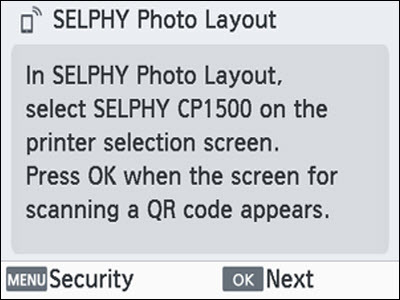
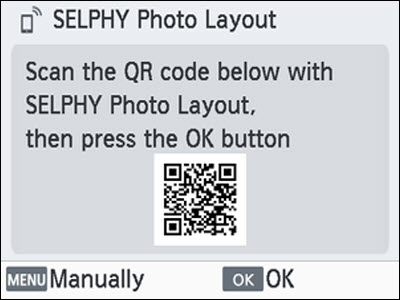
Establish a connection.
-
Print.
 Never pull out the paper cassette, open the ink cassette compartment cover, or remove a memory card while printing or when you hear printer operation sounds immediately after it has been turned on. This may damage the printer.
To cancel printing in progress, always press  . Printing cannot be canceled by pressing
  , and unplugging the printer may damage it.
 The [Install the app] screen only appears in step 1 the first time you have turned on the printer.
If the QR code cannot be scanned in step 2, tap [Manual Registration] on the scanning screen in SELPHY Photo Layout and enter the ID and password shown on SELPHY when you press  .
.
Connect Other Smartphones
You can also print from other smartphones using SELPHY Photo Layout.
When the screen for scanning the QR code on the printer to connect to appears in SELPHY Photo Layout, display the QR code on the monitor and scan it as follows.
-
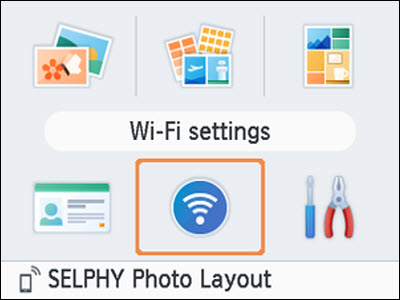
Choose [Wi-Fi settings] and press  .
.
-
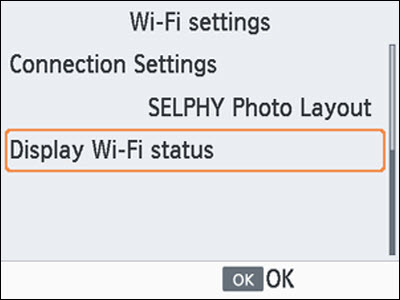
Choose [Display Wi-Fi status] and press .
-
Scan the QR code with your smartphone.
If your product issue was not resolved after following the steps above, or if you require additional help, please create or log in to your Canon Account to see your technical support options.
Or if you still need help, visit our Canon Community by clicking the button below to get answers:

____________________________________________________________________________________________
