ID Photo
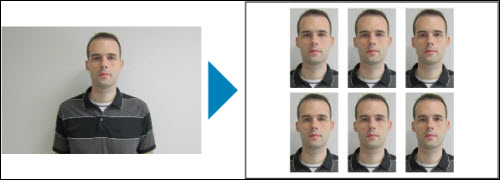
Images on memory cards or USB flash drives can be printed for use in photo identification from [ID Photo] on the Home screen.
-
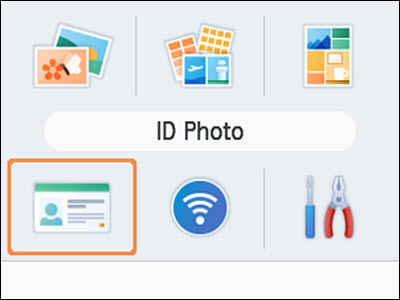
Choose [ID Photo] and press < >.
>.
-
Choose a size.
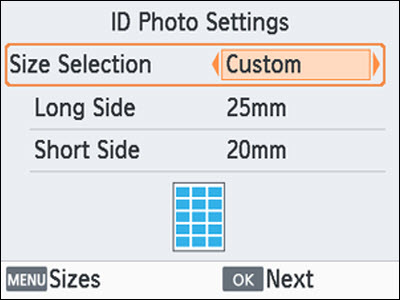
| [Custom] |
Specify the length of the long and short sides before printing. |
| [Standard] |
Print a photo that complies with the international ICAO standard. |
| [Dual] |
Print two sizes: 50×50 mm (approx. 2.0×2.0 in.) and 45×35 mm (approx. 1.8×1.4 in.). |
-
[Custom]: Select the long side length in [Long Side], and then select the [Short Side] length. [Short Side] options are automatically updated based on [Long Side] length.
-
On the [Sizes] screen, you can limit the sizes listed for [Custom] so that only the sizes used most often are shown.
-
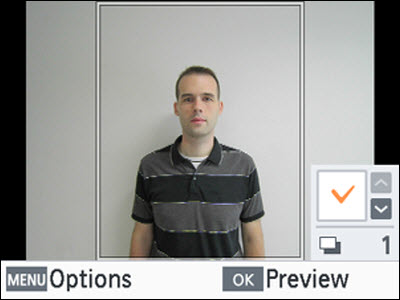
Choose images.
-
Pressing < > places a check mark in the quantity field.
-
With [Custom] and [Standard], you can select up to two images.
-
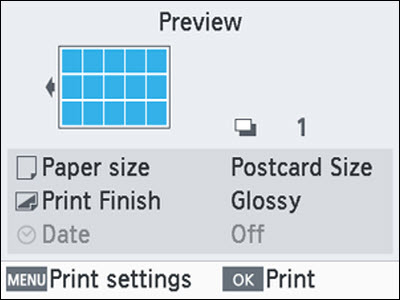
Press <> to access the [Preview] screen.
-
To crop the image, press  and choose [Cropping].
-
Print.
- Press <> to start printing.
If your product issue was not resolved after following the steps above, or if you require additional help, please create or log in to your Canon Account to see your technical support options.
Or if you still need help, visit our Canon Community by clicking the button below to get answers:

____________________________________________________________________________________________
