Setting up Wi-Fi on SELPHY
Set up a direct Wi-Fi connection between the printer and smartphones or cameras.
-
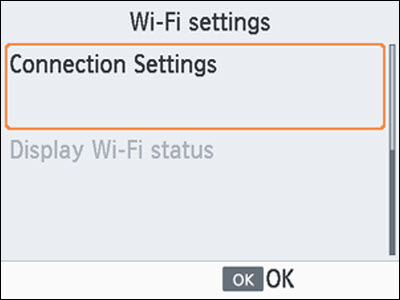
Choose [Wi-Fi settings] and press < >.
>.

-
Choose [Connection Settings] and press <>.
-
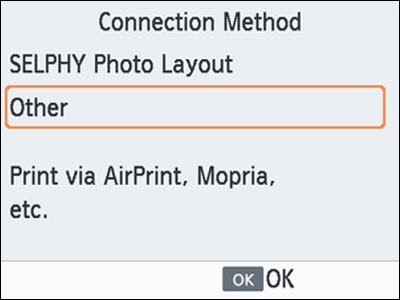
Choose [Other] and press <>.
-
Choose [Direct Connection] and press <>.

-
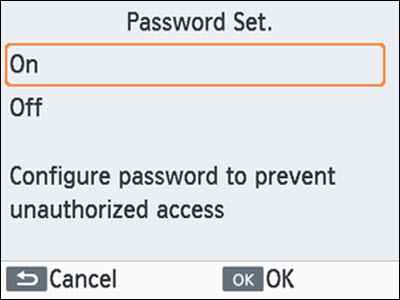
Choose [On] and press <>.
-
Change the password.
-
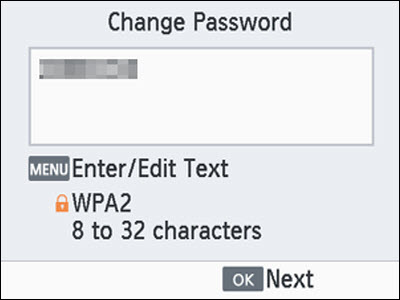
The current password is displayed. Change the password as needed, and then press <>.
-
Press  to access the input screen.

-
The screen above is displayed. Connect from your smartphone or camera.
-
Once you complete the [Direct Connection] settings, they can be used for subsequent connections.
 You can also connect the printer to a smartphone or camera via a wireless router.
If your product issue was not resolved after following the steps above, or if you require additional help, please create or log in to your Canon Account to see your technical support options.
Or if you still need help, visit our Canon Community by clicking the button below to get answers:

____________________________________________________________________________________________
