Printing from Windows
You can print from Windows using Mopria.
-
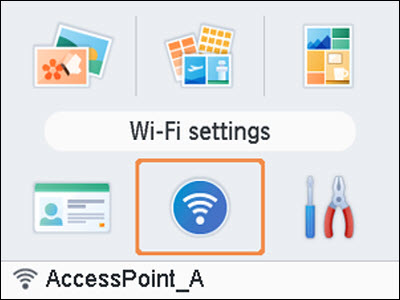
Connect the printer to a wireless router.
-
Confirm that the printer is connected to the same router as your computer.
Steps on the computer
-
Select [Settings] in the Start menu.
-
Select [Devices].
-
Select [Printers & scanners], and then click [Add a printer or scanner].
-
Select [Canon SELPHY CP1500], and then click [Add device].
-
Access the printing dialog box.
-
Start the photo software, select images to print, and access the printing dialog box.
-
As the destination printer, choose [Canon SELPHY CP1500].
-
Choose printing options.
-
Choose a paper size corresponding to the size of paper and ink cassettes in the printer. Also choose bordered or borderless printing as an option with the listed paper sizes.
-
Choose the printing orientation and number of copies, as desired.
-
Print.
If your product issue was not resolved after following the steps above, or if you require additional help, please create or log in to your Canon Account to see your technical support options.
Or if you still need help, visit our Canon Community by clicking the button below to get answers:

____________________________________________________________________________________________
