Follow these steps to set up the PIXMA G2270 after taking it out of its box for the first time.
-
Remove all orange tape from the printer.
-
Plug the power cord into the back of the printer. Be sure the other end is plugged directly into a wall outlet.
-
Power on the printer by pressing its power button on the operation panel.
-
After the printer has been powered on, install the print heads.
-
Fill the ink tanks.
-
After filling the ink tanks and closing the printer, the following will appear on the printer's LCD:
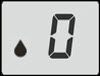
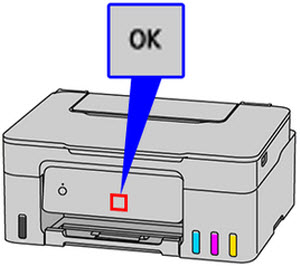
Press the printer's OK button.
The tubes in the printer will fill with ink. Please note that this may take several minutes. When the printer has finished, the following will appear on the printer's LCD:

The printer is ready for use.
If your product issue was not resolved after following the steps above, or if you require additional help, please create or log in to your Canon Account to see your technical support options.
Or if you still need help, visit our Canon Community by clicking the button below to get answers:

____________________________________________________________________________________________
