The IJ Network Tool can be used to reconfigure the network settings of your printer. This can be very helpful after the network has been changed (new access point / router, different network key / password on the access point, or a different SSID being given to the access point).
 A USB cable is required. Connect the printer to the computer with a USB cable before starting.
 If you don't have the IJ Network Tool on your Mac, you can download and install it from our website.
In Finder, click Go and Applications. Then, open the Canon Utilities folder. Open the Canon IJ Network Tool folder. Double-click on the Canon IJ Network Tool.
-
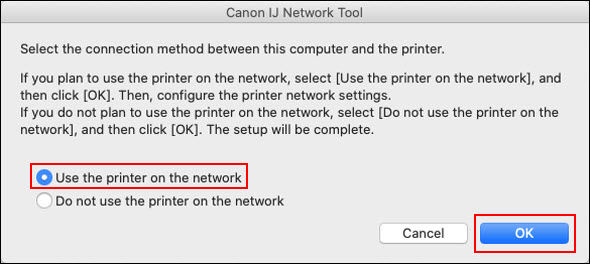
Select Use the printer on the network, then click OK.
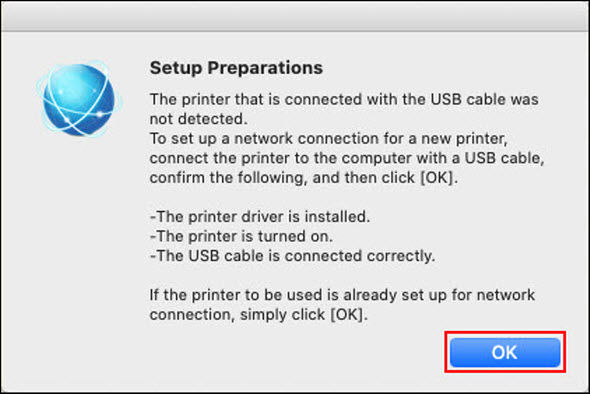
 If the following image appears, connect the printer and computer with a USB cable and click on the OK button.
-
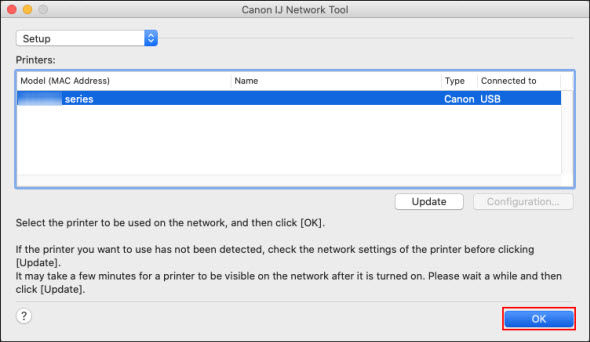
Click on the printer you want to configure and then click OK. The computer will communicate with the printer via USB.
-
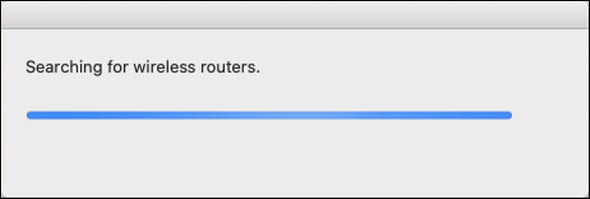
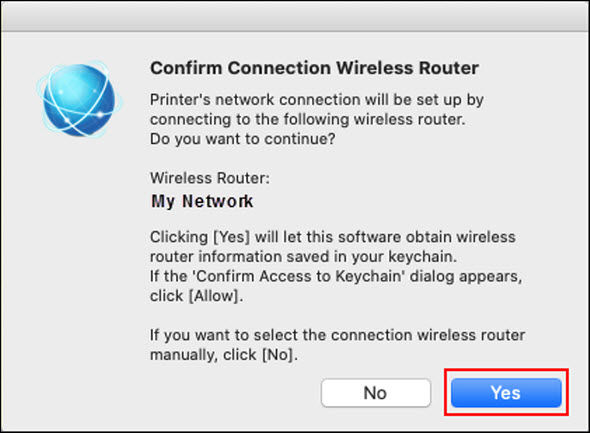
At the Confirm Connection Wireless Router window, confirm that your network name is displayed and click Yes.
-
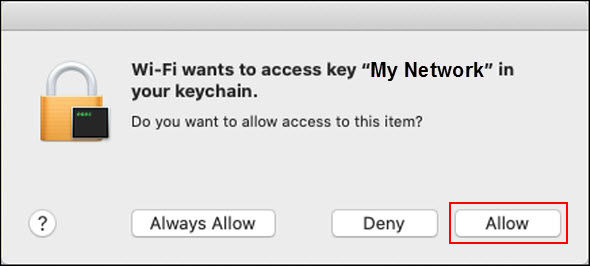
When asked to allow access to the network key stored in the keychain, click Allow. Enter the user account name and / or password for the computer if prompted.
-
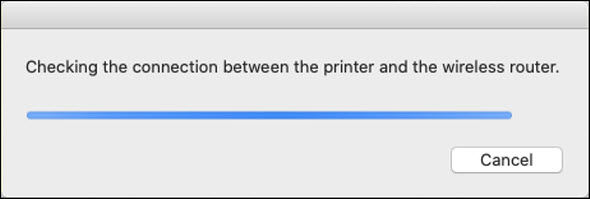
The computer will send the network information to the printer via USB.
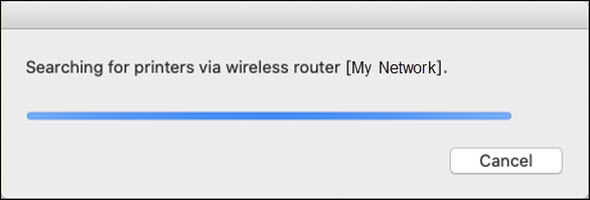
It will then attempt to locate the printer on the network.
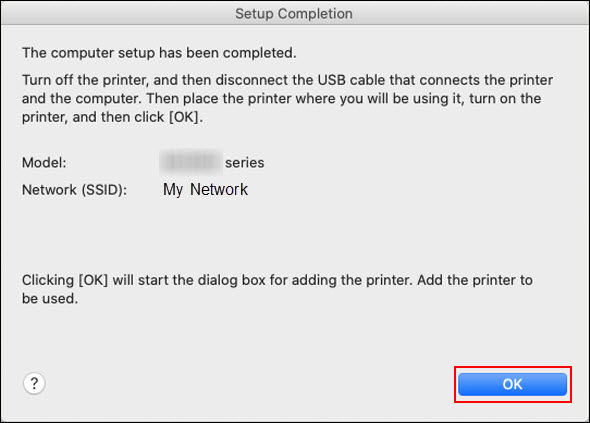
Once found, the Setup Completion window will appear. Follow the instructions in the window and then click OK.
-
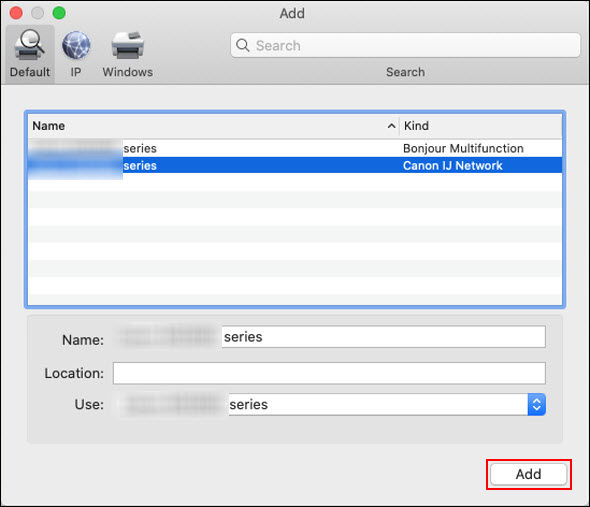
The Add window will appear. Wait for the Canon IJ Network listing for your printer to appear. Select it and make sure that the Use field at the bottom indicates Canon xxxx Series. Then click Add.
 You may receive a prompt similar to this:

If so, go into System Preferences and Print and Fax / Print and Scan / Printers and Scanners and remove the USB listing for your printer. It will show as being offline.
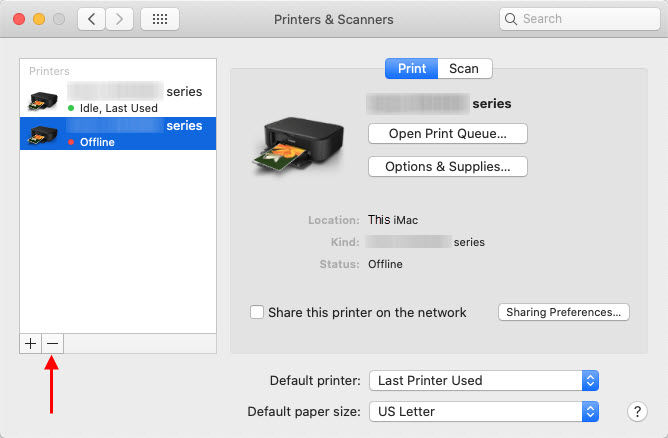
If you don't remove it, you may receive an error message telling you that your printer is offline when you attempt to print.
If your product issue was not resolved after following the steps above, or if you require additional help, please create or log in to your Canon Account to see your technical support options.
Or if you still need help, visit our Canon Community by clicking the button below to get answers:

____________________________________________________________________________________________


