Your printer has an HTML interface that can be accessed from any device that is on the same network that the printer is connected to. This interface is known as the Remote UI. To access the Remote UI, follow the steps below.
- With the printer turned on, print out the network information page (also known as the LAN details page).
- Open a web browser on any device connected to the same network that the printer is connected to (smartphone, PC, Mac, etc.).
- In the address bar, enter in the printer's IPv4 address shown on the LAN details page.
- You may be prompted to enter in a username and password to proceed. By default, the username is ADMIN. Click here for more information on the password.
When the Remote UI appears, you will be at the
Printer status area. This screen will show you the remaining ink levels in the printer. In addition, there will be several options to the left.

Clicking
Ink number will take you
here.
Clicking
Order my ink now will take you
here.
Utilities
This section contains maintenance options and also allows you to view the LAN settings of the printer. You can also select the language for the Remote UI.
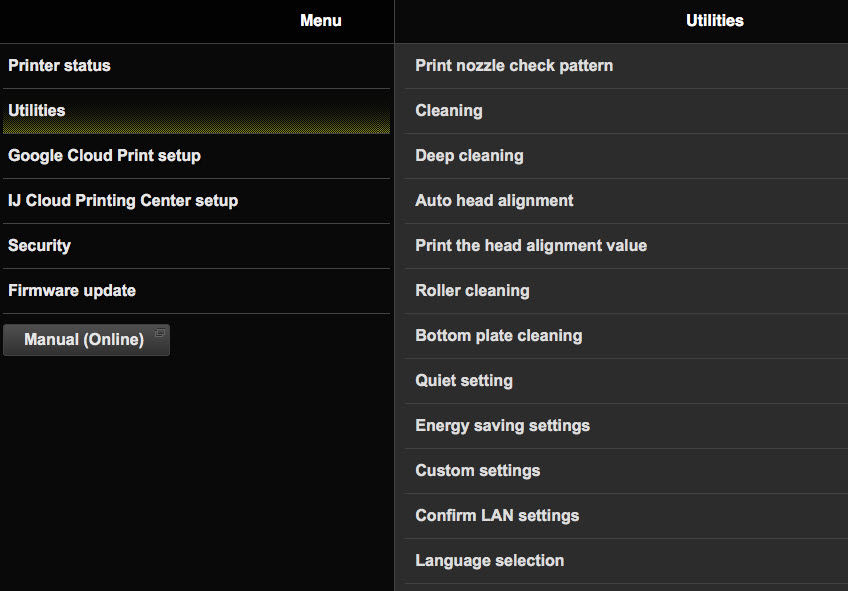
Click on any of the options under
Utilities to execute the function in question. For any of the maintenance functions, you will be asked to confirm that you want to execute the function in question. Click
Yes.
If you want to view the network information for the printer through the Remote UI, click
Confirm LAN settings.

When viewing the LAN details, click the arrow at the upper left to go back to the
Utilities menu. Click
Next to proceed to the next section of the LAN details.
If you want to change the language for the Remote UI, click the radio button for the language you want to use. Then, click
OK. If you do not want to change the language in the Remote UI, click the arrow at the upper left.
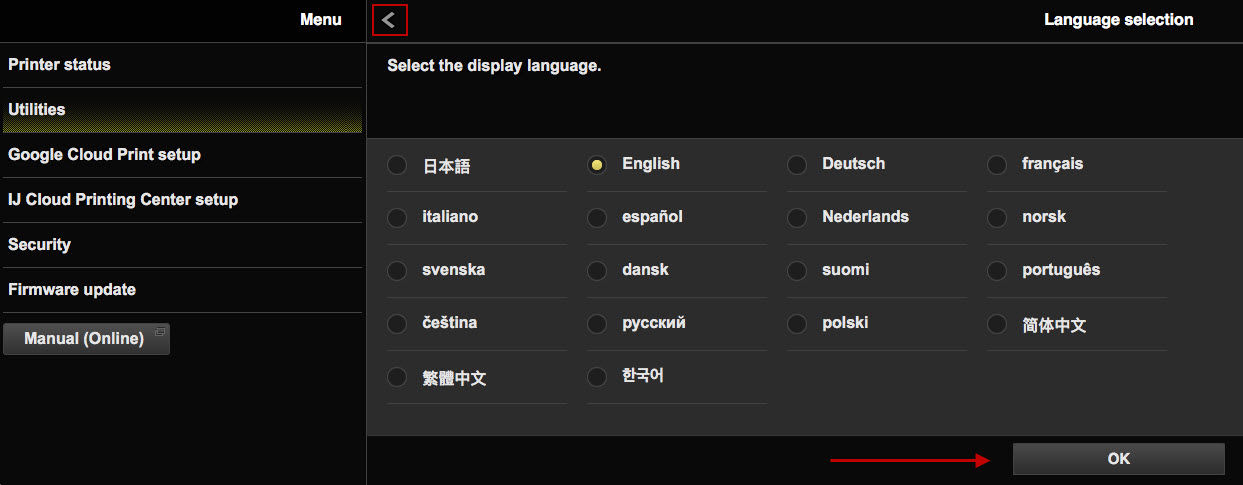
Note that if you change the language of the Remote UI, you will be logged out of the Remote UI and you will need to log back in. You will then see the Remote UI display the language selected.
Google Cloud Print setup
This section allows you to register your MG2900 Series printer with the Google Cloud Print Service.
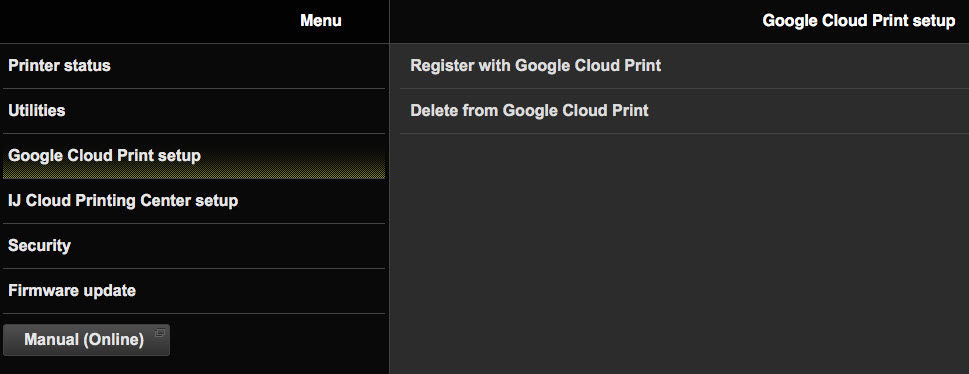
Clicking
Register with Google Cloud Print will allow you to begin the registration process. Click
here for instructions on registering the printer with Google Cloud Print.
Clicking
Delete from Google Cloud Print will remove the registration information for Google Cloud Print from the printer.
 Note
NoteThis section will not appear if your printer is set up in Access Point mode.
IJ Cloud Printing Center setup
This section allows you to register your printer with the Canon Inkjet Cloud Printing Center.
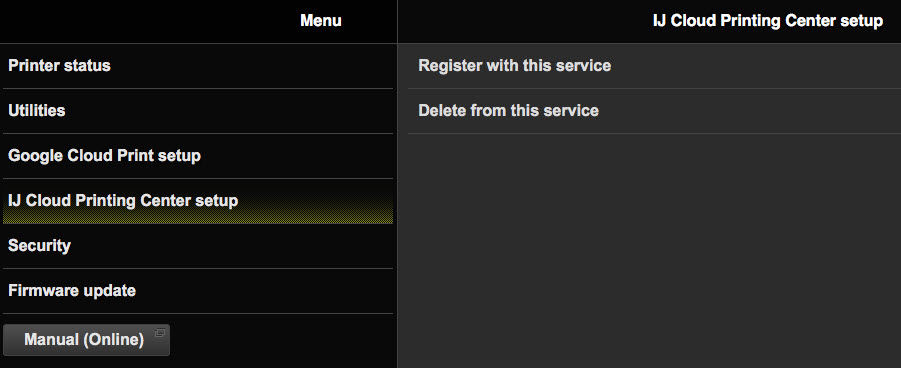
Clicking
Register with this service will allow you to begin the registration process.
Click here for instructions on registering the printer with the IJ Cloud Printing Center..
Clicking Delete from this service will remove the registration information for the IJ Cloud Printing Center from the printer.
 Note
Note This section will not appear if your printer is set up in Access Point mode.
Security
This area allows you to change or remove the administrator password for the printer.
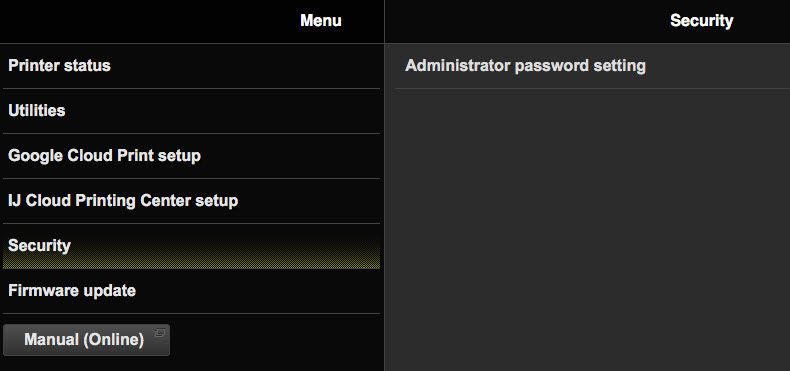 Click Administrator password setting to access these options.
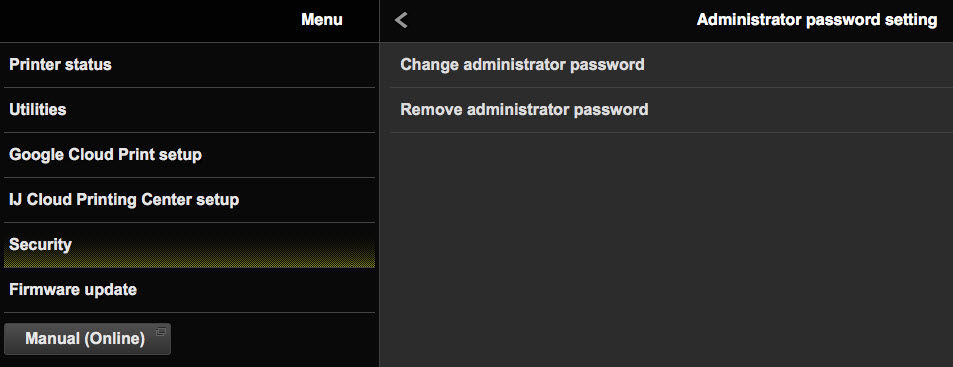
If you wish to change the administrator password, it must have no more than 32 alphanumeric characters.
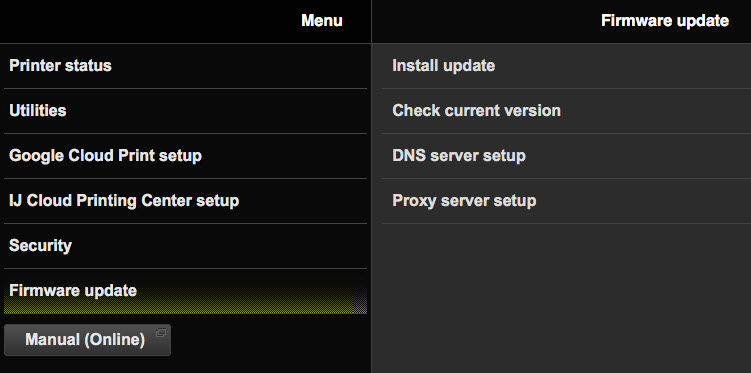
Firmware update
This area allows you
to update the firmware and check version information.
Manual (Online)
Clicking this button will open the online manual for your printer.


