Your PIXMA G6020 can be set up to work wirelessly with a Mac via a method known as Easy Wireless Connect. This method will allow your computer to send information directly to the printer so that it can connect to your wireless network. To install the software for your PIXMA G6020 from the IJSetup website, follow the steps below.
- Click here, then click Download. If you are prompted to run or save the file, save it to your computer, then open it.
- Double click the Setup icon to begin the installation program.
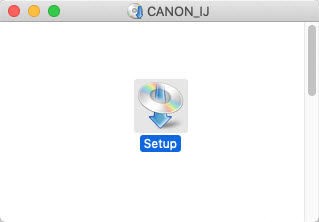
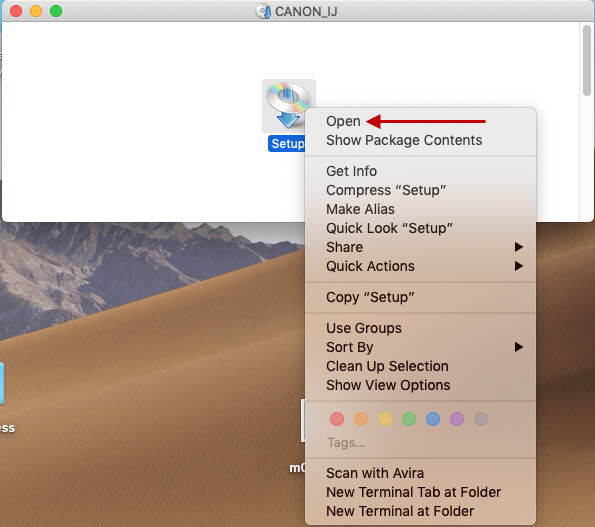
NOTE: If you receive a message indicating that the Setup program cannot be run because it was not downloaded from the App Store, you can open the program by control-clicking on the Setup icon, then clicking Open.
If you receive any addtional prompts asking you to run the program, click the appropriate affirmative option to proceed.
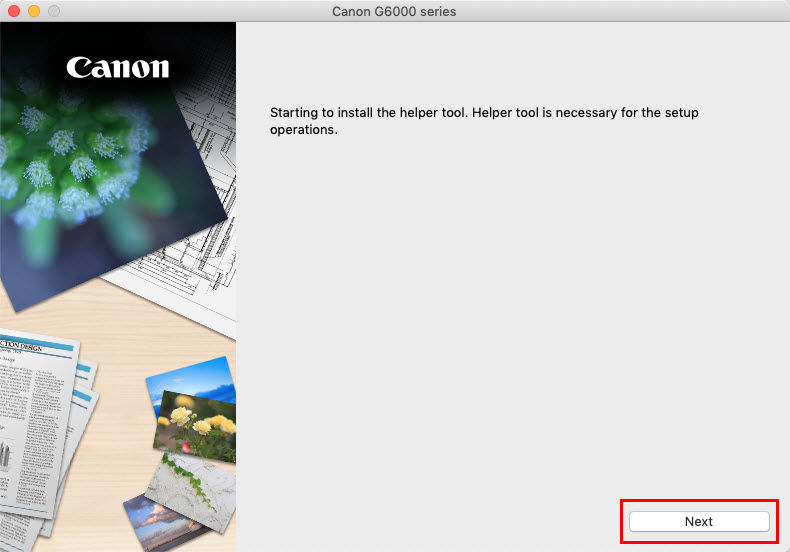
- Click Next to install the helper tool.
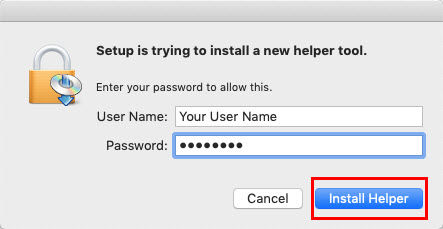
You will be prompted to enter your computer password. Enter this password and click Install Helper.
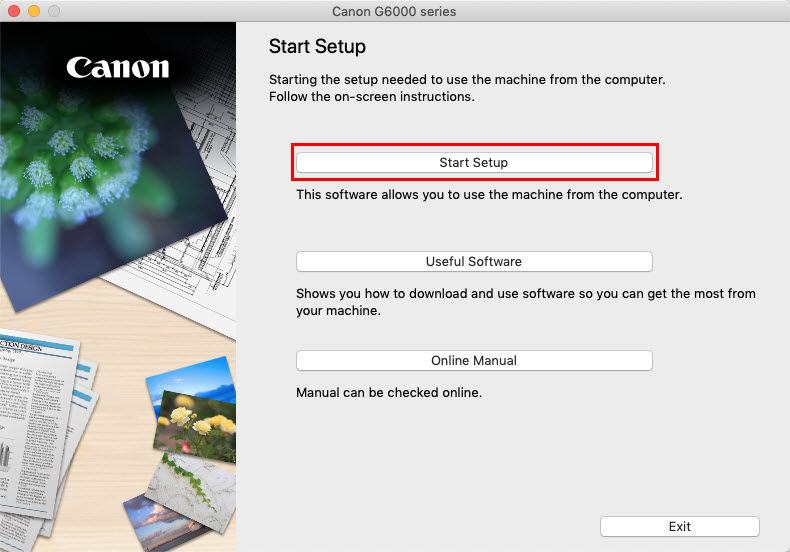
- When the setup program begins, click Start Setup.
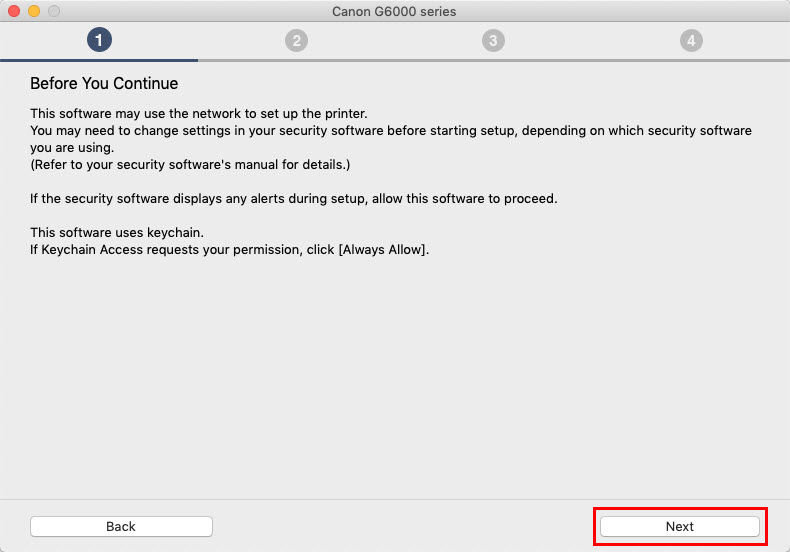
- Click Next.
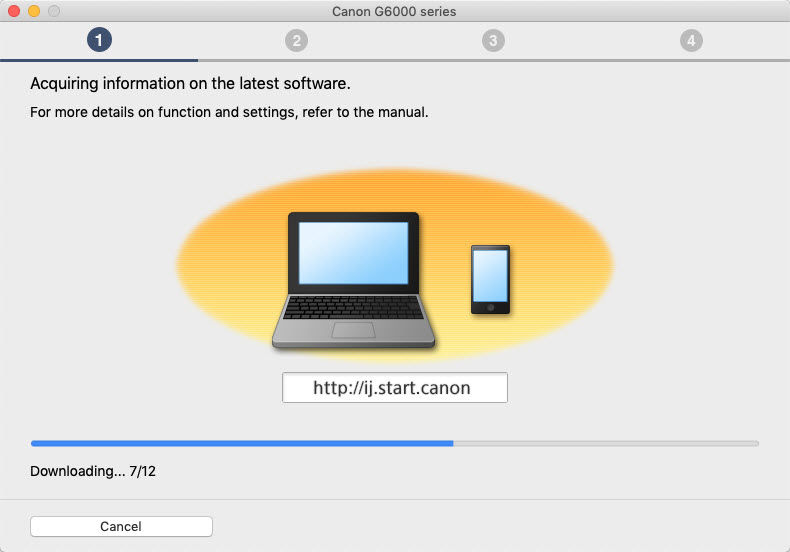
The setup program will acquire information on the latest software for your printer. This may take several minutes depending on the speed of your internet connection.
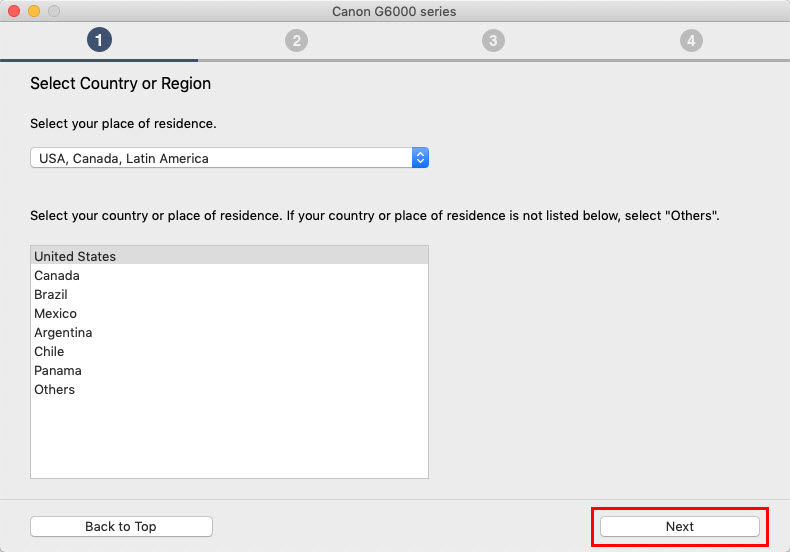
- Select your country or place of residence. Then, click Next.
- Read through the License Agreement. Click Yes to proceed.
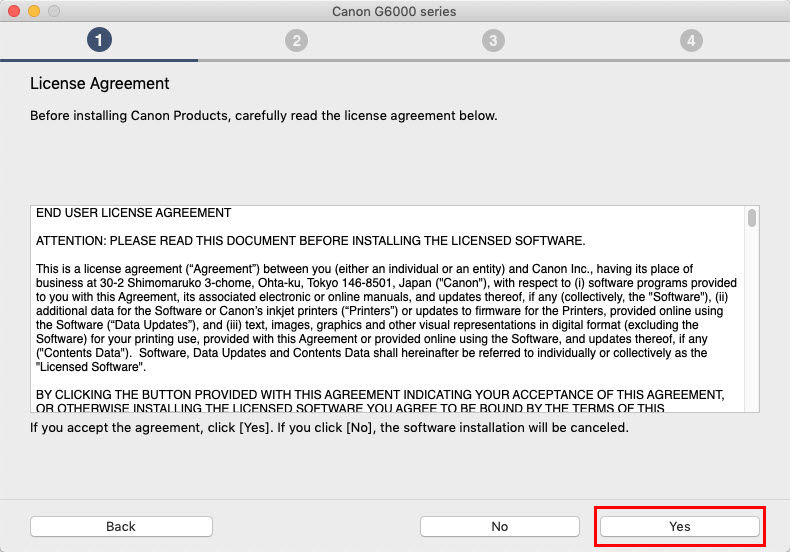
The setup program will bring up an agreement regarding using services related to your printer. Read this agreement, then click Agree or Do not agree to proceed.
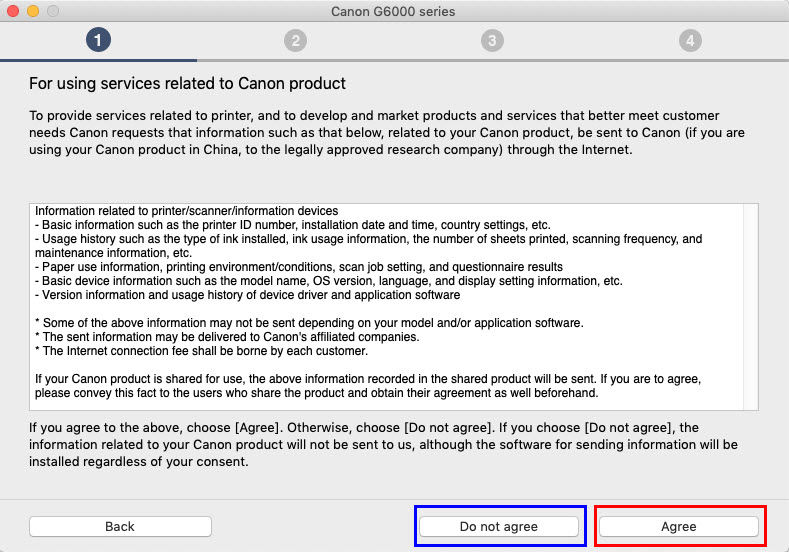 If you click Do not agree, the following message will appear:
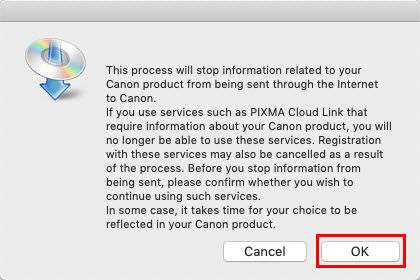
Click
OK to proceed.
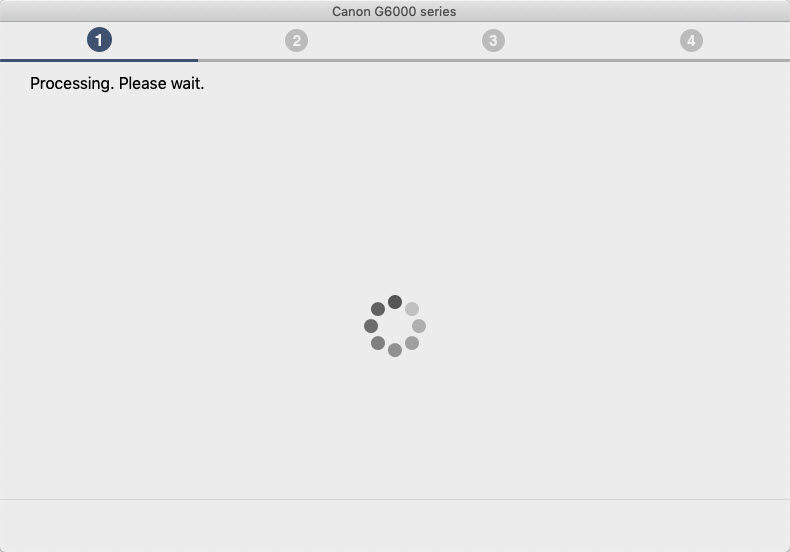
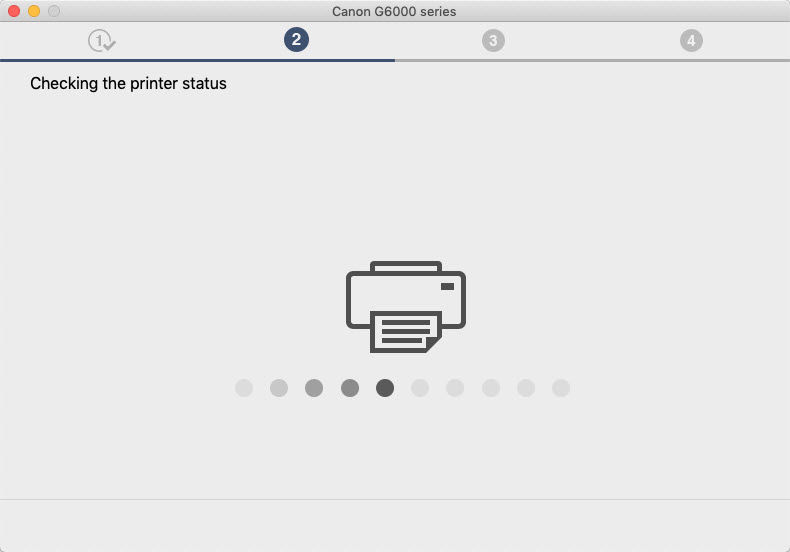
The setup program will process for a few moments and check the printer's status.
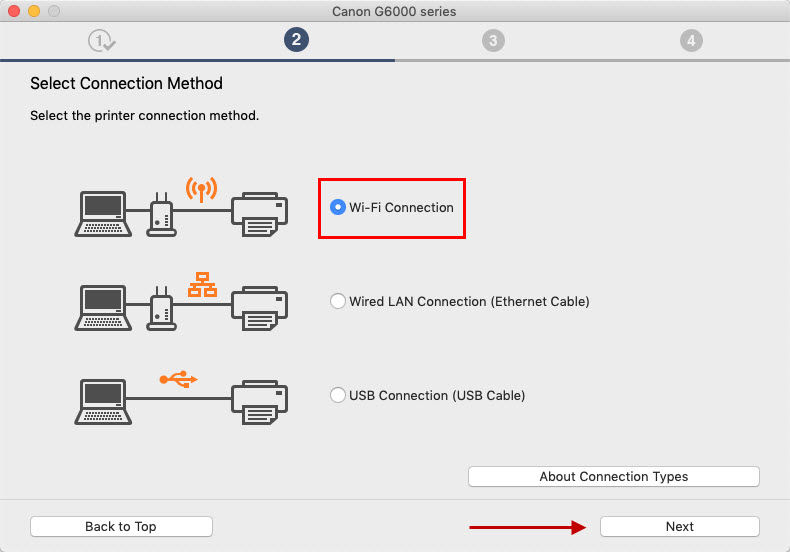
- On the Select Connection Method screen, click Wi-Fi Connection. Then, click Next.
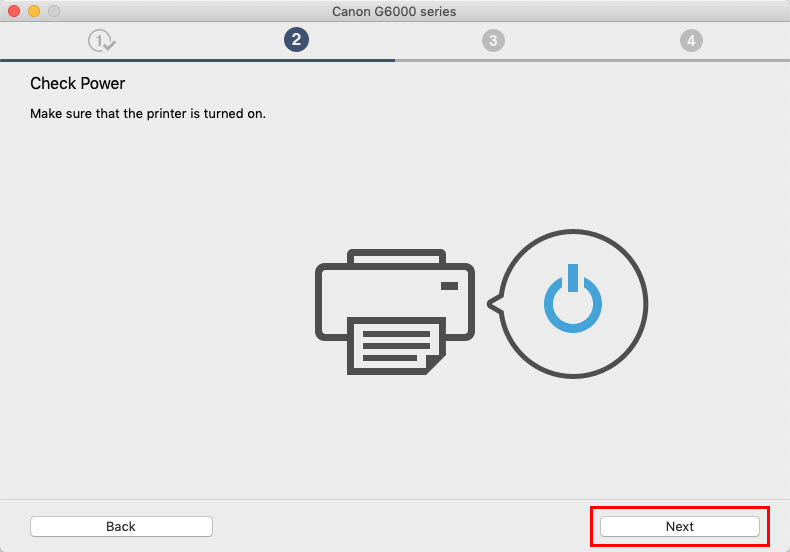
- Make sure that the printer's power is on. Then, click Next.
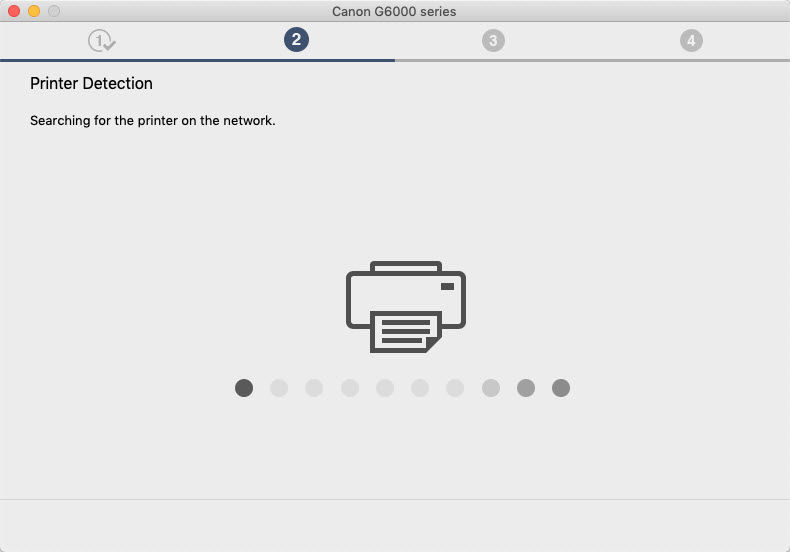
The setup program will search for the printer on the network.
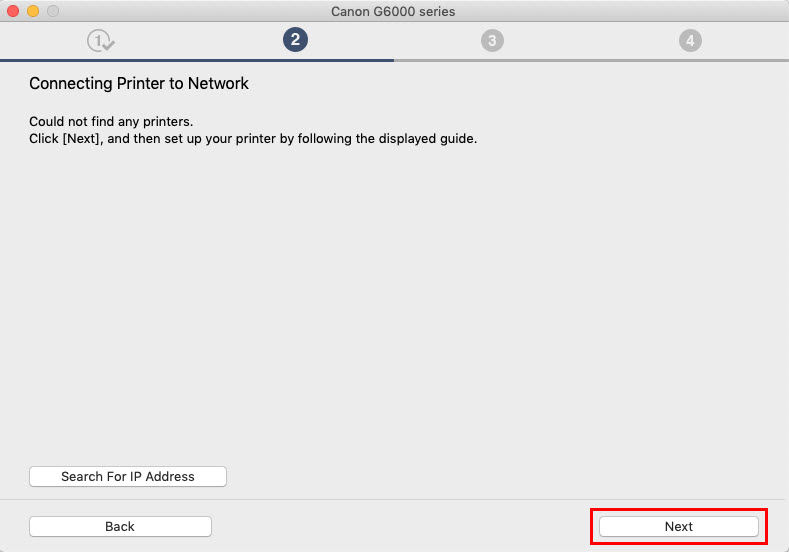
- The setup program will indicate that no printers could be found. Click Next.
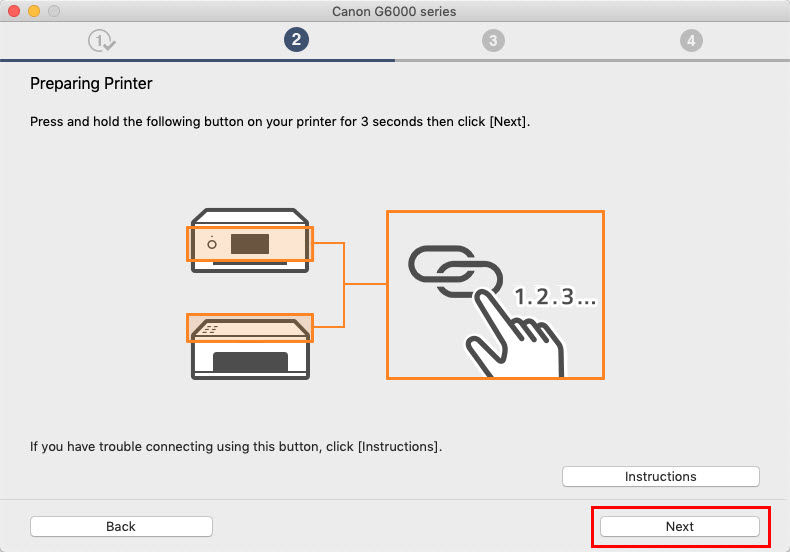
- Press and hold the Wireless Connect
 button on the printer for 3 seconds. Then, click Next.
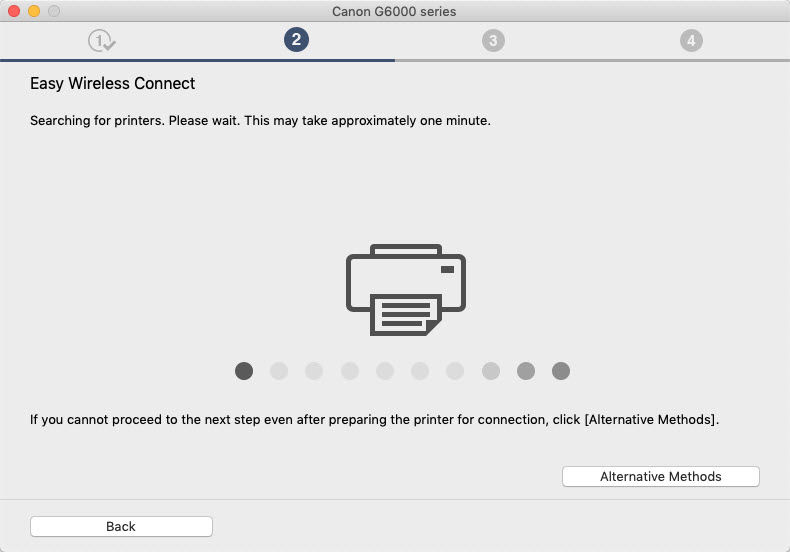
The setup program will search for printers. This may take up to one minute.
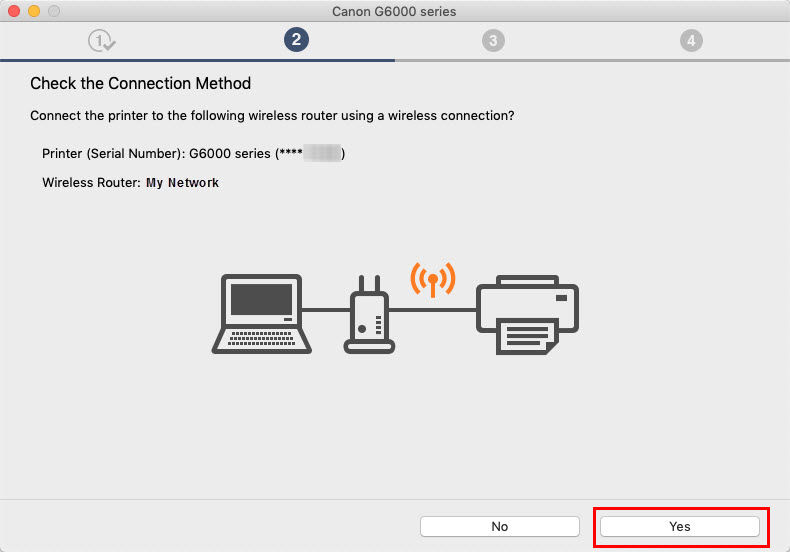
You will be asked to connect the printer to the following wireless router. Make sure that your printer and wireless router are displayed in the window. Then, click Yes.
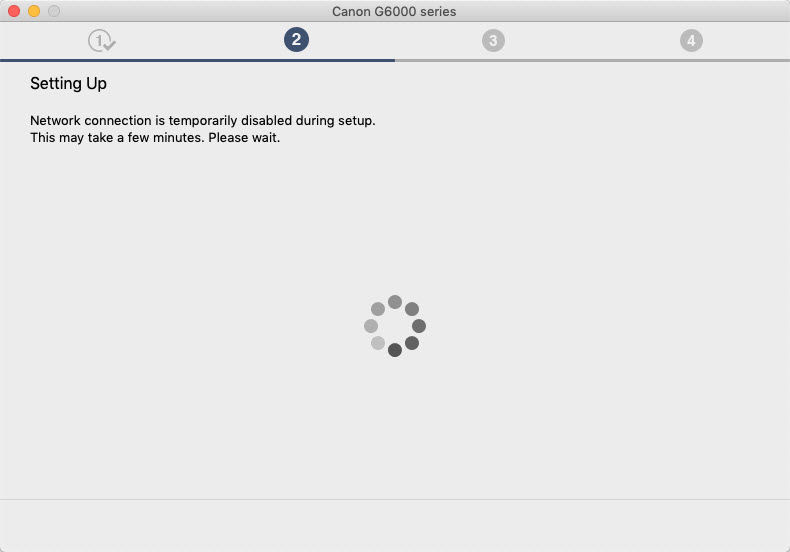
Your computer will temporarily connect to the printer to send the wireless network information over. This may take a few minutes.
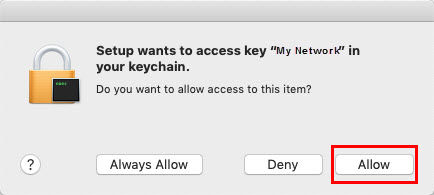
You may be prompted to allow the setup program to access your computer's keychain. Click Allow.
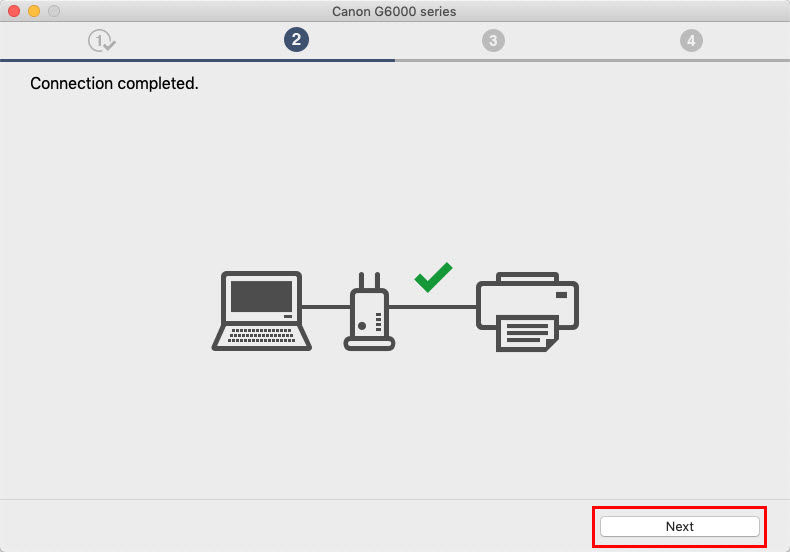
The connection will be completed. Click Next.
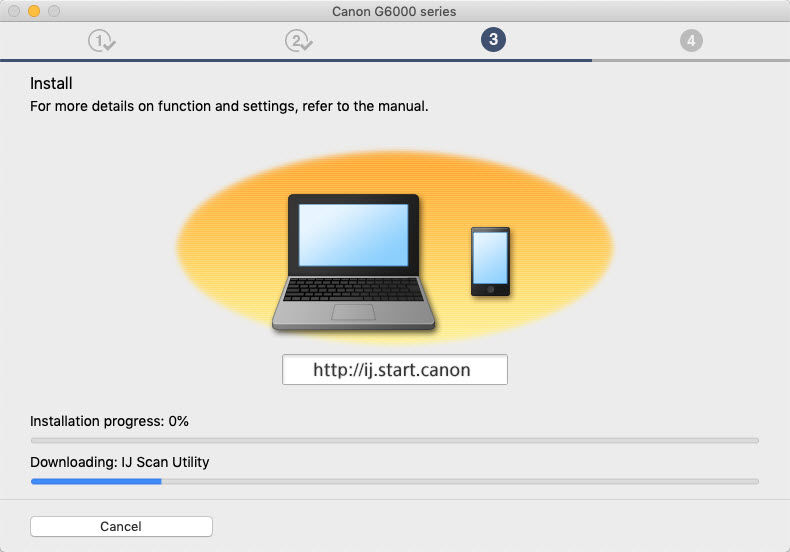
- The setup program will then begin downloading and installing the IJ Scan Utility. This may take several minutes depending on the speed of your internet connection.
After the IJ Scan Utility has been installed, the setup program will process for a few moments.
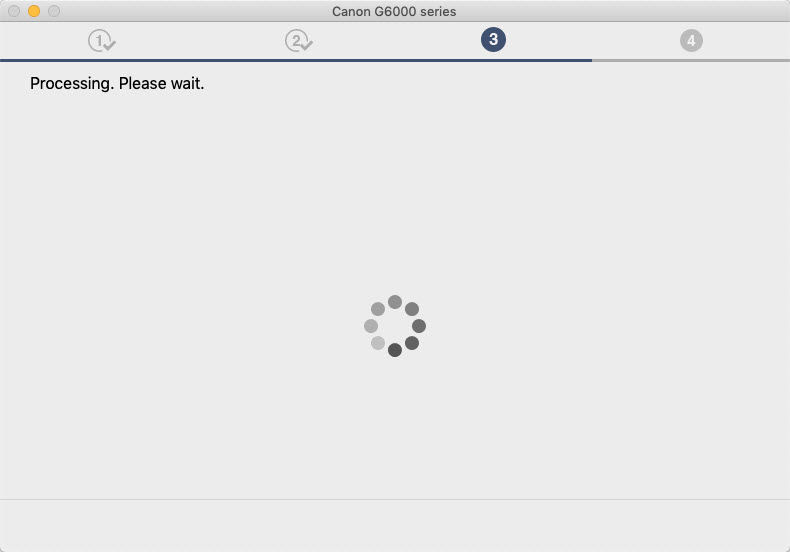
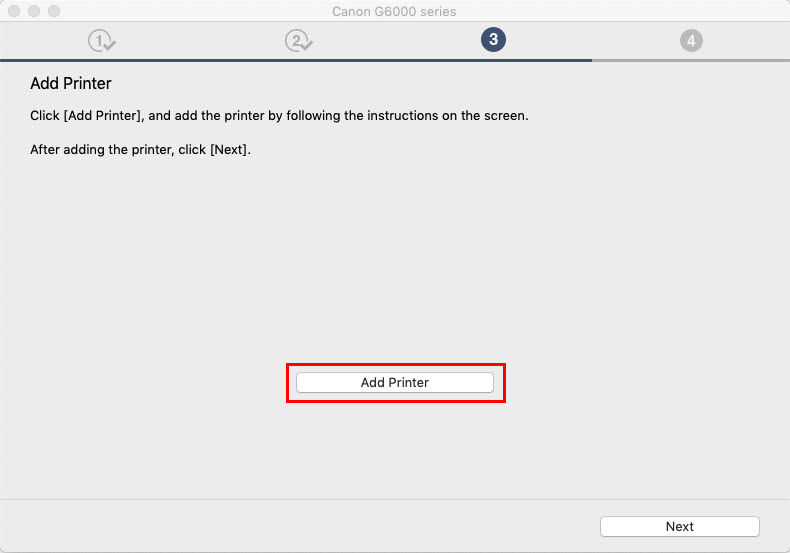
- When the Add Printer screen appears, click Add Printer.
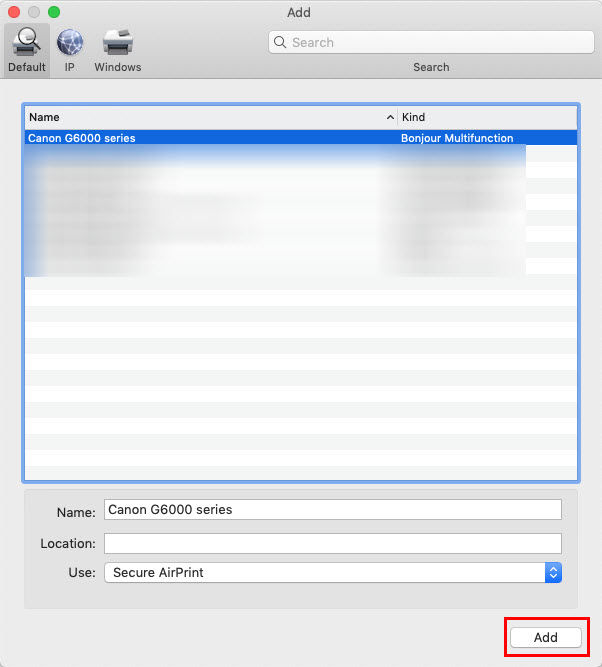
When the Add window appears, click the listing for your printer. Select Secure AirPrint or AirPrint for Use:, then click Add.
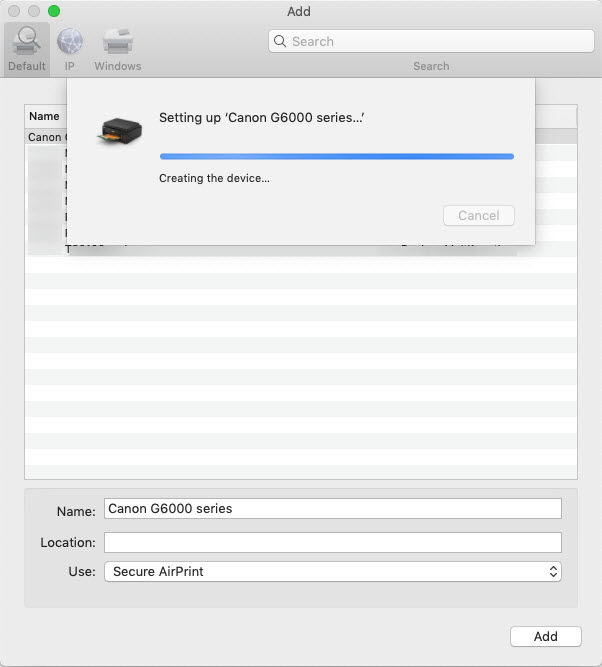
Click Next on the Add Printer window to proceed.
The setup program will process for a few moments.

- The Test Print screen will appear. If you would like to perform a test print, load paper into the printer, then click Start. Click Next when finished,.
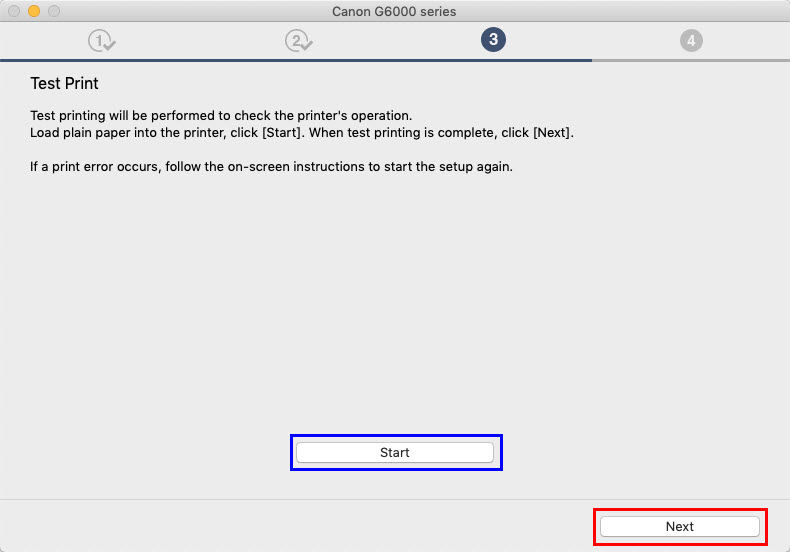
If you do not wish to print a test page, click Next.
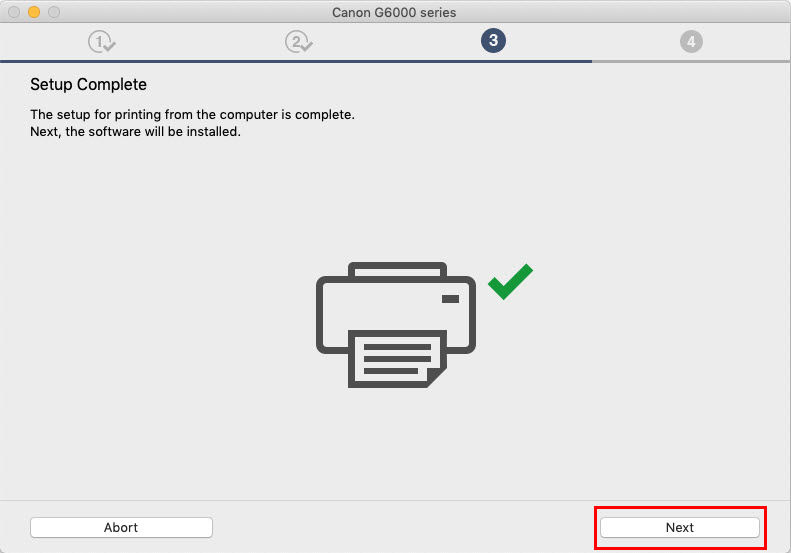
- The Setup Complete screen will appear. Click Next.
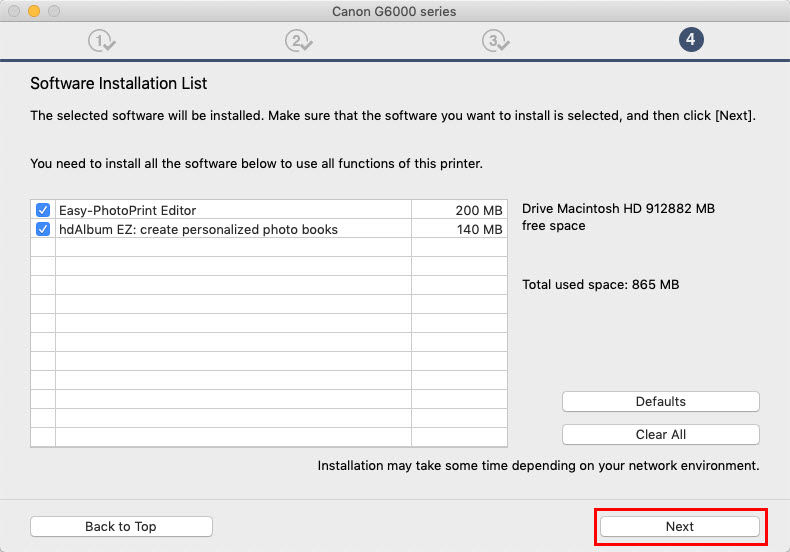
- The Software Installation List will appear. Place a check in the boxes for the software you want to install. Then, click Next.
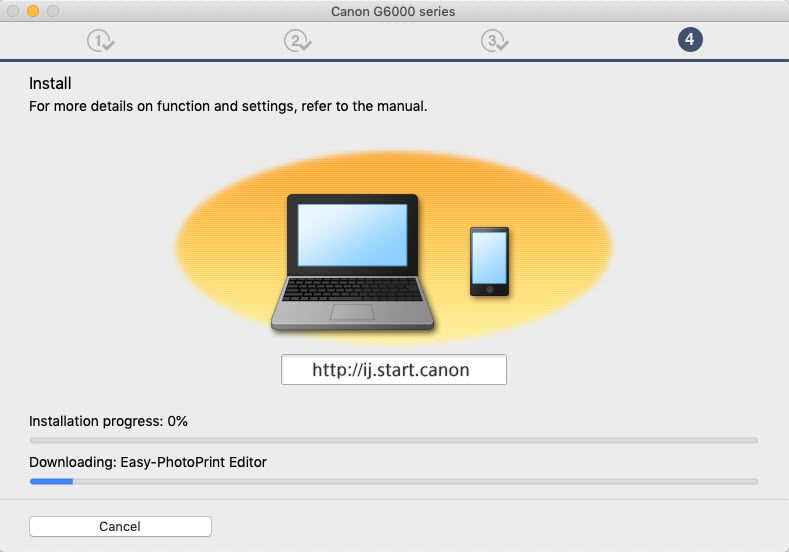
The chosen software will be downloaded and installed. This may take a few minutes depending on the speed of your internet connection.
After the software has been installed, the setup program will process for a few moments.
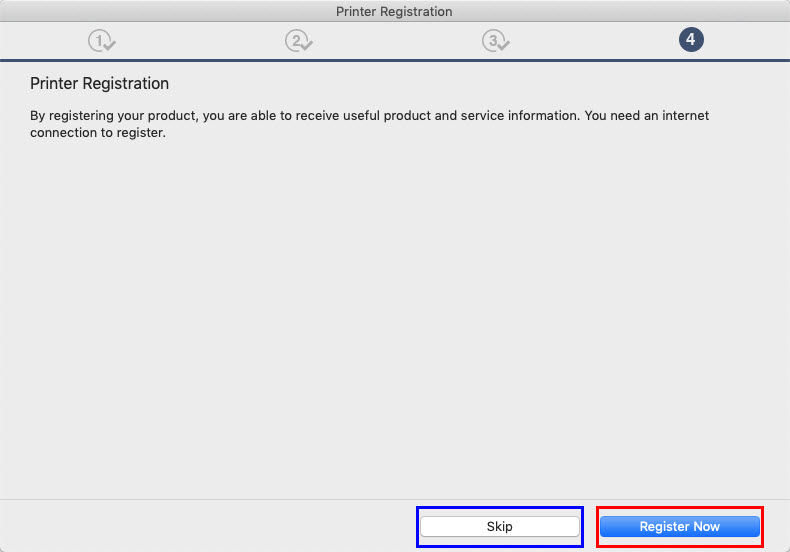
- You will be prompted to register your printer. Click Skip to bypass this process, or click Register Now to register your printer. Folloe any on-screen instructions.
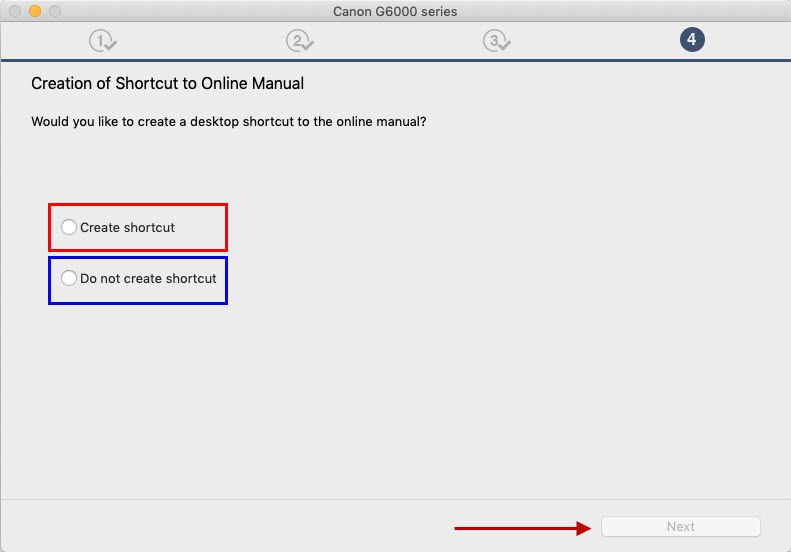
- You will be prompted to create a desktop shortcut to the online manual. Select whether you want to create a shortcut or not, then click Next.
- After the installation has completed, click Exit.
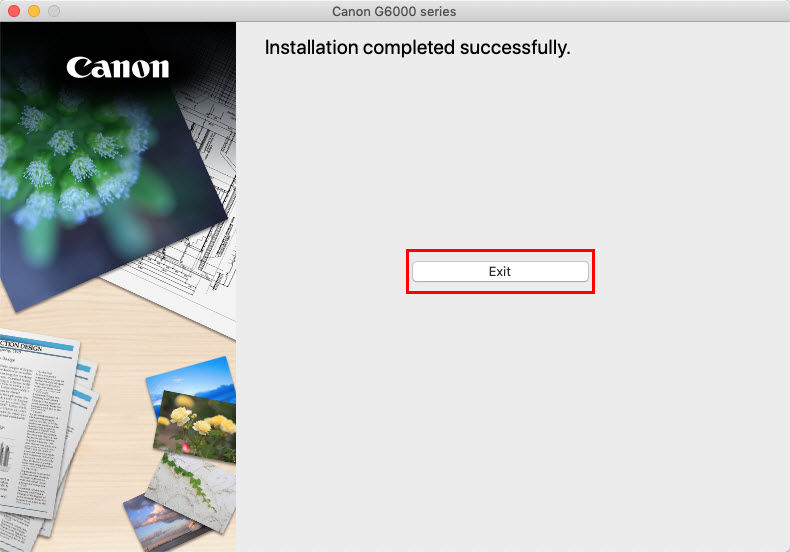
The software is installed and your printer is now ready for use with your Mac.


