Wireless Setup - Windows** Computers
**Instructions in this article are for setup on a Windows computer. If setting up on a Mac,
click here for instructionsTo be able to use the PIXMA TS series printer to print or scan wirelessly on a Windows computer, the printer must first be connected to the Wireless Network and software drivers and applications installed on the computer. The instructions / screenshots below show the setup program steps when using the "Easy Wireless Connect" method to connect to the wireless network.
The setup process consists of 2 parts:
-
Starting Easy Wireless Connect on the printer, and
-
Downloading and running the setup file to install the drivers and software.
Start Easy Wireless Connect on the printer.
Prior to starting setup on the Computer, Smartphone or tablet device, start the Easy wireless connect on the printer. Then complete the setup on the computer or device.
See the procedure below to start the Easy Wireless connect.
-
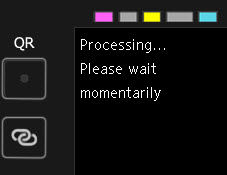
Press and hold the
 button until "Processing.... " appears. Release the button.
Download and run the setup file.*
Get the Setup File
-
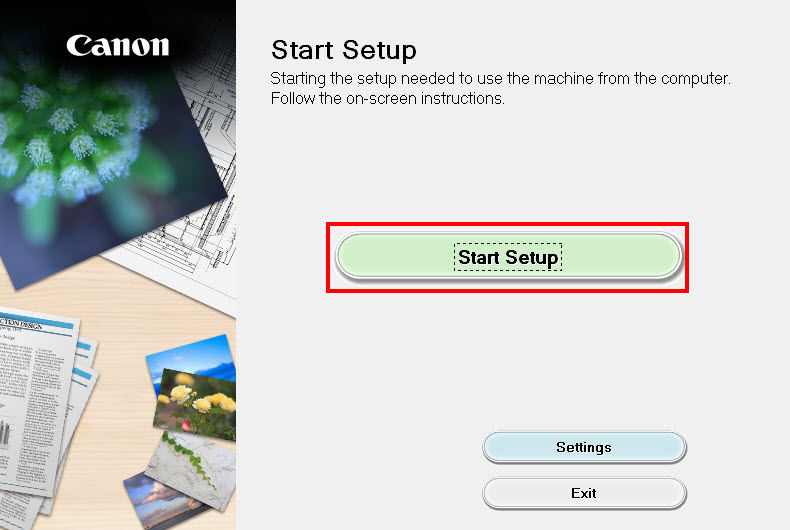
Run the setup file and click Start Setup.
-
Read the network security notice and click Next.

-
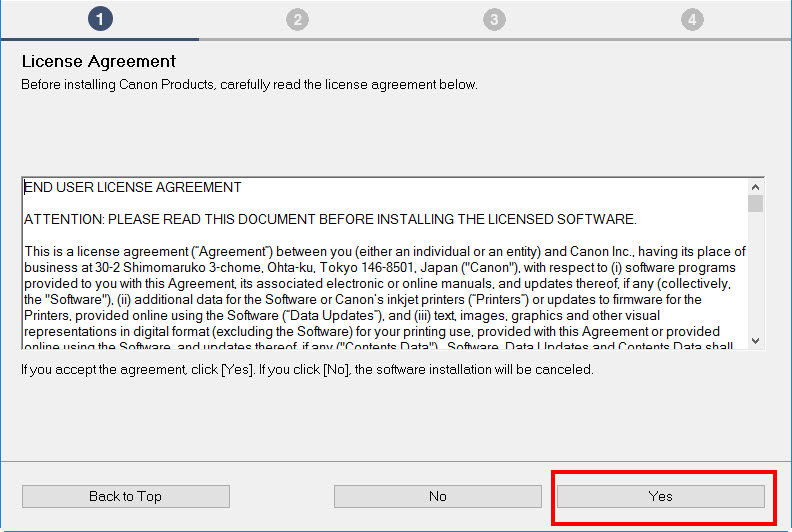
Read the license agreement. Select Yes to continue. If you select No, the installation will not continue.
-
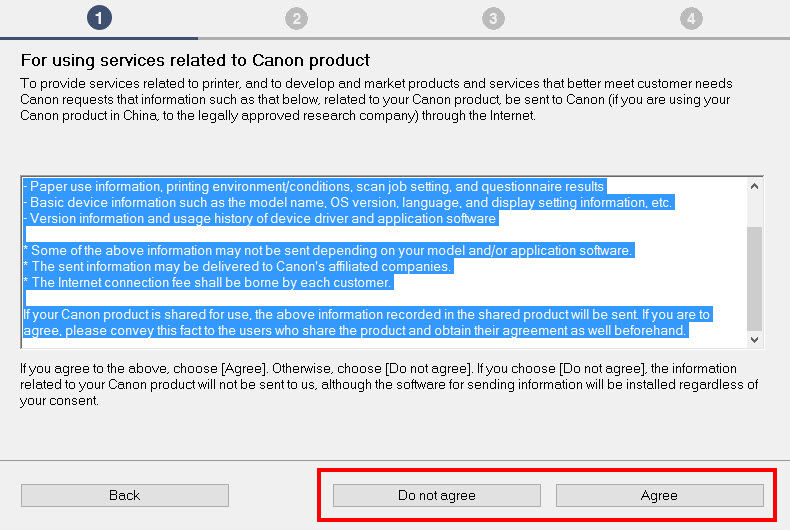
Select Agree or Do Not Agree to the information request.
-
This message appears if you selected Do not agree.
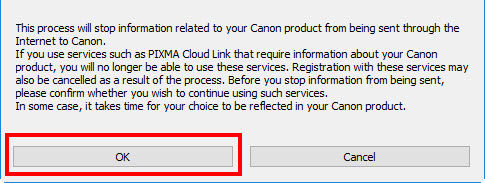
-
Select Yes to confirm the connection method.
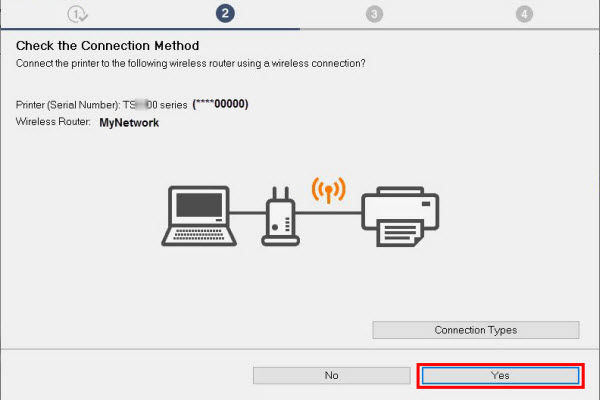
-
** Depending on your network setup, the following screens may appear. Be sure to select an SSID (network) in the dropdown list running on the 2.4Ghz frequency. If not sure, check with your router's documentation. After selecting the SSID, enter the password in the next screen
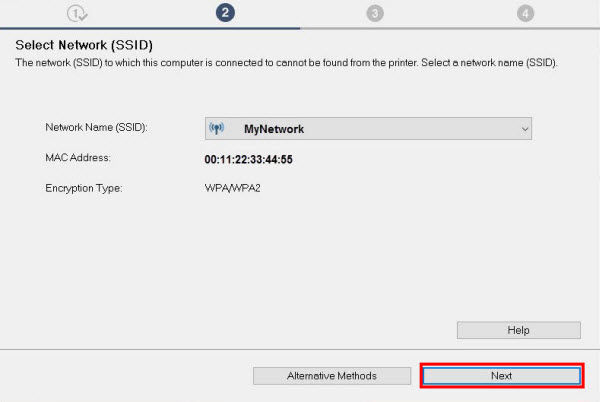
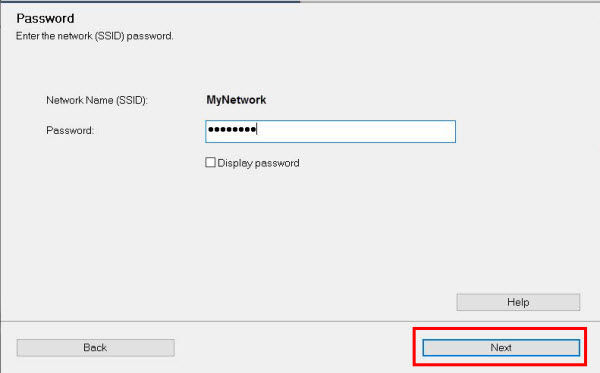
-
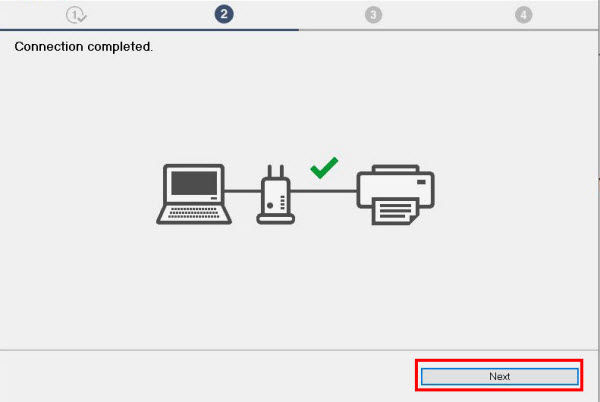
Connection is completed, click Next.
-
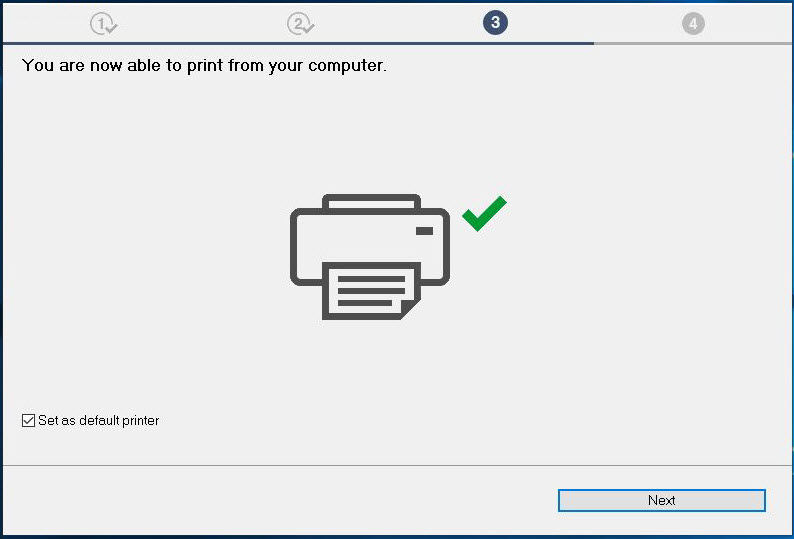
Click Next.
-
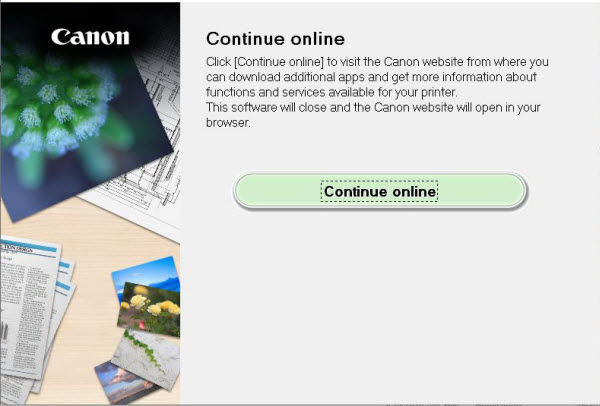
If you wish to download and install any additional software, click Continue online.
For support and service options, sign into (or create) your Canon Account from the link below.
My Canon Account


