Creating a custom paper size for printing on Mac
If you want to create a document that has a unique size, such as an envelope or card, first see if the paper size appears in the Paper Size pop-up menu. If not, you can create your own custom paper size.
Note: The following options might not be available for your printer or app. If these instructions differ from what you see onscreen, refer to the documentation that came with the app you’re using.
-
In an app on your Mac, choose File > Print. If you see a Show Details button, click it to show all available options.
-
Click the Paper Size pop-up menu, then choose Manage Custom Sizes.
-
Click the Add button  to add a new paper size, then specify the paper size you want.
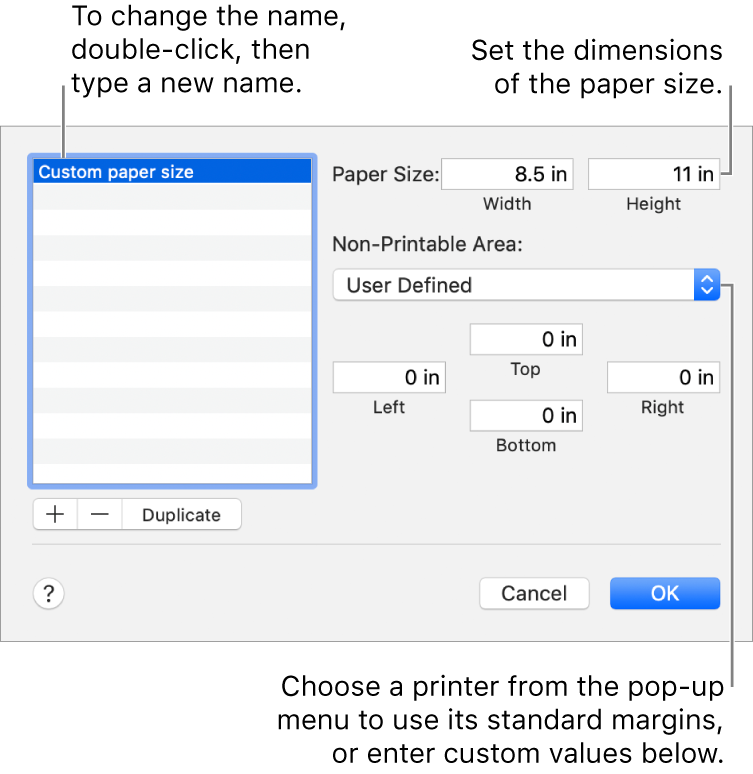
To create a new paper size based on an existing size, select a paper size in the list, then click Duplicate.
To print to a custom paper size, choose it from the Paper Size pop-up menu in the Print dialog (choose File > Print). To set a document size to a custom paper size, choose it from the Paper Size pop-up menu in the Page Setup dialog (choose File > Page Setup).
Tip: If a document is printing with incorrect margins or clipped text, try this: click the Non-Printable Area pop-up menu, choose User Defined, then enter zero for the nonprintable margins. In some cases this allows the document margins to print as expected.
Printer Support Home
