This article contains information on the Web service connection setup section of the Remote UI.
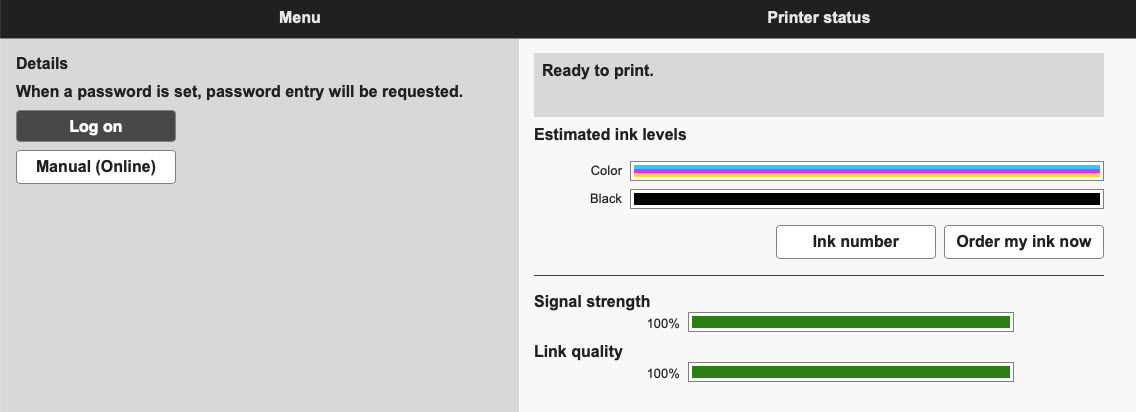
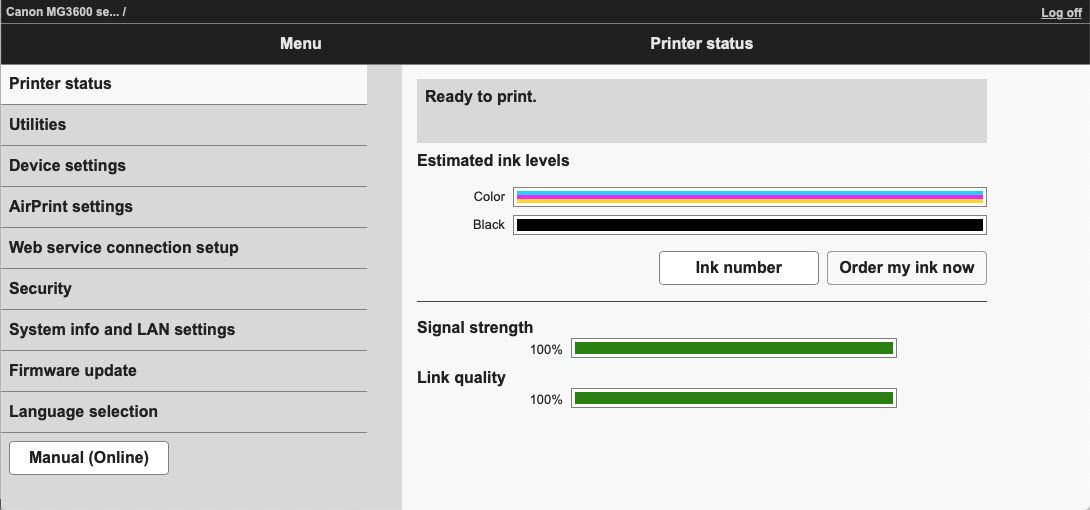
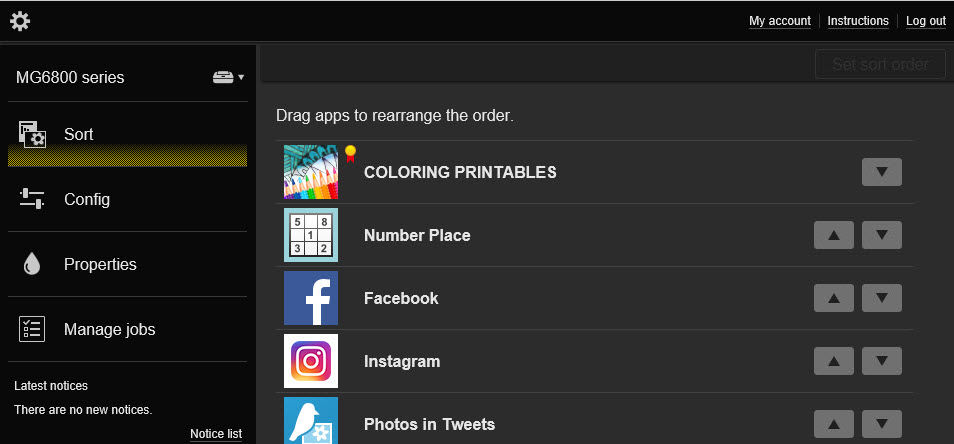
Click here for information on the Printer status, Utilities, Device settings and AirPrint settings sections.
Click here for information on the Security and System info and LAN settings, Firmware update and Language selection sections.
Your PIXMA printer has an HTML interface known as the Remote UI. This interface can be accessed from any device that is connected to the same network as the printer. To access this interface:
-
Load plain paper into your printer.
-
Print the network information for your printer (also known as a LAN details page).
-
From your computer, smartphone, or tablet device, open the Web browser, and enter the following URL:
http://
For <Printer IP address>, enter the IP address that you checked in step 1.
When you enter the IP address, click Log on.
On the next screen, enter the administrator password.

Click OK after entering in the password.
After entering in the password, the Printer Status screen will appear.
Web service connection setup
If your PIXMA printer is operating in Access Point mode, this option will not be available
Google Cloud Print support is no longer available.
This area allows you to perform Cloud Printing Center setup.
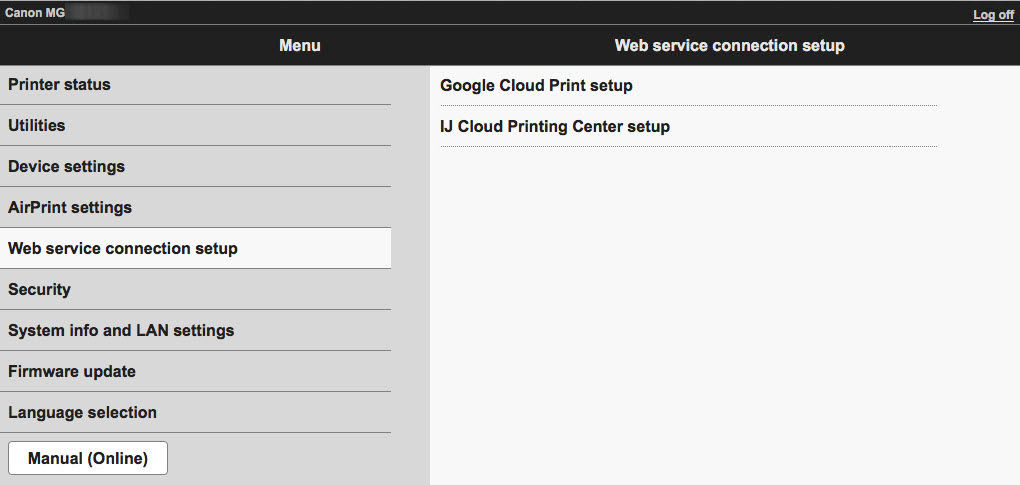
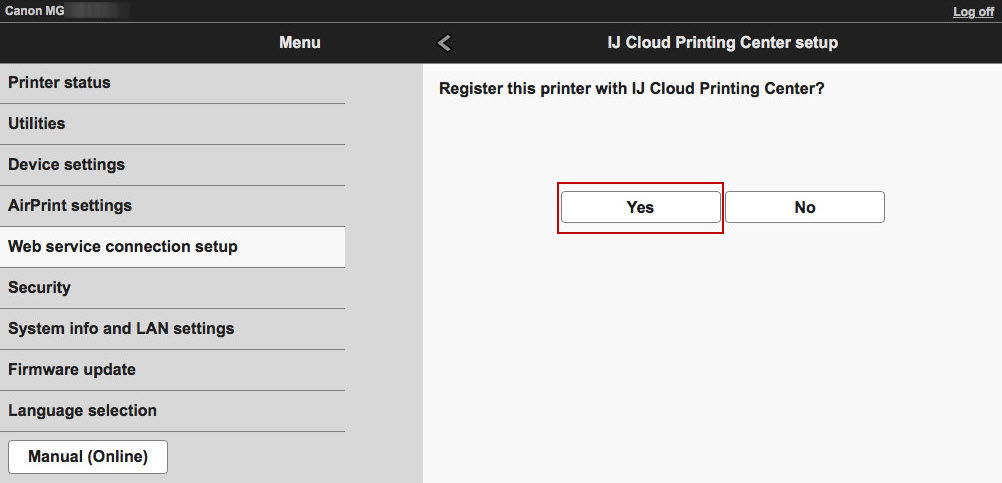
IJ Cloud Printing Center setup
In this area, you can register the printer with the Cloud Printing Center, or you can delete the registration information for this service.
To register the printer with the IJ Cloud Printing Center:
Click or tap Register with this service.

Then, click or tap Yes when you are asked to register the printer with the IJ Cloud Printing Center.
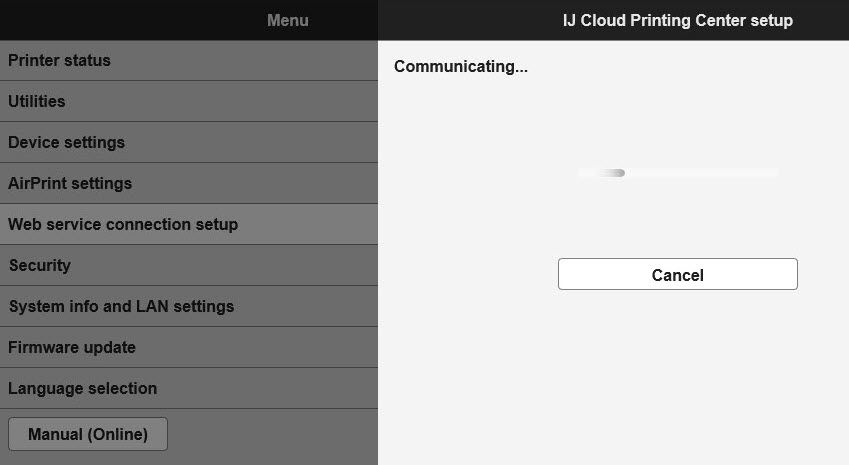
The printer will begin communicating with the Canon IJ Cloud Printing Center server.
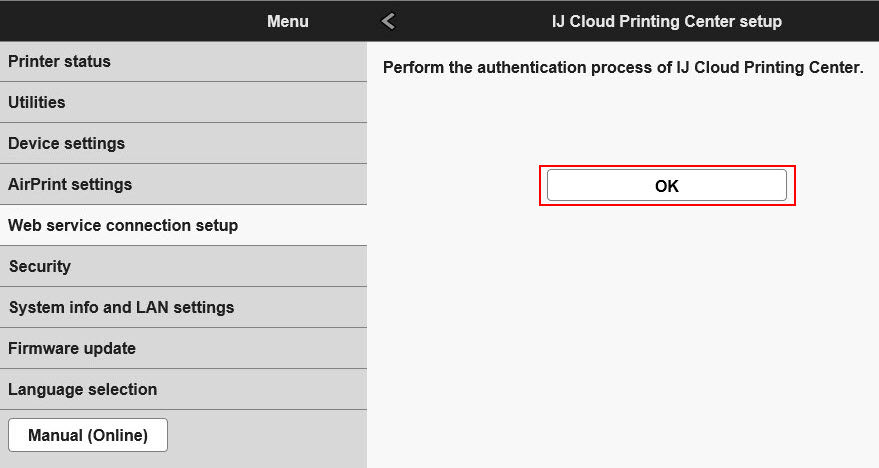
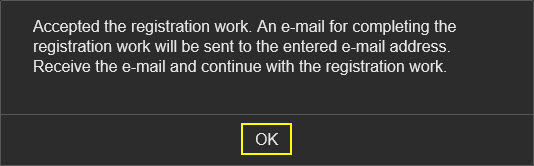
When the following message appears, click OK.
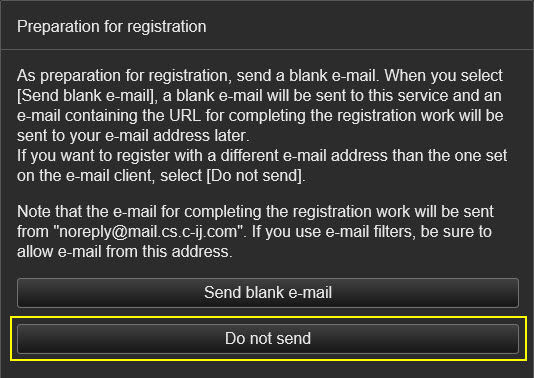
A new tab will open. You will arrive at a page where you will see information regarding an email being sent so that you can register the printer. Click Do not send.
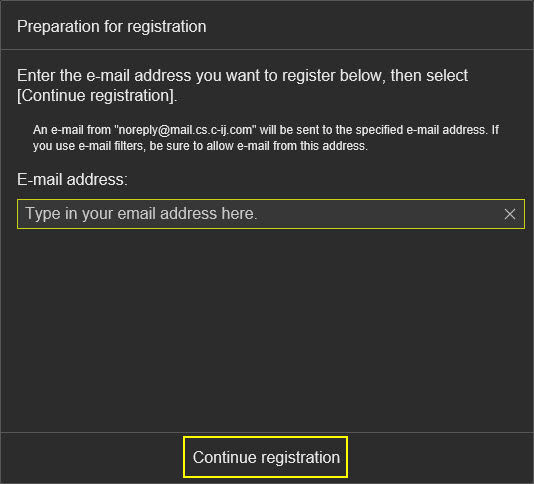
In the next box, type your email address in the E-mail address: field. Then, click Continue registration.
On the next window that appears, click OK.
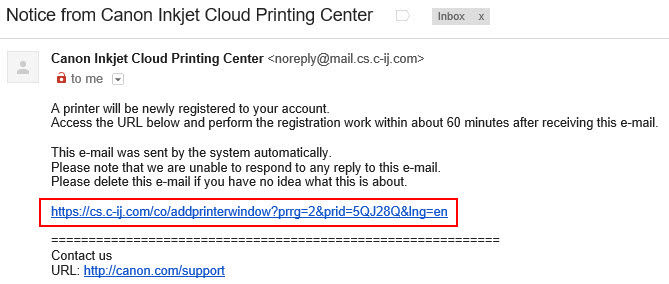
Go to your email that you specified in the Preparation for registration window. When you access your email, you will have a message from the Canon Inkjet Cloud Printing Center. Open this message and click the URL contained in it.
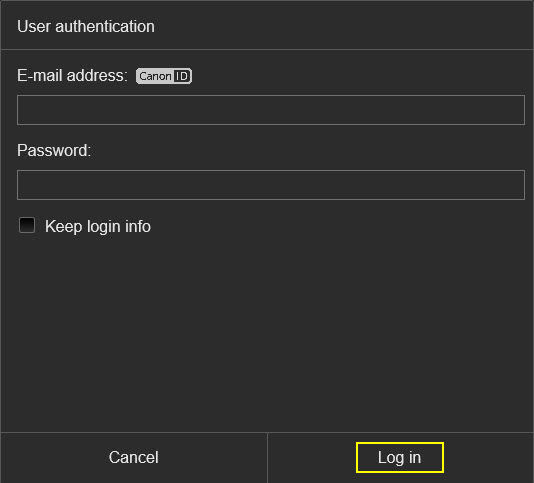
You will be taken to a login screen. Enter in your email address and password.
Click Log in. (This assumes that you have already created an account with the Inkjet Cloud Printing Center.
If you have not done that, please click here and click Create new account. Follow any on-screen instructions to create an account.)
After logging in, you may see a circle spinning for a few moments. Then, the following message will appear. Click OK.
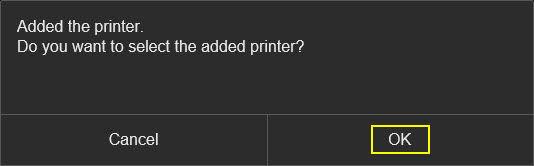
Registration is now complete. You will be signed into the Inkjet Cloud Printing Center.
To delete the registration information and unregister from the Cloud Printing Center:
Click Delete from this service, then click Yes when asked if you want to unregister.
For support and service options, sign into (or create) your Canon Account from the link below.
My Canon Account