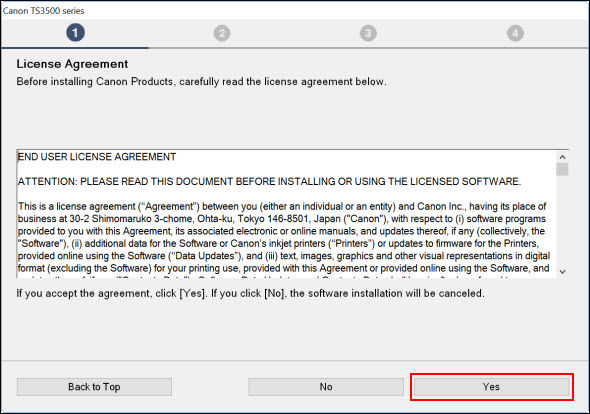
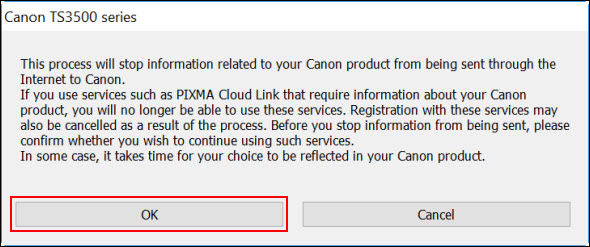
To be able to use the PIXMA TS series printer to print or scan wirelessly on a Windows computer, the printer must first be connected to the wireless network. Then, drivers and applications must be installed on the computer. The instructions / screenshots below show the setup program steps when using the Easy wireless connect method to connect to the wireless network.
The setup process consists of 2 parts:
Starting Easy wireless connect on the printer
Downloading and running the setup file to install the drivers and software (download here)
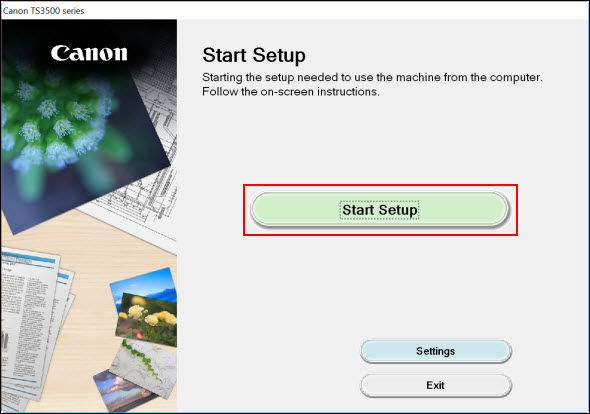
Choose how you want to walk through the setup steps.
Instructional Video
This video will show you how to use a Windows computer to connect the PIXMA TS3500 series printer to a wireless network.
Setup Steps (Steps Only)
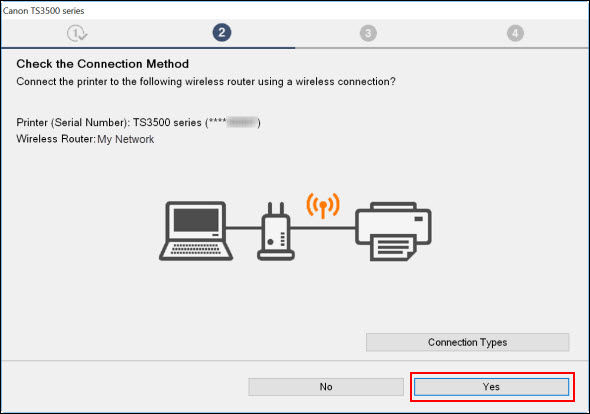
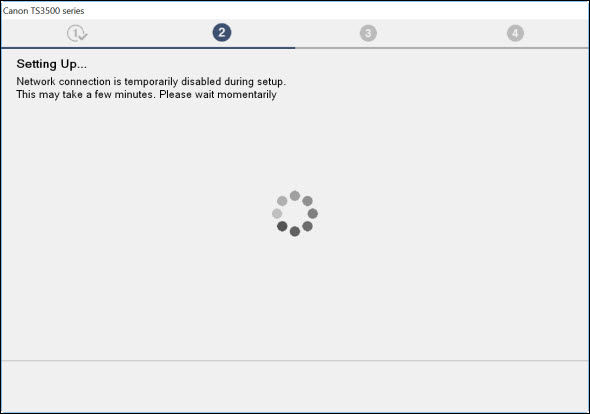
Prior to starting setup on the computer, start the Easy wireless connect process on the printer. Then complete the setup on the computer. See the procedure below to start the Easy wireless connect process.
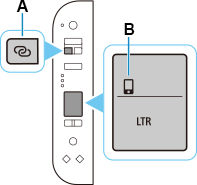
Press and hold the Wireless connect button on the printer, and then release the button when flashes.
Please refer to the documentation for your security software for information on how to open these ports.
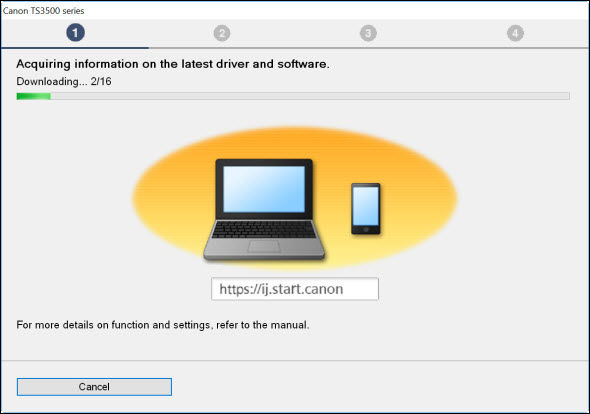
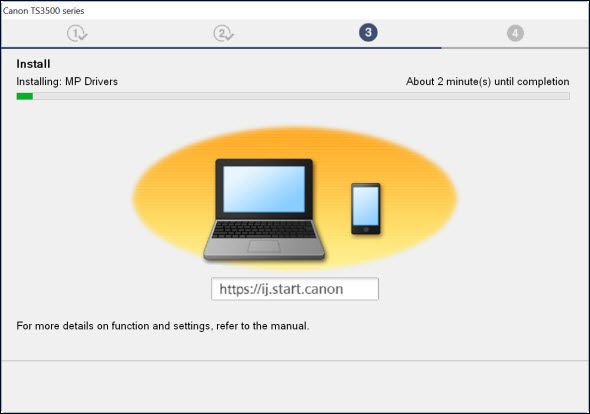
The MP Drivers for your printer will be installed. This may take several minutes.
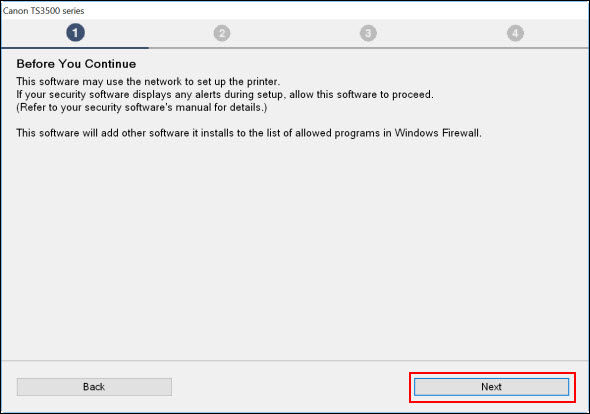
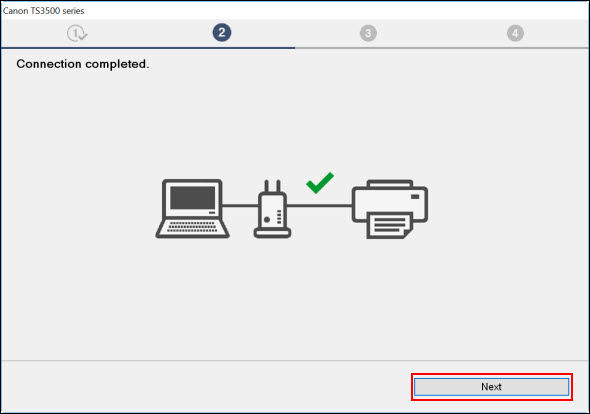
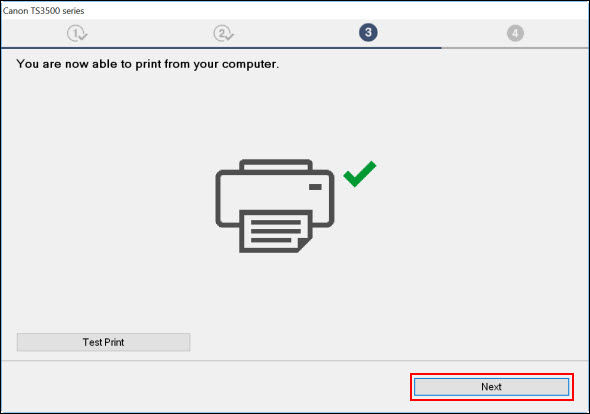
Click Next.
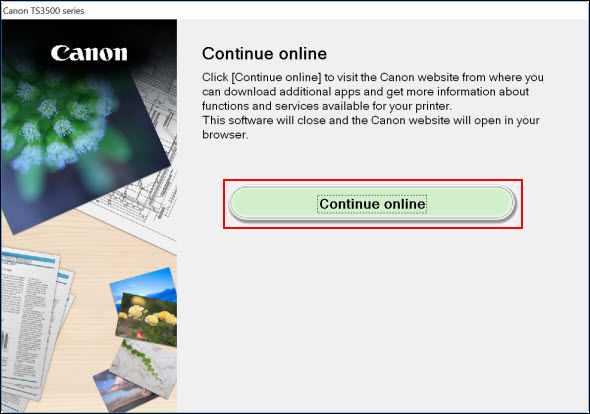
Click Continue online.
If your product issue was not resolved after following the steps above, or if you require additional help, please create or log in to your Canon Account to see your technical support options.


 button on the printer, and then release the button when
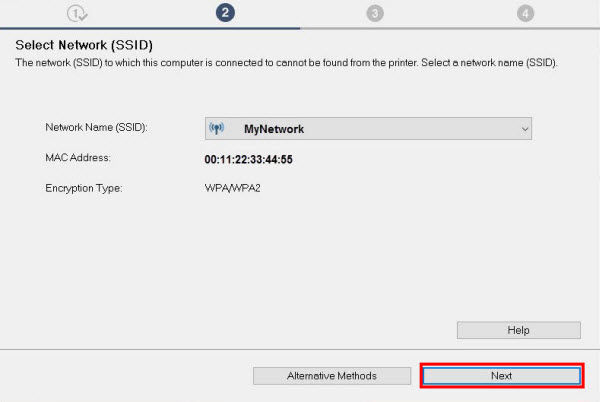
  If your printer isn't detected, you may need to temporarily disable any security software,